Introduction
This guide will show you how to replace a worn or broken clutch on the Kenmore Model 110 washing machine. If the device timer shows the cycle has completed but never drained the water or you find that the agitator is not spinning, it could mean the clutch is bad and needs to be replaced.
What you need
-
-
Unplug the washing machine.
-
Turn both the hot and cold water supply lines off.
 Ask FixBot
-
-
-
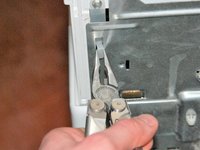
Disconnect the supply hoses using channel lock pliers. Use the towel to catch any water that may spill out.
-
-
-
Use the channel lock pliers to remove tension on the hose spring clamp and pull the drain line from the washer.
-
-
-
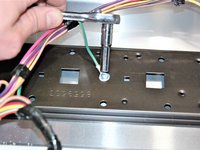
Pinch the plastic tabs with the needle nose pliers and push through the metal back panel.
-
-
-
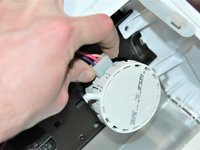
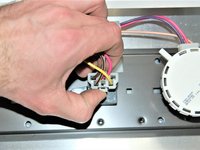
Lift the plastic tab on the timer wiring harness connector and pull from the timer.
-
-
-
-
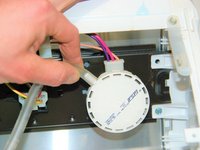
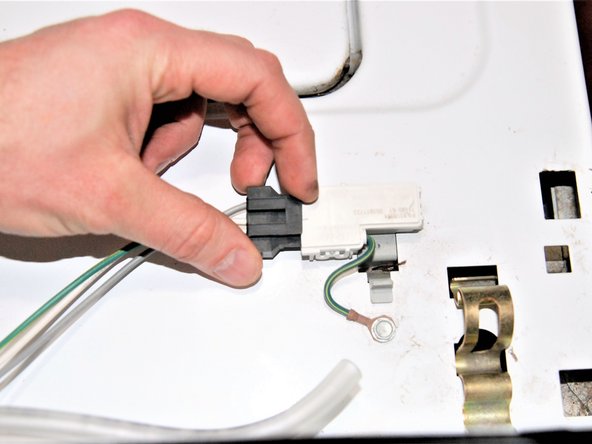
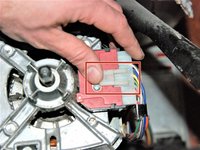
Push tab and remove the connector that is next to the water level control on the inside of the control panel.
-
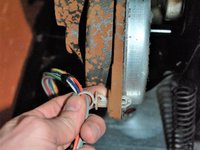
Pull the connector from the door safety switch located on the main body of the washing machine top.
-
Disconnect the green wire ground point inside the control panel with the ratchet and a 1/4 inch socket.
-
-
-
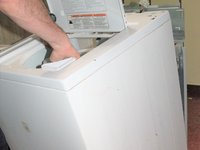
Use the flat head screwdriver to pry out clips on left and right side on top of the machine where the control panel was.
-
-
-
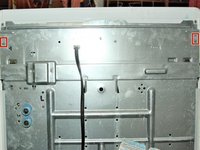
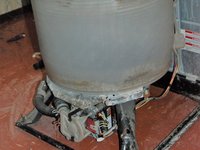
Pull the hood gently from the front to separate from the base, leaving the tub, motor, and transmission exposed.
-
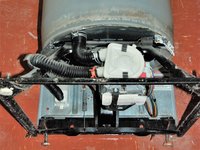
Carefully tilt the washer and set it on the back panel
-
-
-
Remove the pump retaining clips.
-
Leave the pump hoses attached and move the pump aside.
-
-
-
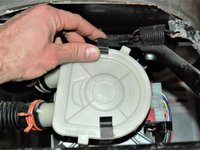
Lift the tab and remove the motor wiring harness connector.
-
Remove the plastic clip from the transmission housing.
-
-
-
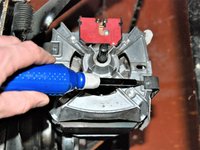
Remove the motor retaining clip screws with the ratchet and a 1/4 inch socket.
-
Use the flat head screw driver to pry retaining clips off of motor.
-
-
-
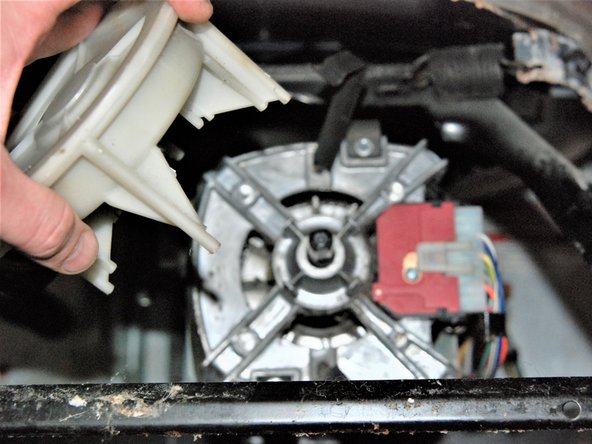
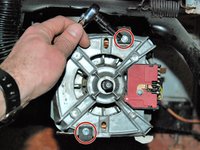
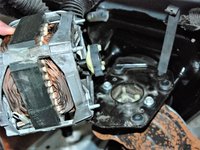
Separate the motor from the transmission.
-
Be sure to check the rubber motor coupling while it is apart. The motor and the transmission will have a plastic piece with three prongs that fit into the rubber coupling. Check to make sure plastic prongs have not broken and the rubber coupling is not cracked.
-
-
-
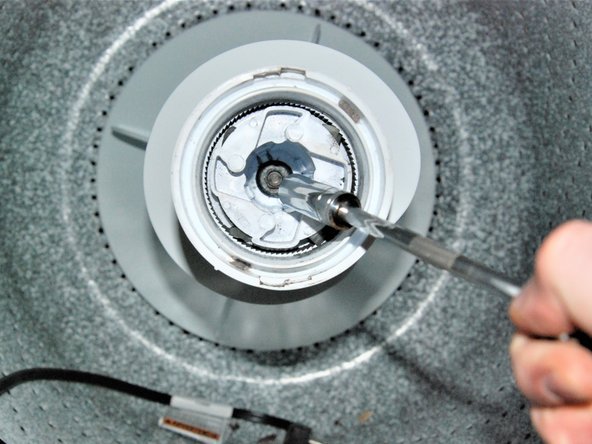
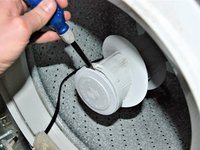
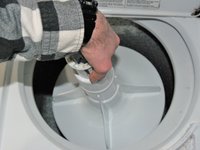
Inside the wash tank, use the flat head screw driver to pop cap off of the agitator.
-
Remove the transmission shaft nut with the ratchet and a 7/16 inch socket.
-
Remove the agitator by pulling it from the transmission shaft.
-
-
-
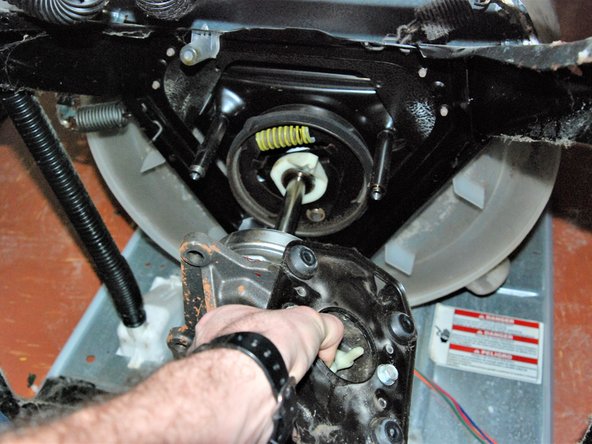
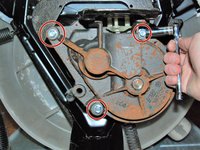
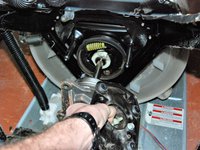
On the bottom of the machine, remove the 3 bolts that hold the transmission in place with the ratchet and a 3/8 inch socket.
-
Gently pull the transmission out of the washer.
-
-
-
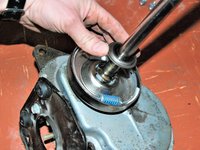
Remove the metal washer from the transmission shaft.
-
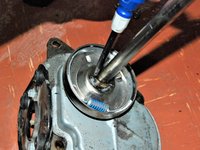
Pry the retaining clip from the transmission shaft with the flat head screw driver.
-
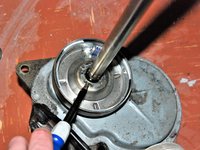
Pry the spring clip from the clutch with the flat head screw driver.
-


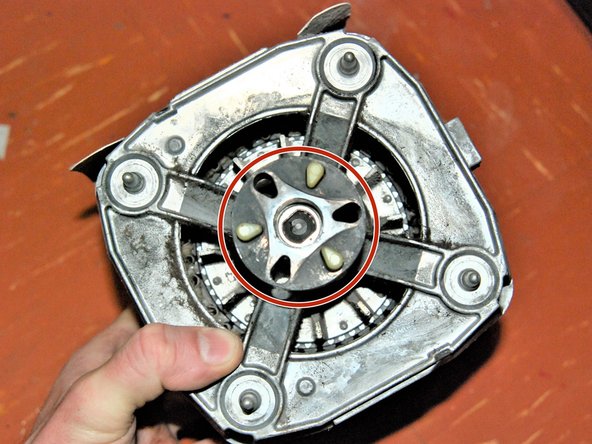


To reassemble your device, follow these instructions in reverse order.
Cancel: I did not complete this guide.
6 other people completed this guide.

Team

Eastern Washington University, Team S27-G1, Crane Winter 2018 Member of Eastern Washington University, Team S27-G1, Crane Winter 2018
EWU-CRANE-W18S27G1
4 Members
5 Guides authored
3 Guide Comments
Nice tutorial! Thank you!
My Kenmore washer is as same as this one, but now the agitator works, but it does not spin. So far I reached step 14, did not find anything wrong, which parts could be the problem? Clutch? Thanks