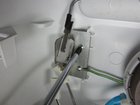
Kenmore 110 Series Washing Machine Lid Switch Replacement

Robert Trout and 6 other contributors
Last updated on Nov 6, 2017
Views: 101K
View statistics:
- Past 24 Hours:
- 7
- Past 7 Days:
- 67
- Past 30 Days:
- 291
- All Time:
- 101,419
Comments: 18
2 comments on steps, 16 guide comments.
Go to guide commentsCompleted: 9 10
9 people have marked this guide "completed." Will you be next?
10 people have marked this guide "completed." Including you — great job!
Favorites: 6 7
6 people have favorited (and subscribed to) this guide. Will you be next?
7 people have favorited (and subscribed to) this guide — including you!
Action Shots
Be an action hero! This guide needs images that better demonstrate how to perform specific actions.
Introduction
Go to step 1 ↓Use this guide to replace a faulty lid switch on your Kenmore 110 series washing machine.
What you need
Parts
Tools


-
-
-
Using a 5/16" socket wrench or an adjustable wrench, remove the three screws from the top rear of the washer.
-
Lifting from the rear, remove the top panel.
-
Set the top panel on its rear face, with its underside facing you.
 Ask FixBot
-
-
-
Using a 5/16" socket wrench or hand wrench, remove the two screws from the component cover.
-
Gripping from the bottom, pull the component cover out of the washer.
-
-
-
-
Carefully unplug the two wires connected to the lid switch.
-
Remove the two Phillips screws securing the bracket.
-
Remove the green ground wire.
-
With a screwdriver, remove the single screw connecting the lid switch to the bracket.
-
-


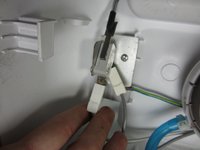
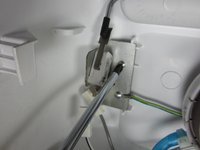
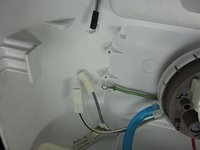
To reassemble your device, follow these instructions in reverse order.
Cancel: I did not complete this guide.
9 other people completed this guide.

Team

Cal Poly, Team 15-43, Forte Fall 2012 Member of Cal Poly, Team 15-43, Forte Fall 2012
CPSU-FORTE-F12S15G43
5 Members
60 Guides authored
16 Guide Comments
Lol I found the solution on YouTube. All it takes is a zip tie because the lid switch for he 90s series Kenmore washer is two half pieces glued together
my Kenmore washer model# is 110.24812200; series CP2654205. Cannot remove top to repair lid switch following your video! removed the three screwsf from the back but cannot get control panal to come off! Please reply soon.
