Free Shipping on Domestic Orders $75+

Kaffelogic Nano 7/LINK (D-P Serial) Stack Replacement

What you need

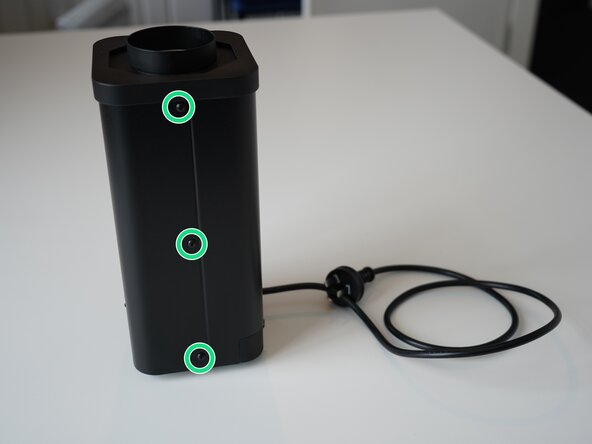
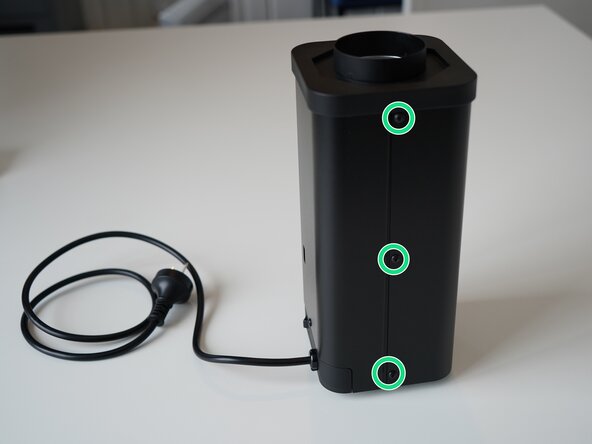
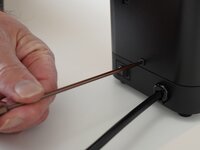
  1. Kaffelogic Nano 7/LINK (D-P Serial) Stack Replacement, Removing Front Panel Screws: step 1, image 1 of 2 Kaffelogic Nano 7/LINK (D-P Serial) Stack Replacement, Removing Front Panel Screws: step 1, image 2 of 2
    • Remove the 6x 2.5mm Hex screws on the left and right side of the roaster.

    • Take care not to damage the buttons while maneuvering the front panel, with all six screws removed it may fall away.

    Ask FixBot
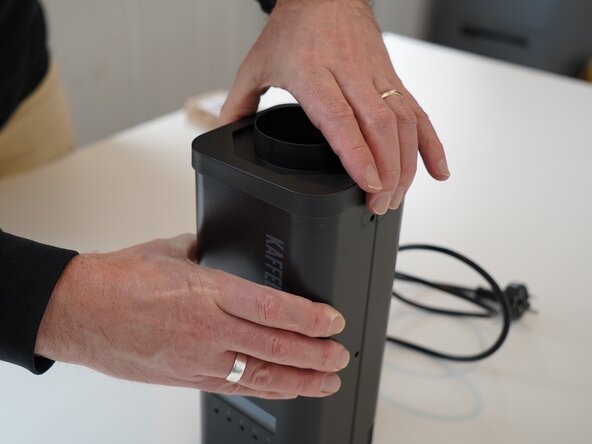
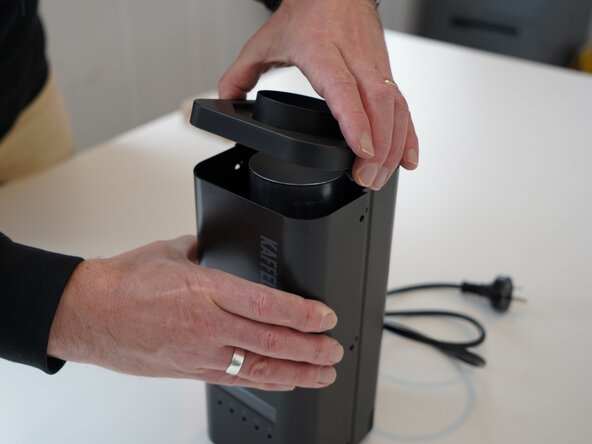
  2. Kaffelogic Nano 7/LINK (D-P Serial) Stack Replacement, Lift the closure: step 2, image 1 of 2 Kaffelogic Nano 7/LINK (D-P Serial) Stack Replacement, Lift the closure: step 2, image 2 of 2
    • Hold the front panel steady while removing the plastic top/closure.

    Ask FixBot
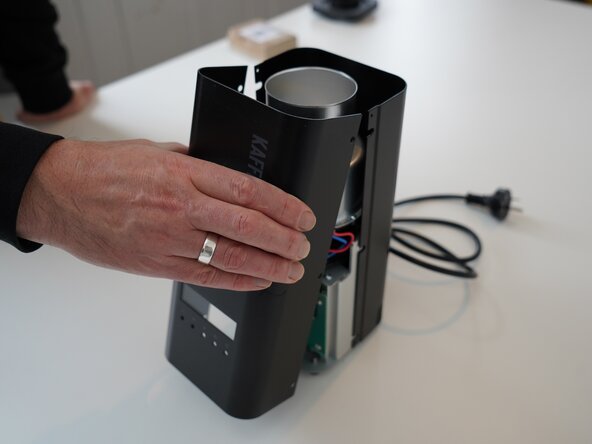
  3. Kaffelogic Nano 7/LINK (D-P Serial) Stack Replacement, Removing the front panel: step 3, image 1 of 1
    • Pull away the front panel carefully.

    Ask FixBot
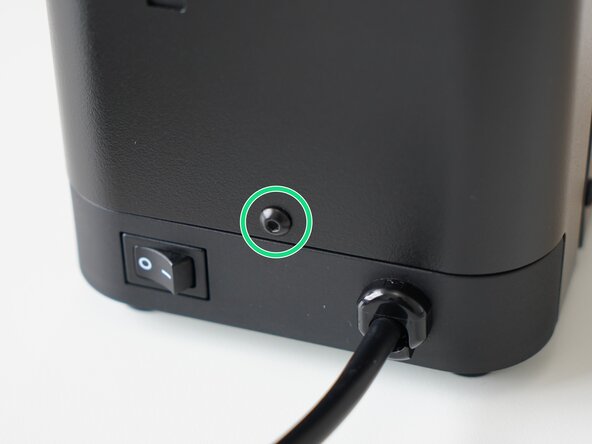
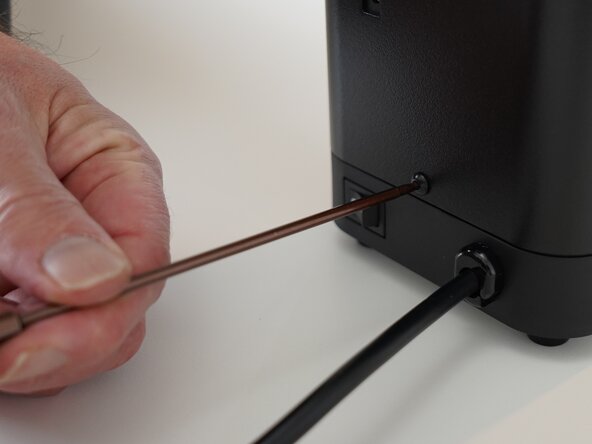
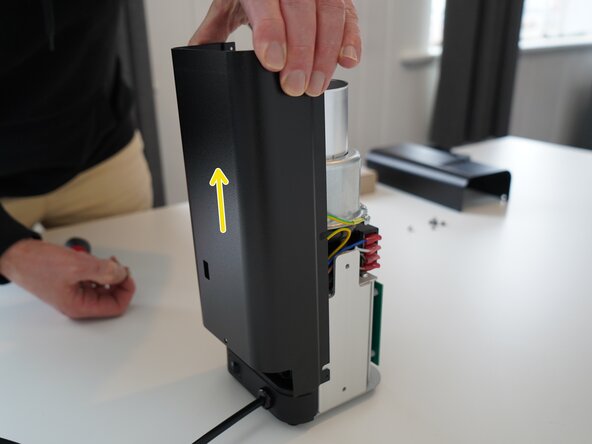
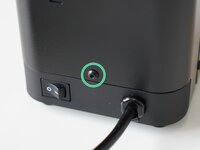
  4. Kaffelogic Nano 7/LINK (D-P Serial) Stack Replacement, Removing the rear panel: step 4, image 1 of 3 Kaffelogic Nano 7/LINK (D-P Serial) Stack Replacement, Removing the rear panel: step 4, image 2 of 3 Kaffelogic Nano 7/LINK (D-P Serial) Stack Replacement, Removing the rear panel: step 4, image 3 of 3
    • Remove the last 2.5mm Hex screw securing the rear panel.

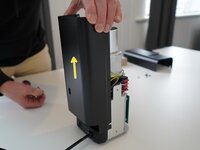
    • Pull up on the rear panel to remove it from the roaster.

    Ask FixBot
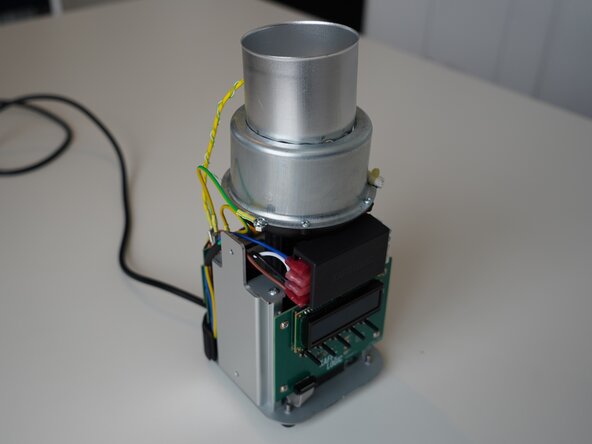
  5. Kaffelogic Nano 7/LINK (D-P Serial) Stack Replacement, Access granted: step 5, image 1 of 2 Kaffelogic Nano 7/LINK (D-P Serial) Stack Replacement, Access granted: step 5, image 2 of 2
    • Set the panels aside somewhere safe and bask in the beauty of your naked roaster.

    Ask FixBot
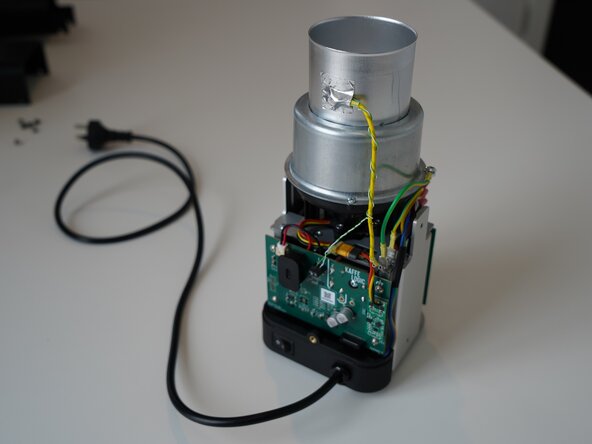
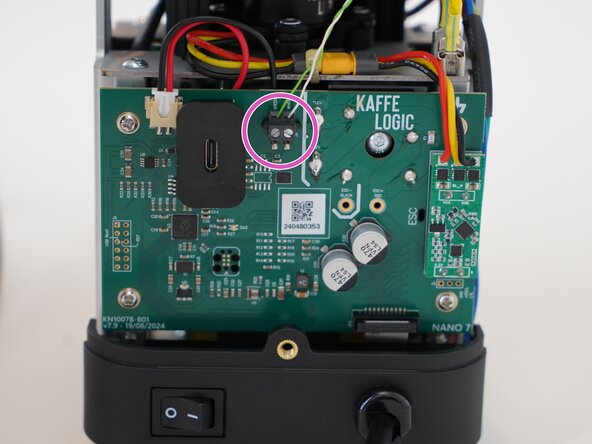
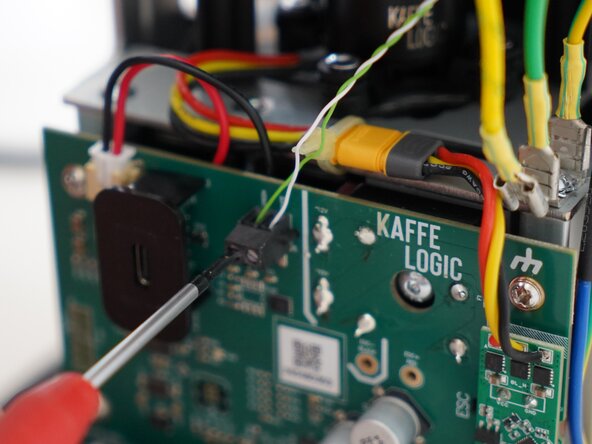
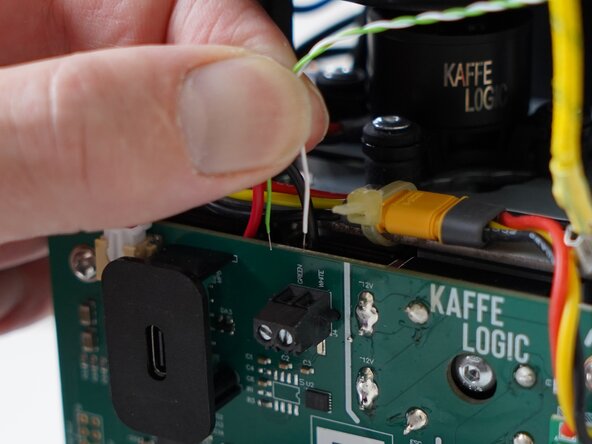
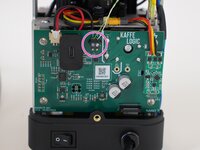
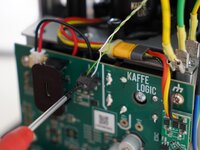
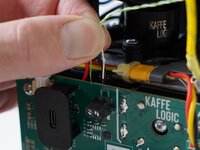
  6. Kaffelogic Nano 7/LINK (D-P Serial) Stack Replacement, Disconnect the thermocouple: step 6, image 1 of 3 Kaffelogic Nano 7/LINK (D-P Serial) Stack Replacement, Disconnect the thermocouple: step 6, image 2 of 3 Kaffelogic Nano 7/LINK (D-P Serial) Stack Replacement, Disconnect the thermocouple: step 6, image 3 of 3
    • Use a 2.0mm slotted screwdriver to remove the thermocouple wires from the PCB-A

    Ask FixBot
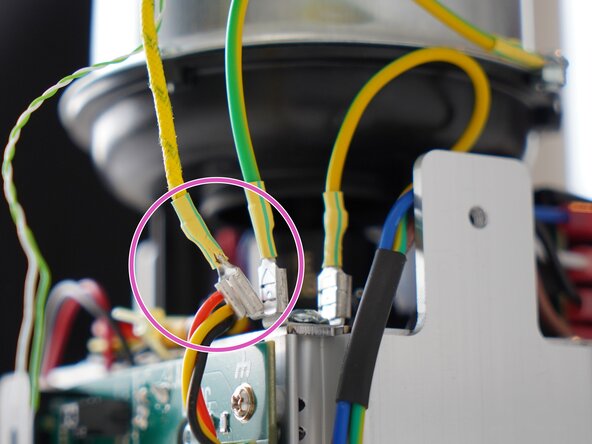
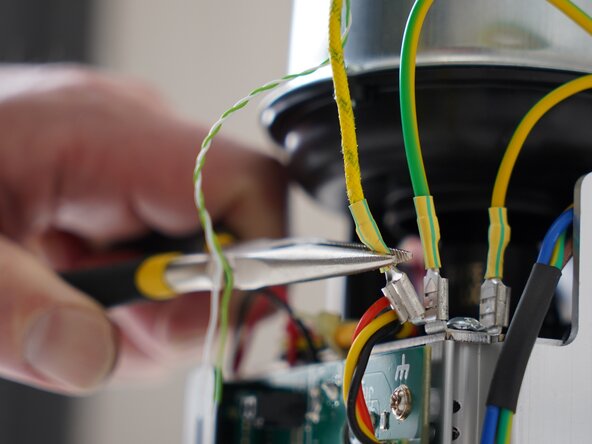
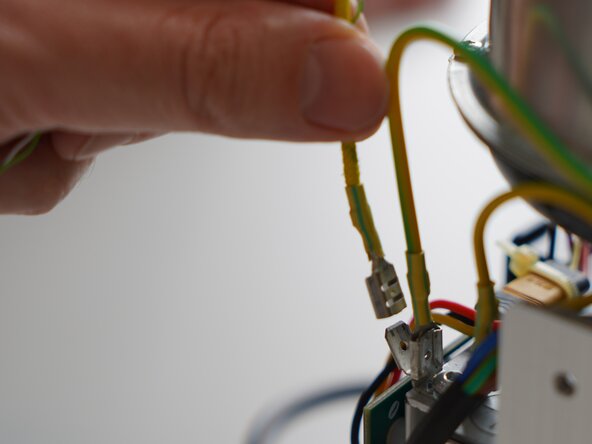
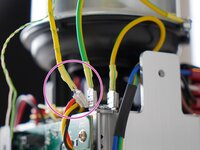
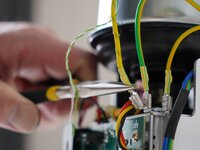
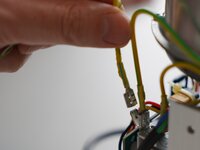
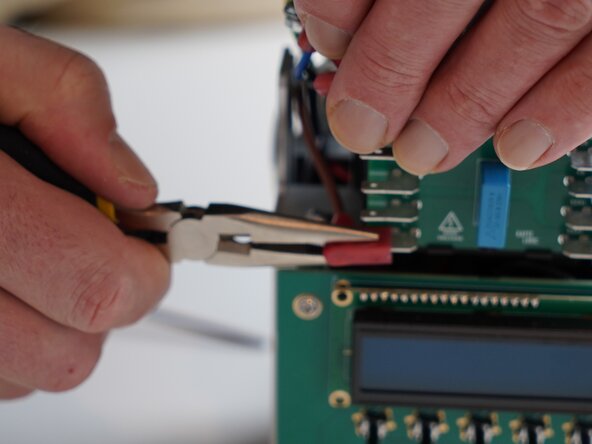
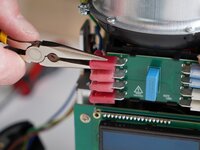
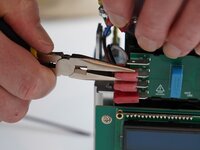
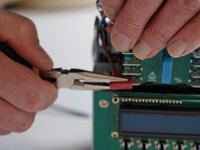
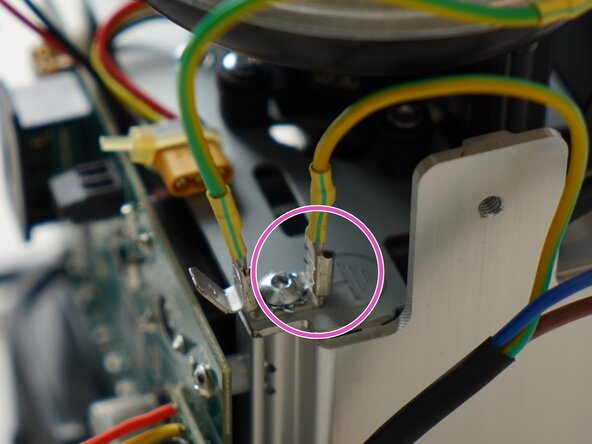
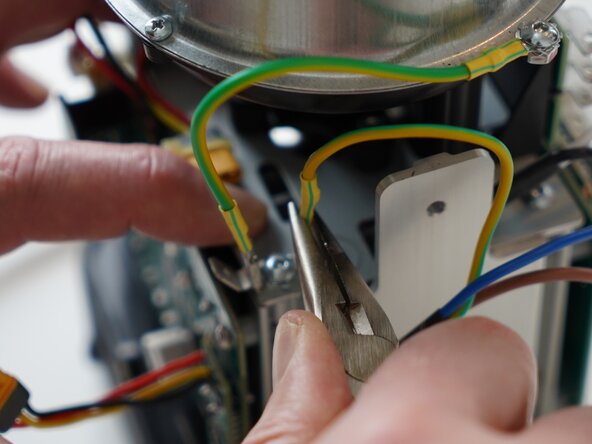
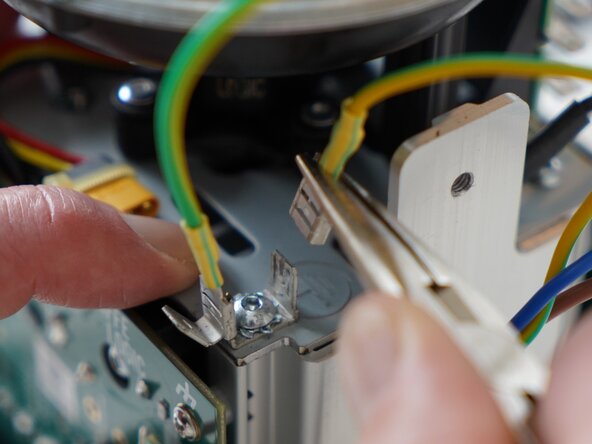
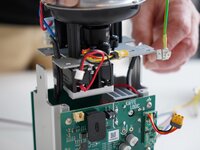
  7. Kaffelogic Nano 7/LINK (D-P Serial) Stack Replacement, Disconnect the earth: step 7, image 1 of 3 Kaffelogic Nano 7/LINK (D-P Serial) Stack Replacement, Disconnect the earth: step 7, image 2 of 3 Kaffelogic Nano 7/LINK (D-P Serial) Stack Replacement, Disconnect the earth: step 7, image 3 of 3
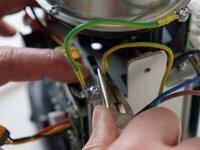
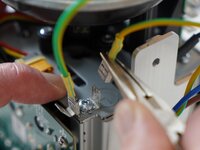
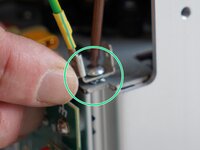
    • Use needle-nose pliers to pull the roast chamber earth lead away from the earthing point.

    Ask FixBot
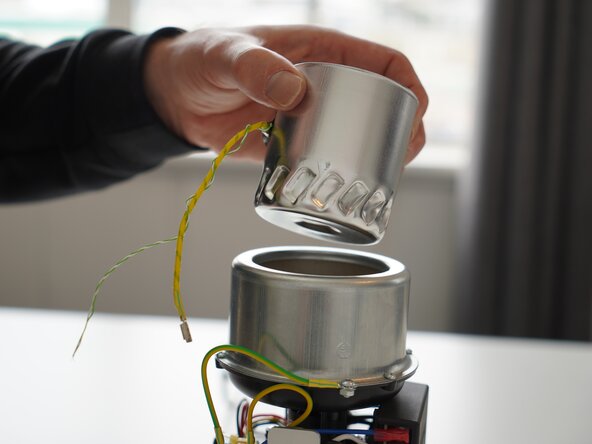
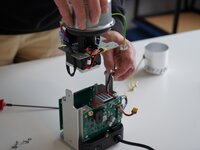
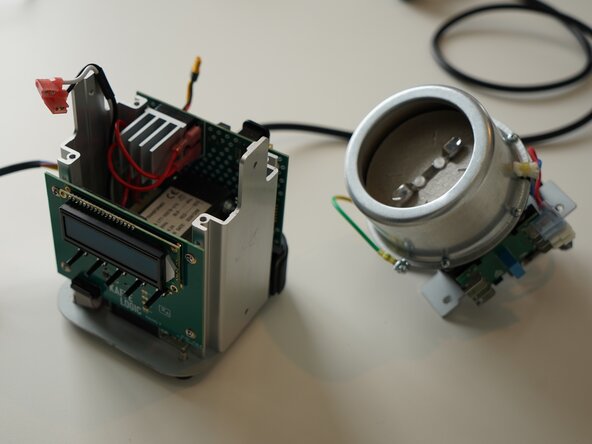
  8. Kaffelogic Nano 7/LINK (D-P Serial) Stack Replacement, Pull away the roast chamber: step 8, image 1 of 1
    • Remove the roast chamber from the element chamber.

    • Head through to our wiki for instructions on recalibrating your fan speed after this repair.

    • Nucleus Link anemometer calibration instructions can be found here.

    Ask FixBot
  9. Kaffelogic Nano 7/LINK (D-P Serial) Stack Replacement, Remove the mains wiring cover: step 9, image 1 of 3 Kaffelogic Nano 7/LINK (D-P Serial) Stack Replacement, Remove the mains wiring cover: step 9, image 2 of 3 Kaffelogic Nano 7/LINK (D-P Serial) Stack Replacement, Remove the mains wiring cover: step 9, image 3 of 3
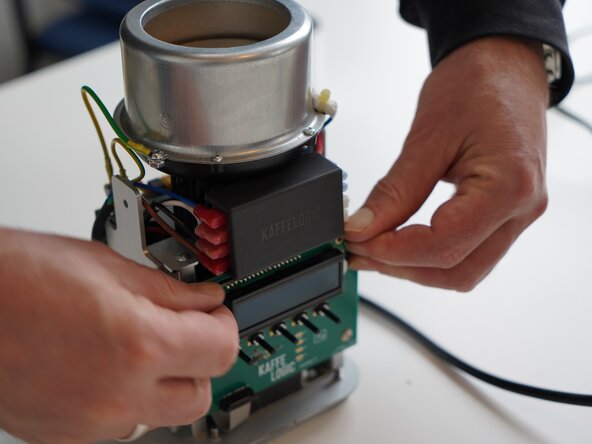
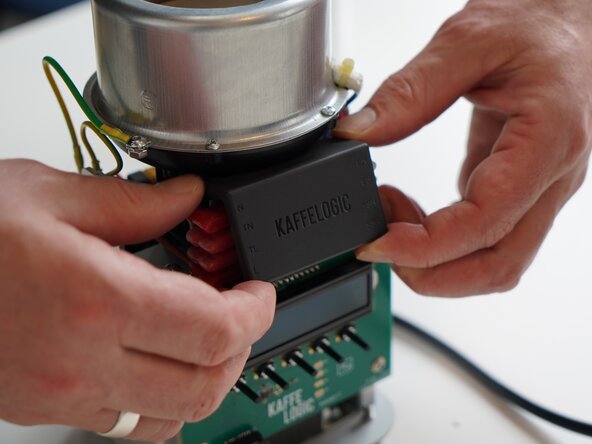
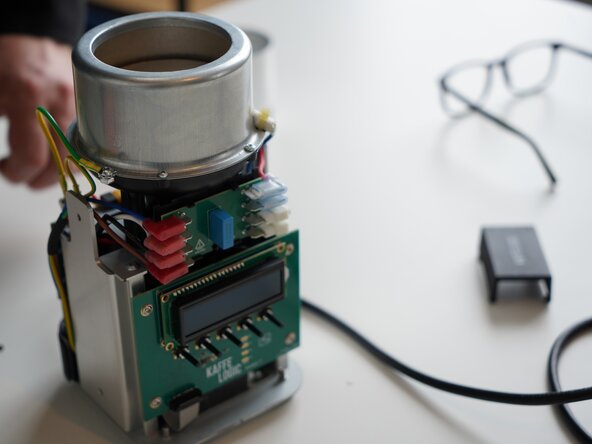
    • Remove the terminal PCB cover and set it aside. This is held in with four small plastic clips at each corner.

    Ask FixBot
  10. Kaffelogic Nano 7/LINK (D-P Serial) Stack Replacement, Disconnect the mains connectors: step 10, image 1 of 3 Kaffelogic Nano 7/LINK (D-P Serial) Stack Replacement, Disconnect the mains connectors: step 10, image 2 of 3 Kaffelogic Nano 7/LINK (D-P Serial) Stack Replacement, Disconnect the mains connectors: step 10, image 3 of 3
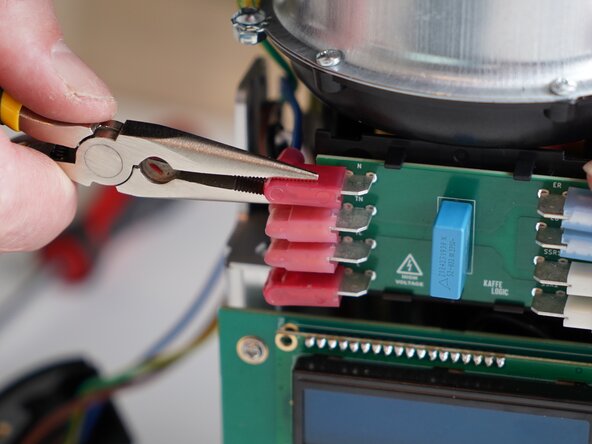
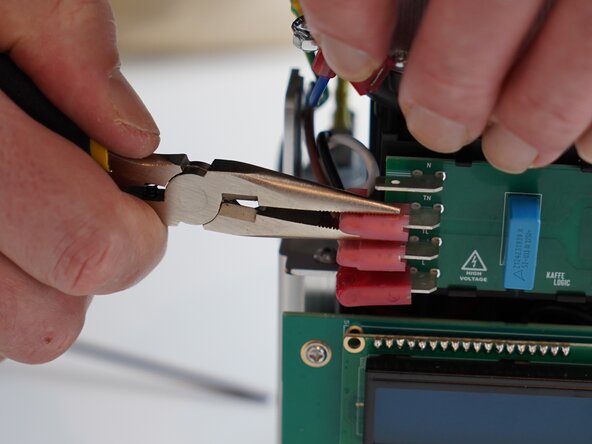
    • Remove all four connectors on the left side of the terminal PCB.

    • These are marked an N (Neutral), TN (Transformer Neutral), TL (Transformer Live) and L (Live)

    Ask FixBot
  11. Kaffelogic Nano 7/LINK (D-P Serial) Stack Replacement, Disconnect the motor: step 11, image 1 of 2 Kaffelogic Nano 7/LINK (D-P Serial) Stack Replacement, Disconnect the motor: step 11, image 2 of 2
    • Disconnect the motor cable, this may take some wiggling.

    • Refrain from using pliers or metal tools on this connector, as the plastic insulation can be damaged.

    Ask FixBot
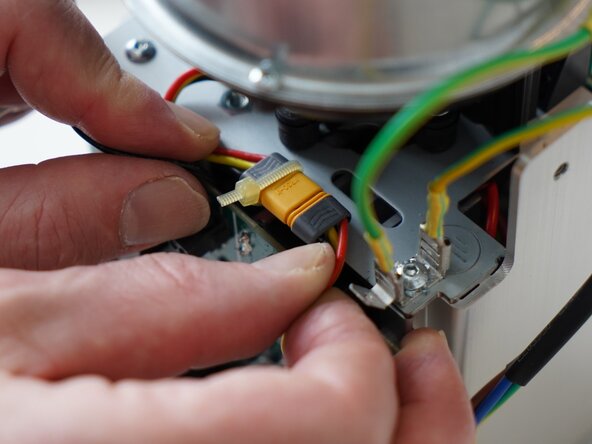
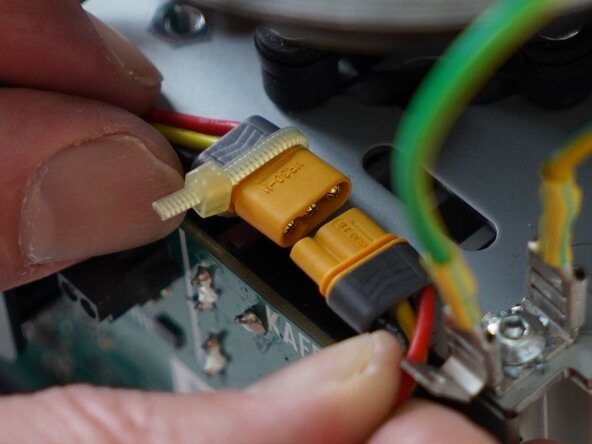
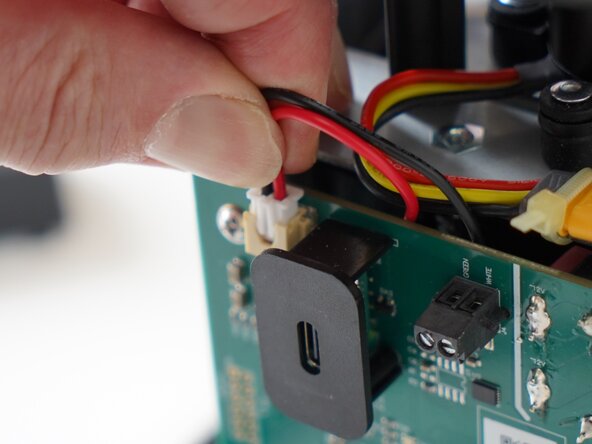
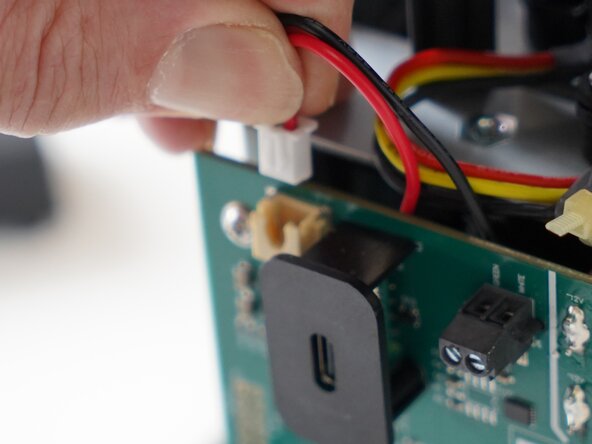
  12. Kaffelogic Nano 7/LINK (D-P Serial) Stack Replacement, Disconnect the SSR signal: step 12, image 1 of 2 Kaffelogic Nano 7/LINK (D-P Serial) Stack Replacement, Disconnect the SSR signal: step 12, image 2 of 2
    • Pull upwards on the SSR signal connector to remove it.

    Ask FixBot
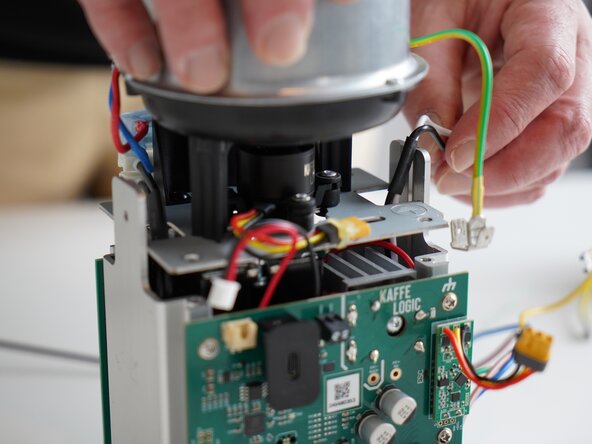
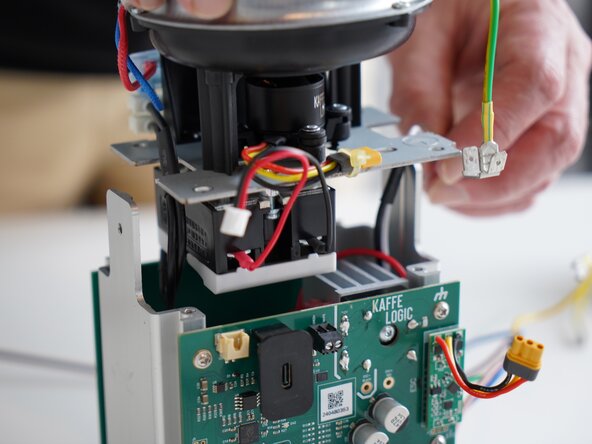
  13. Kaffelogic Nano 7/LINK (D-P Serial) Stack Replacement, Remove the earth tab: step 13, image 1 of 3 Kaffelogic Nano 7/LINK (D-P Serial) Stack Replacement, Remove the earth tab: step 13, image 2 of 3 Kaffelogic Nano 7/LINK (D-P Serial) Stack Replacement, Remove the earth tab: step 13, image 3 of 3
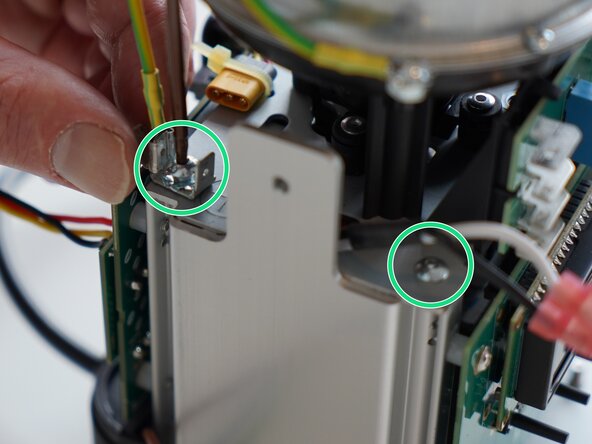
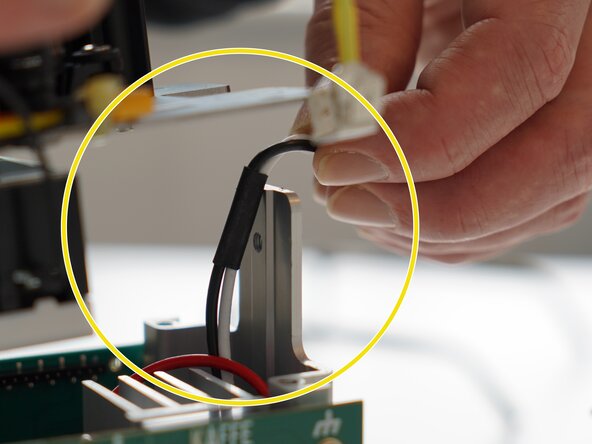
    • Remove the mains earthing connector from the tab. Pliers can be used for this as it can be tight.

    Ask FixBot
  14. Kaffelogic Nano 7/LINK (D-P Serial) Stack Replacement, Remove gantry screws: step 14, image 1 of 3 Kaffelogic Nano 7/LINK (D-P Serial) Stack Replacement, Remove gantry screws: step 14, image 2 of 3 Kaffelogic Nano 7/LINK (D-P Serial) Stack Replacement, Remove gantry screws: step 14, image 3 of 3
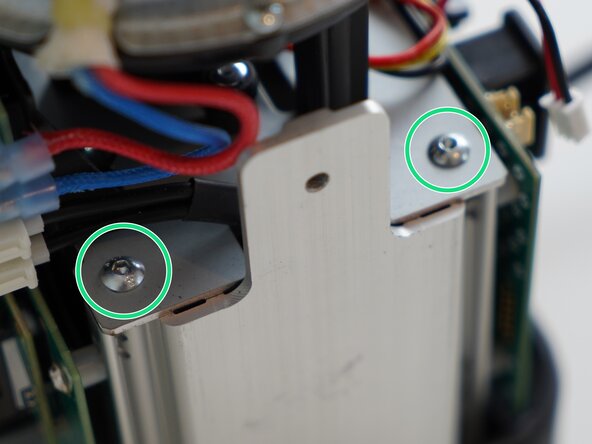
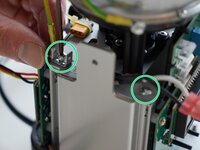
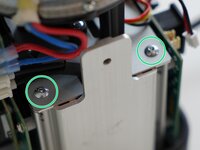
    • Remove the 4x 2.5mm Hex screws securing the gantry plate to the aluminium uprights. A long driver bit is recommended for this.

    • Some early roasters will have sprung earth tabs on the right hand side of the roaster, please place these back as they were found during reassembly.

    Ask FixBot
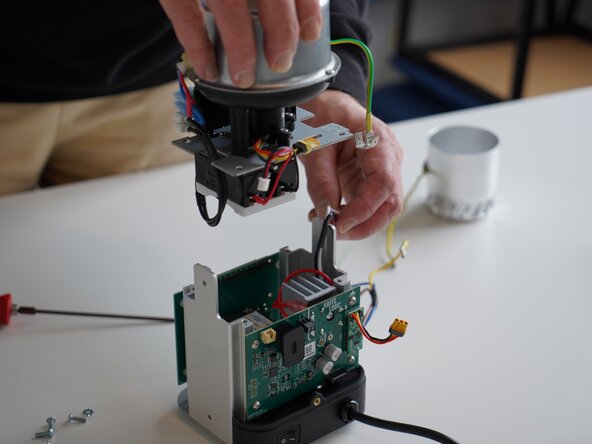
  15. Kaffelogic Nano 7/LINK (D-P Serial) Stack Replacement, Removing the stack: step 15, image 1 of 3 Kaffelogic Nano 7/LINK (D-P Serial) Stack Replacement, Removing the stack: step 15, image 2 of 3 Kaffelogic Nano 7/LINK (D-P Serial) Stack Replacement, Removing the stack: step 15, image 3 of 3
    • Pull upwards on the stack to remove it from the base assembly.

    Ask FixBot
  16. Kaffelogic Nano 7/LINK (D-P Serial) Stack Replacement, Stack Removed: step 16, image 1 of 3 Kaffelogic Nano 7/LINK (D-P Serial) Stack Replacement, Stack Removed: step 16, image 2 of 3 Kaffelogic Nano 7/LINK (D-P Serial) Stack Replacement, Stack Removed: step 16, image 3 of 3
    • Well done! Your stack assembly is free!

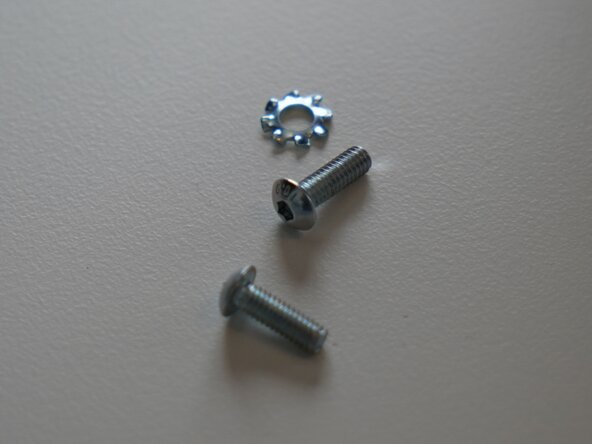
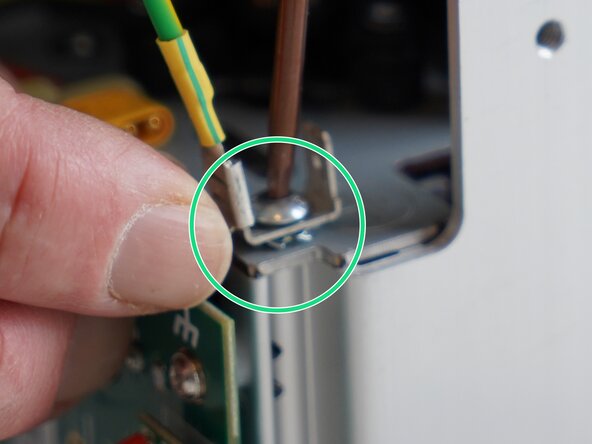
    • During reassembly, the star washer should be placed between the gantry plate steel and the earthing tab as pictured.

    • There is a hole in the gantry plate to route the transformer primary wires through. Hold them to the side as you place the new stack.

    • Head through to our wiki for instructions on recalibrating your fan speed and element resistance after replacing the stack. Nucleus Link anemometer instructions can be found here.

    Ask FixBot
Conclusion

To reassemble your device, follow these instructions in reverse order.

Attached Documents

Kaffelogic

Member since: 07/23/25

2,396 Reputation

17 Guides authored

Team

Kaffelogic Staff Member of Kaffelogic Staff

Community

3 Members

17 Guides authored

0 Guide Comments

Add Comment

View Statistics:

Past 24 Hours: 0

Past 7 Days: 5

Past 30 Days: 38

All Time: 228