
KATCHY Insect Trap Disassembly and Clean

Last updated on Jul 1, 2025
Views: 5.5K
View statistics:
- Past 24 Hours:
- 11
- Past 7 Days:
- 70
- Past 30 Days:
- 295
- All Time:
- 5,476
Comments: 3
3 comments on steps.
Completed: 2 3
2 people have marked this guide "completed." Will you be next?
3 people have marked this guide "completed." Including you — great job!
Favorites: 0 1
No one has favorited (and subscribed to) this guide. Will you be the first?
1 person has favorited (and subscribed to) this guide — and that's you!
Action Shots
Be an action hero! This guide needs images that better demonstrate how to perform specific actions.
Better Introduction
Improve this guide by completing or revising its introduction.
Introduction
Go to step 1 ↓When exposed to excessive dust and lint, the air vent and fan can be clogged by lint build-up. Where they become unusable because the bugs can't pass through the holes and the fan slows down. This guide will show people how to restore their Trap to be fully functional and allow the airflow to be dragged to the sticky trap.
What you need
Tools


-
-
-
Unplug the power plug from the device.
 Ask FixBot
-
-
-
Flip the device so that it is no longer upside down.
-
If the top cover is stuck, grab onto the base and push the cover out with your thumb.
-
-
-
-
Be careful not to damage the wire connecting it to the base. They should be connected still.
-
-
-
(Extra) Two screws are protecting the circuit board if you want to do something with it.
-
-
-
Double-check that the fan has no dust to ensure the motor will run more efficiently with less dust.
-
-


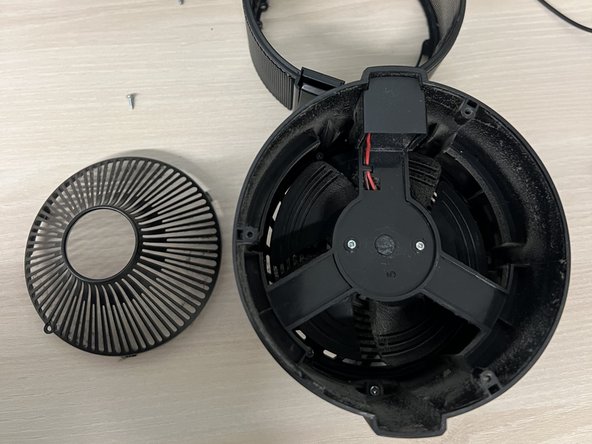
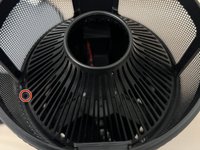


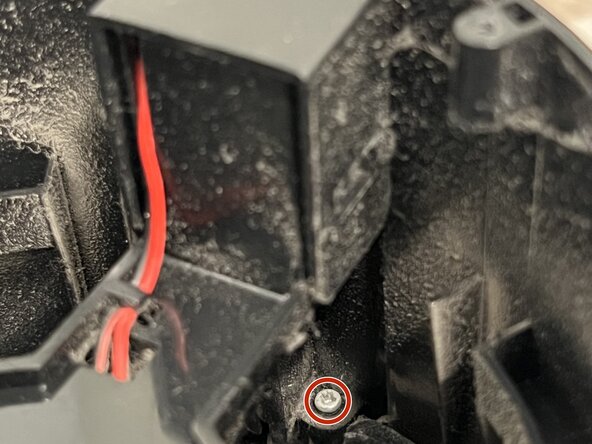
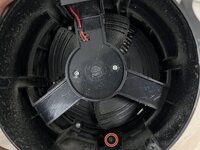
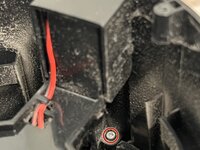

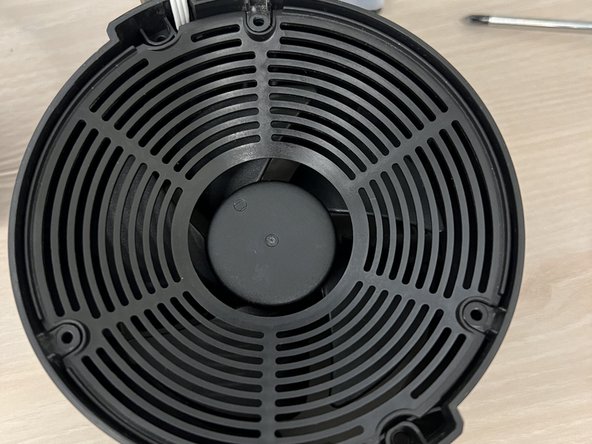
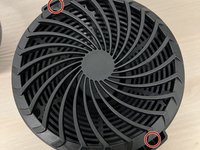
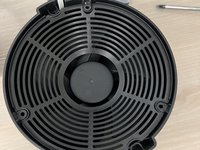


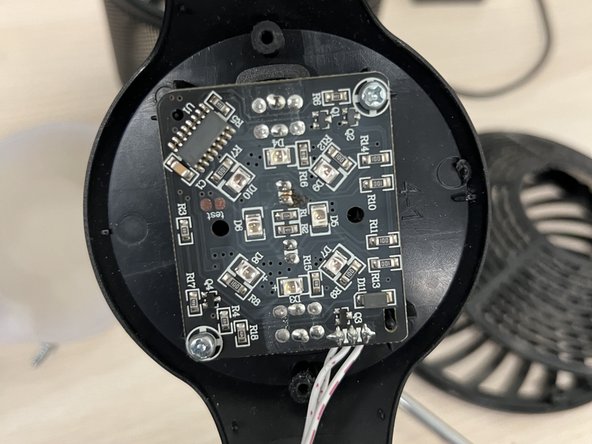
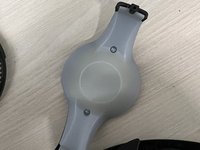
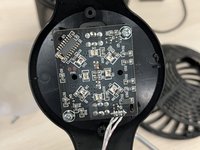

To reassemble your device, follow these instructions in reverse order. Plug the power supply into the device and check if everything works. The UV light should display like normal.
Cancel: I did not complete this guide.
2 other people completed this guide.

Team

CSU Los Angeles, Team 77-77, Harris Spring 2024 Member of CSU Los Angeles, Team 77-77, Harris Spring 2024
CSULA-HARRIS-S24S77G77
1 Member
12 Guides authored
