Introduction
Many Jura devices have a **ceramic valve**, which Jura calls a **multi-way valve**. It controls the water flow for hot water, steam, milk froth, and, of course, coffee. The ceramic valve can fail, causing the machine to malfunction, often showing **Error 6**. Possible causes include:
- (Micro-)cracks in the distribution head
- Limescale buildup, especially on the ceramic discs/seals
- Faulty microswitches
- Internal drive components worn down
- Motor failure
This shows how to **remove the ceramic valve** of a **Jura Z6 (2018)**. You can then replace it with a new one or try to repair it. Older models are described **here**.
What you need
-
-
-
Remove all attachments: water tank, drip tray, aroma cover.
-
Remove the slotted screw on the bean container and take off the grid cover and the border.
 Ask FixBot
-
-
Tool used on this step:iFixit Precision 4 mm Screwdriver Bit$2.99
-
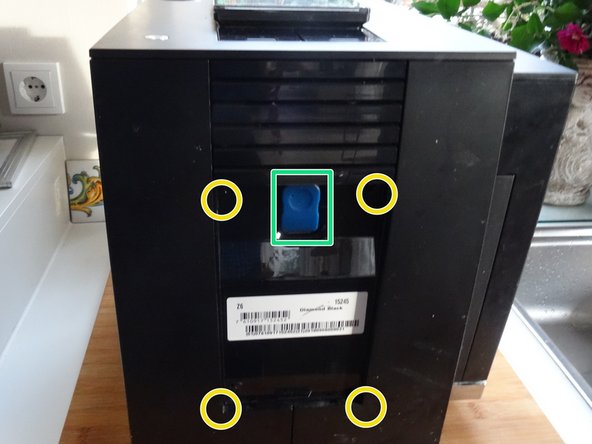
The oval head screws are on the back this time. Grasp the ribbed bezel and lift it a few millimeters upwards. Then pull it out at the bottom and lift it off.
-
These screws have an oval head that makes them look like rivets (picture 2). You need a special key or the iFixit bit to open them. Here is a do-it-yourself guide. If necessary, you can also use pointed pliers. Jura wants to keep us out of our own machines!
-
Remove the four oval head screws.
-
Disconnect the blue plug for Jura Connect.
-
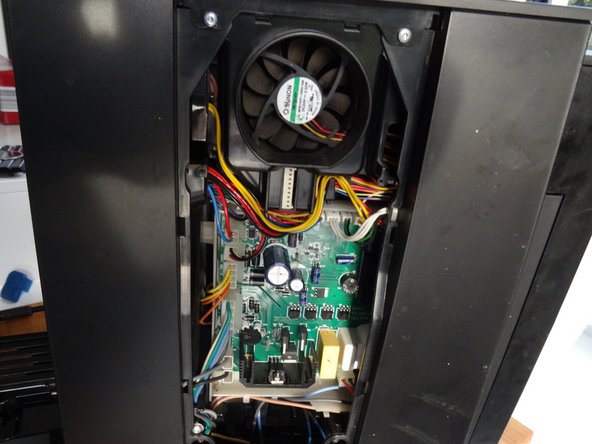
Lift the black panel away from the back. The power board is now visible.
-
-
-
The top cover is held in place by two Torx T15 screws at the very top of the fan. Unscrew them.
-
-
-
Take out the funnel for the ground coffee.
-
Push the top cover back and lift it up carefully. Pay particular attention to the grinder's adjustment cover. It could be quite stuck the first time.
-
-
-
-
There are two Torx screws at the bottom left and right of the opening for the coffee grounds drawer. Remove those.
-
-
-
Now you can push both side panels back a few millimeters and lift them out upwards. The first time they will stick a bit.
-
The side panel near the water tank is still connected to two sensitive cables. If you want to remove the side panel to access the brewing unit, you must trace the cables to the two plugs on the circuit board, disconnect them, and thread the cables out.
-
-
-
-
-
The ceramic valve is diagonally facing upwards in a black plastic holder. The plastic holder is attached with two Torx T15 screws. Unscrew the two screws.
-
Carefully pull the holder out. Another solenoid valve is attached behind the ceramic valve, it can stay on the holder, but it is more convenient if you remove the two screws on the bottom, pull off the pressure hose and lift the valve.
-
-
-
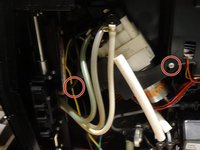
A number of hoses lead to the ceramic valve. Disconnect them all, but take some photos so that you know how they are connected later.
-
-
-
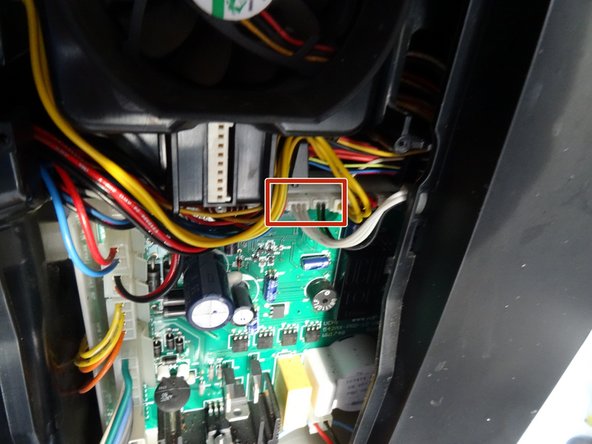
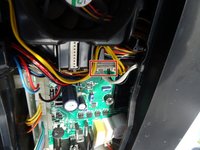
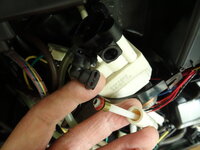
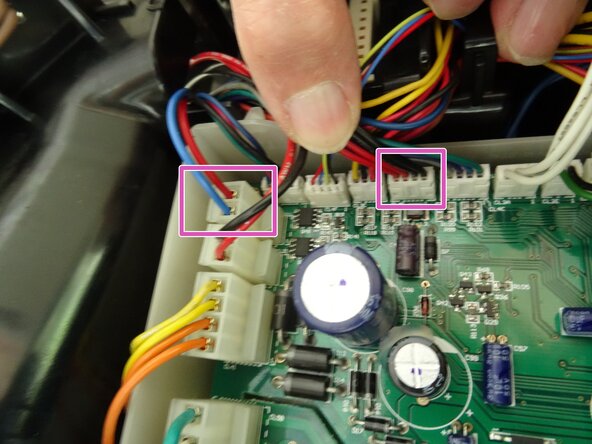
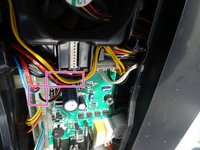
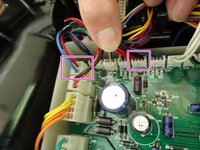
Two cable harnesses lead to the ceramic valve. Follow these to the power board and disconnect the two plugs.
-
-
-
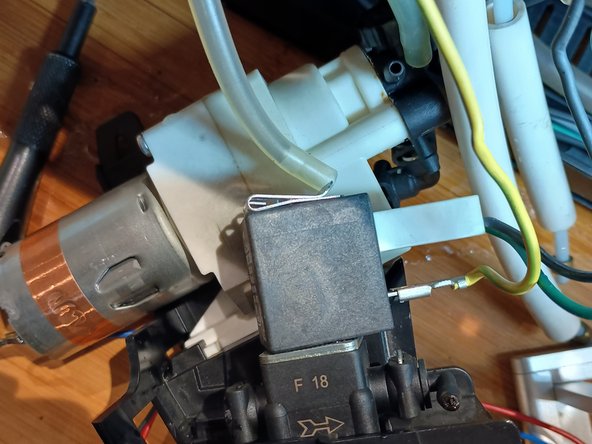
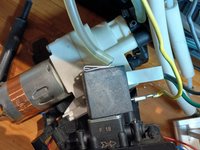
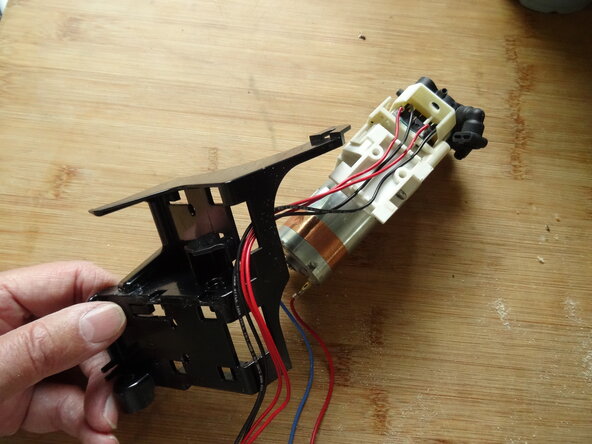
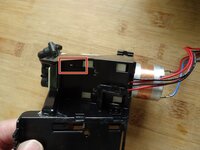
The ceramic valve is attached to the mount. Press the catch that secures it in place, slide the valve toward the motor side, and lift it off.
-
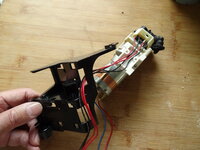
Unthread the cables.
-
-






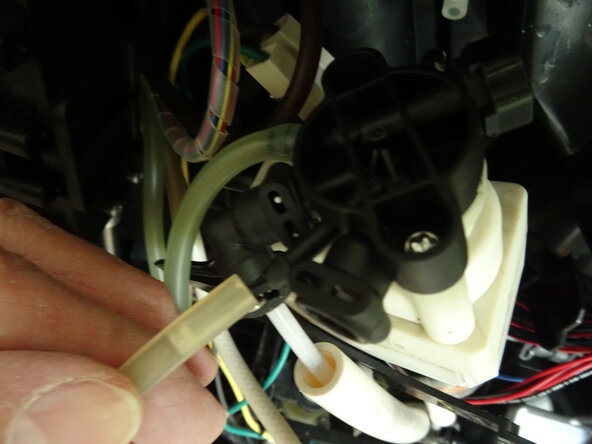
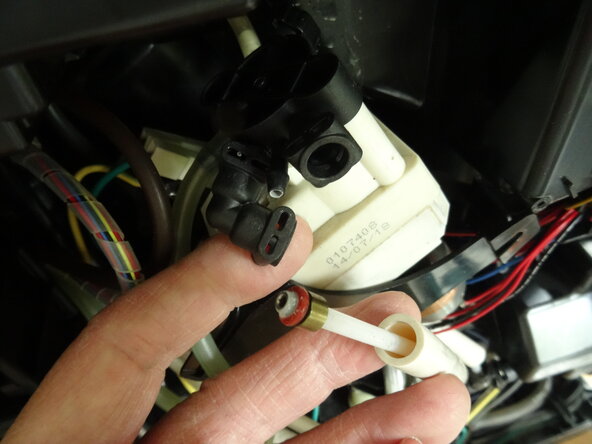


Complete the steps in reverse order to reassemble your device.
Special thanks to these translators:
100%


These translators are helping us fix the world! Want to contribute?
Start translating ›

Team

Repair is War on Entropy Member of Repair is War on Entropy
Community
41 Members
7,036 Guides authored
