Jura Z Model remove ceramic valve

VauWeh and one other contributor
Last updated on Apr 13, 2025
Views: 3.8K
View statistics:
- Past 24 Hours:
- 3
- Past 7 Days:
- 16
- Past 30 Days:
- 112
- All Time:
- 3,830
Comments: 5
5 comments on steps.
Completed: 0 1
No one has marked this guide "completed." Will you be the first?
1 person has marked this guide "completed." It's you — great job!
Favorites: 0 1
No one has favorited (and subscribed to) this guide. Will you be the first?
1 person has favorited (and subscribed to) this guide — and that's you!
Community-Contributed Guide
An awesome member of our community made this guide. It was not created by iFixit staff.
Introduction
Go to step 1 ↓The ceramic valve can be removed and replaced quite easily. Newer Z models are described here.
Before you buy a new ceramic valve, you should try to repair it. You can save a lot of money and resources. Use this guide.
What you need
Tools


-
-
-
Remove all attachments: water tank, drip tray, aroma lid
 Ask FixBot
-
-
-
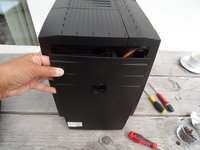
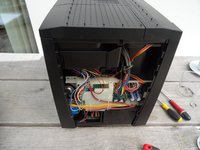
Turn the machine so the back is facing toward the front.
-
The Jura sign must be removed. Turn it a few millimeters counterclickwise.
-
Remove the Jura sign.
-
-
-
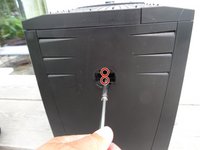
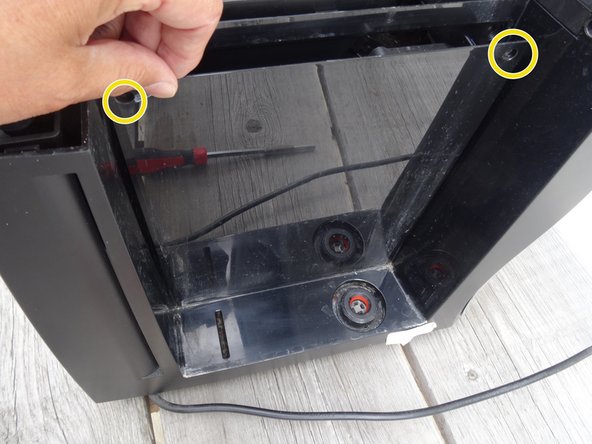
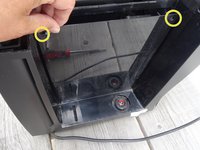
Behind the Jura sign are two screws with an oval head. They have to be removed.
-
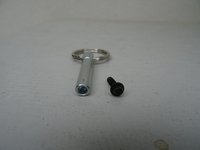
These screws have an oval head that makes them look like rivets (picture 2). You need to use a special bit for their removal. If the right bit is not available, it could be done with a pair of needle nose pliers. Jura wants to keep us out of our own machines!!!!
-
-
-
-
Pull the right side panel- as seen looking to the frontpanel - backwards and take it off.
-
-
-
Remove the Torx T15 screw on the front wall of the side panel.
-
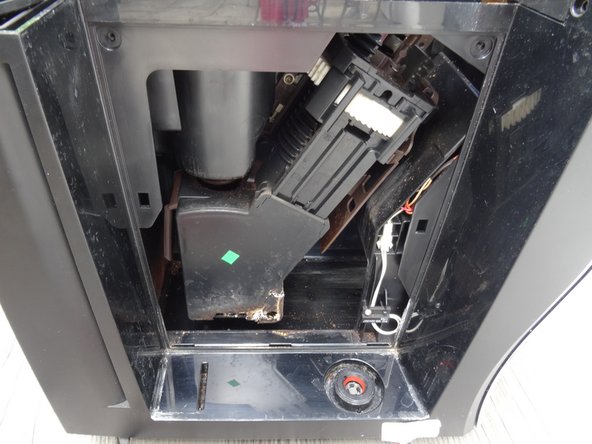
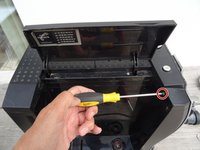
In the side part there is a lid over the brew group. The lid is fastened at the top with two oval head screws. Remove those to remove the lid.
-
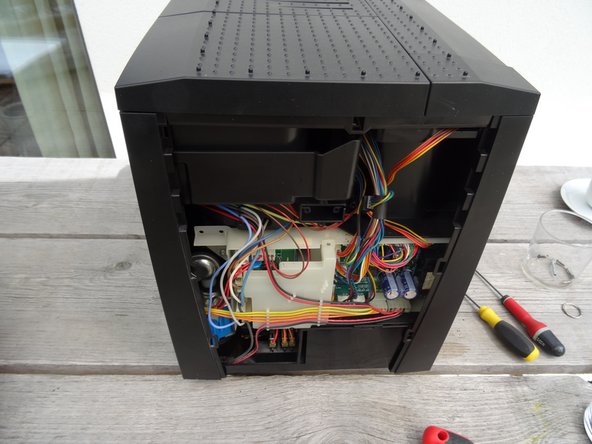
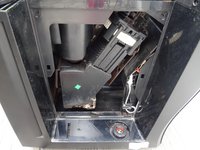
With the cover removed the brew group becomes visible
-
-
-
This step shows how to remove the top cover
-
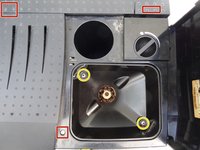
Remove the powder tray and all coffee beans.
-
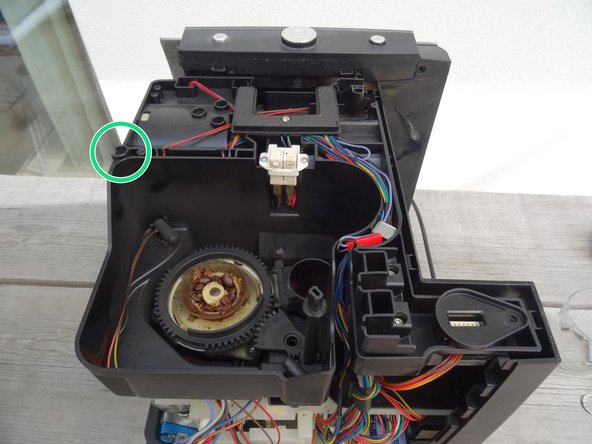
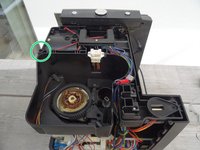
The cover is fastened with three Torx T15 screws. Those are easily visible under the covers as well as the small cover on the left back side.
-
Remove the two Phillips screws on the bean container and remove the bean container.
-
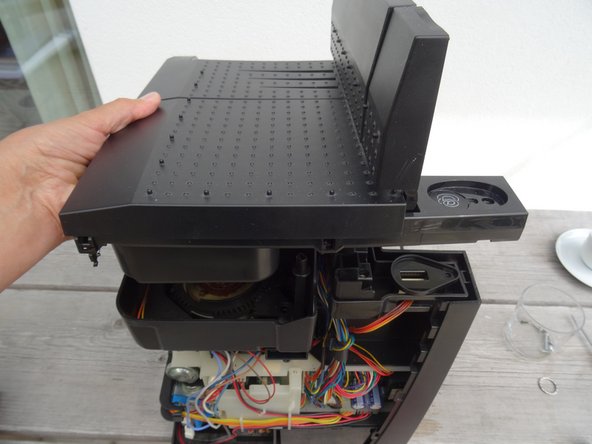
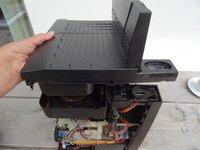
Lift the cover upwards.
-
-
-
-
-
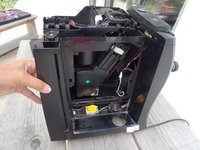
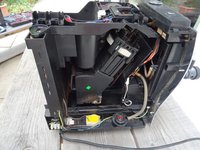
The ceramic valve is only pushed in. Release the detents at the bottom of the white plastic base and slide the valve to the right.
-
Lift out the valve.
-
Disconnect all connections and remove the valve.
-
-










Work through the steps in reverse order to reassemble your device.
Special thanks to these translators:
100%


These translators are helping us fix the world! Want to contribute?
Start translating ›