
Jabra Freeway Motion Detector Replacement

Alec Wilson and 2 other contributors
Last updated on Dec 22, 2016
Views: 952
View statistics:
- Past 24 Hours:
- 3
- Past 7 Days:
- 21
- Past 30 Days:
- 99
- All Time:
- 952
Comments: 3
2 comments on steps, 1 guide comment.
Go to guide commentsCompleted: 0 1
No one has marked this guide "completed." Will you be the first?
1 person has marked this guide "completed." It's you — great job!
Favorites: 0 1
No one has favorited (and subscribed to) this guide. Will you be the first?
1 person has favorited (and subscribed to) this guide — and that's you!
Introduction
Go to step 1 ↓The Jabra Freeway's auto-on and auto-off features are controlled by the motion detector. In this guide, we will be replacing this detector.
What you need
Tools
-
Spudger4.9
-
-


-
-
-
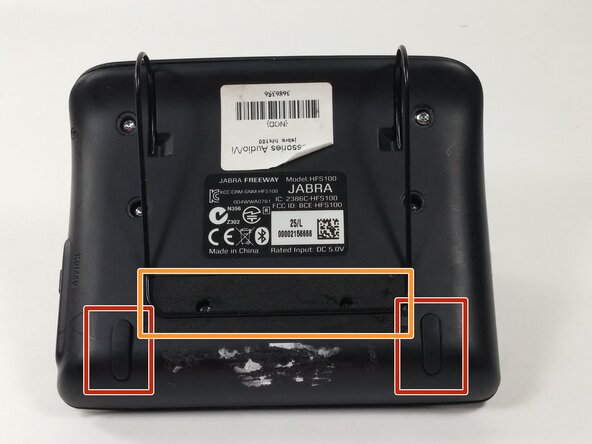
Remove the rubber pads from the bottom of the device using the spudger.
-
Remove the foam tape covering 2 hidden screws from the back of the device.
 Ask FixBot
-
-
-
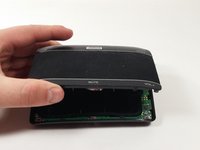
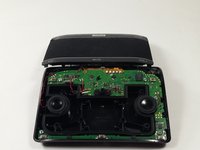
Gently lift the front panel off of the device and carefully rest it to the side.
-
-
-
-
-
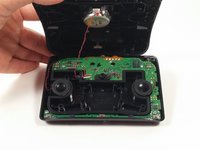
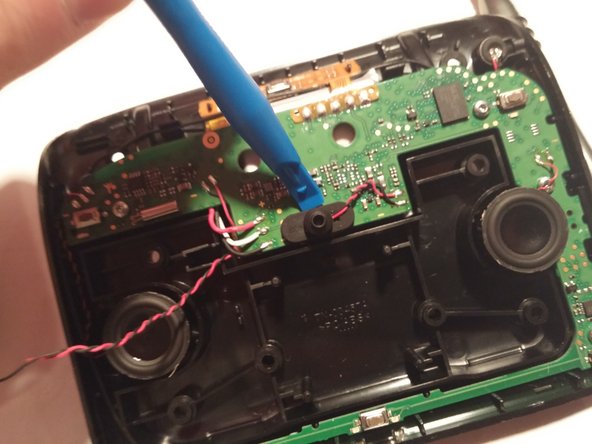
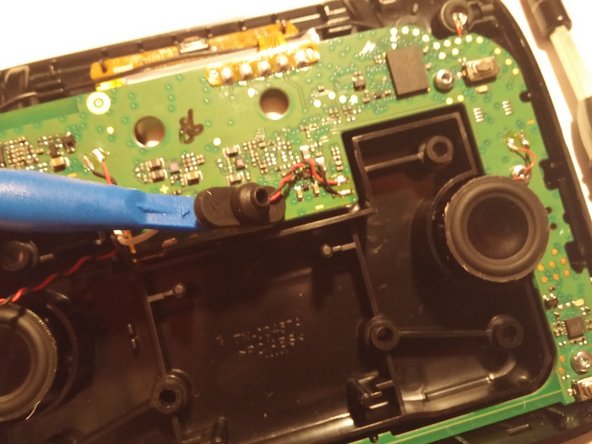
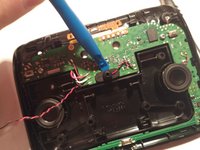
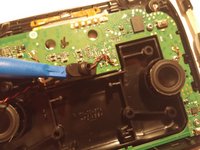
Use the plastic opening tool to lift the motion detector off the circuit board.
-
-
-
-
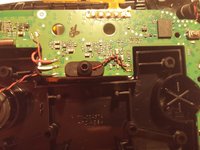
Desolder the two wires connecting the motion detector to the circuit board.
-
Please refer to the soldering technique guide for instructions on desoldering and soldering.
-
-







To reassemble your device, follow these instructions in reverse order.

Team

UMass Dartmouth, Team 4-8, Catania Fall 2016 Member of UMass Dartmouth, Team 4-8, Catania Fall 2016
UMASSD-CATANIA-F16S4G8
2 Members
72 Guides authored
1 Guide Comment
Based on my limited experience with this device, the component being replaced here is the primary microphone - not the motion detector as claimed. The other video showing replacement of the microphone is actually the secondary, or noise-cancelling microphone. I don’t know the exact components for the motion detector, but I’m quite sure that this is not that component.
