Free Shipping on Domestic Orders $75+

Jabra Freeway Antenna Replacement

What you need

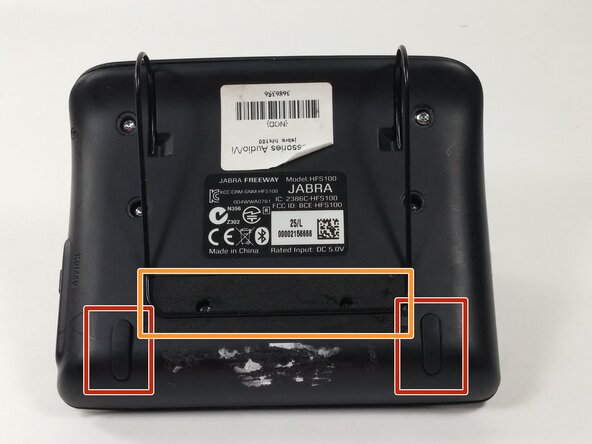
  1. Jabra Freeway Antenna Replacement, Front Panel: step 1, image 1 of 3 Jabra Freeway Antenna Replacement, Front Panel: step 1, image 2 of 3 Jabra Freeway Antenna Replacement, Front Panel: step 1, image 3 of 3
    • Turn off the device before proceeding. Failure to do so may result in device damage or injury to oneself.

    • Remove the rubber pads from the bottom of the device using the spudger.

    • Remove the foam tape covering 2 hidden screws from the back of the device.

    Ask FixBot

    Add Comment

  2. Jabra Freeway Antenna Replacement: step 2, image 1 of 3 Jabra Freeway Antenna Replacement: step 2, image 2 of 3 Jabra Freeway Antenna Replacement: step 2, image 3 of 3
    • Remove the eight 6mm T9 screws.

    • Two of these screws are underneath the foam padding. This padding is glued on and will be destroyed in this process. Poking through the foam minimizes the damage to the device.

    Ask FixBot

    Add Comment

  3. Jabra Freeway Antenna Replacement: step 3, image 1 of 3 Jabra Freeway Antenna Replacement: step 3, image 2 of 3 Jabra Freeway Antenna Replacement: step 3, image 3 of 3
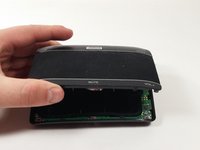
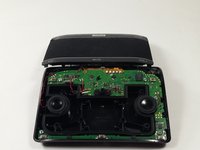
    • Gently lift the front panel off of the device and carefully rest it to the side.

    Ask FixBot

    Add Comment

  4. Jabra Freeway Antenna Replacement, Antenna: step 4, image 1 of 2 Jabra Freeway Antenna Replacement, Antenna: step 4, image 2 of 2
    Tool used on this step:
    Tweezers
    $4.99
    Buy
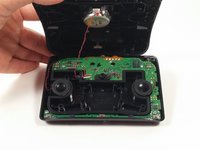
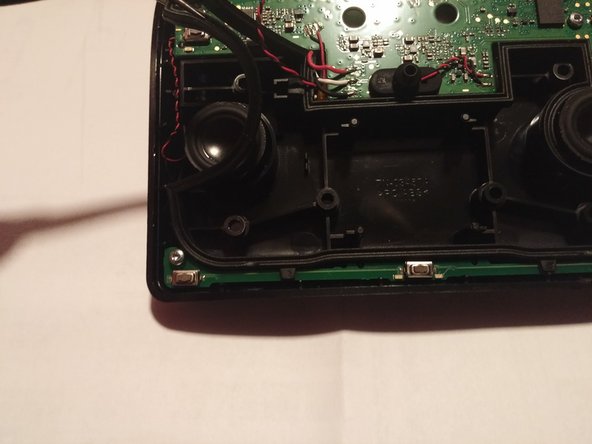
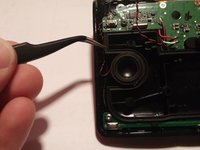
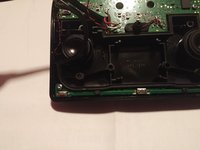
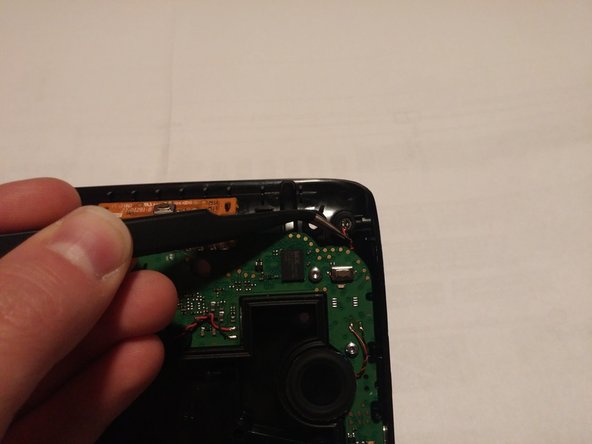
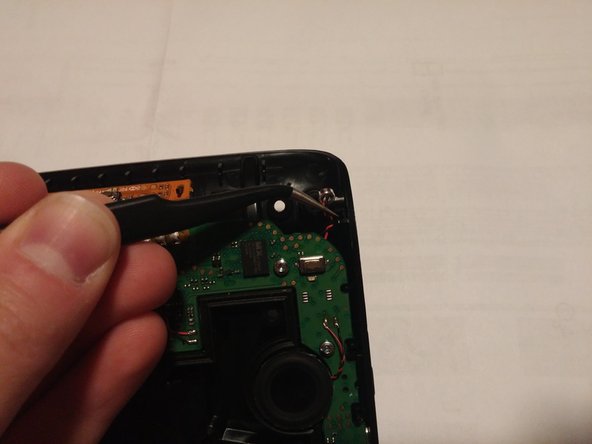
    • Carefully remove the rubber gasket using the tweezers.

    Ask FixBot

    Add Comment

  5. Jabra Freeway Antenna Replacement: step 5, image 1 of 2 Jabra Freeway Antenna Replacement: step 5, image 2 of 2
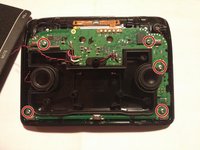
    • Remove the five 6mm T6 screws connecting the circuit board to the rear panel.

    Ask FixBot

    Add Comment

  6. Jabra Freeway Antenna Replacement: step 6, image 1 of 3 Jabra Freeway Antenna Replacement: step 6, image 2 of 3 Jabra Freeway Antenna Replacement: step 6, image 3 of 3
    • Remove the microphone from microphone slot using tweezers.

    Ask FixBot

    Add Comment

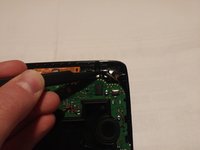
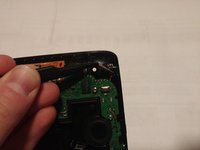
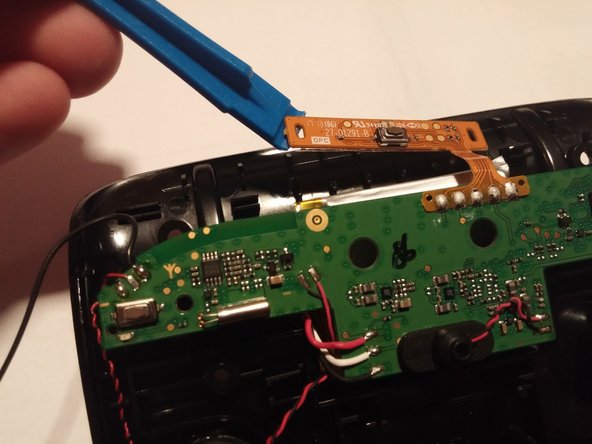
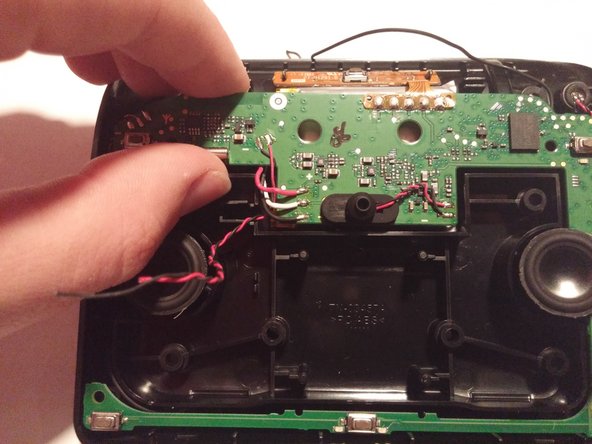
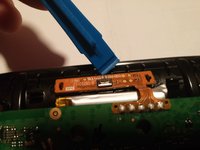
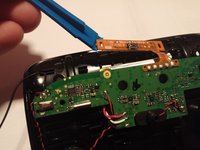
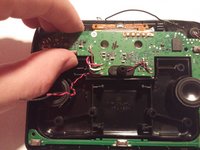
  7. Jabra Freeway Antenna Replacement: step 7, image 1 of 3 Jabra Freeway Antenna Replacement: step 7, image 2 of 3 Jabra Freeway Antenna Replacement: step 7, image 3 of 3
    • Excessive force may cause the circuit board to break, destroying the device.

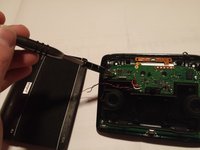
    • Carefully use the plastic opening tool to lift the circuit board up.

    • The orange portion of the circuit board is glued into place, and a small amount of force is necessary to break it free from the adhesive.

    Ask FixBot

    Add Comment

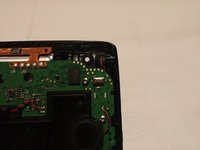
  8. Jabra Freeway Antenna Replacement: step 8, image 1 of 2 Jabra Freeway Antenna Replacement: step 8, image 2 of 2
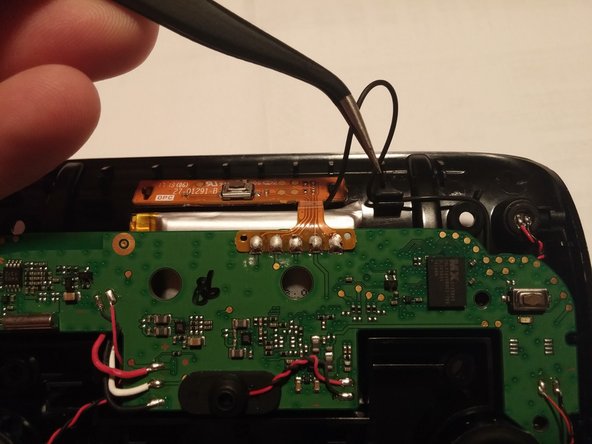
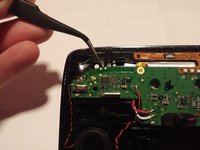
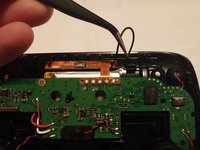
    • Use the tweezers to remove the antenna from the retaining clips.

    Ask FixBot

    Add Comment

  9. Jabra Freeway Antenna Replacement: step 9, image 1 of 1
    • Desolder the antenna wire from the circuit board.

    • Please refer to the soldering technique guide for instructions on desoldering and soldering.

    Ask FixBot

    Add Comment

Conclusion

To reassemble your device, follow these instructions in reverse order.

Cancel: I did not complete this guide.

Alec Wilson

Member since: 10/19/16

741 Reputation

5 Guides authored

Team

UMass Dartmouth, Team 4-8, Catania Fall 2016 Member of UMass Dartmouth, Team 4-8, Catania Fall 2016

UMASSD-CATANIA-F16S4G8

2 Members

6 Guides authored

0 Guide Comments

Add Comment

View Statistics:

Past 24 Hours: 0

Past 7 Days: 10

Past 30 Days: 37

All Time: 1,121