Introduction
The LCD Screen on the GR-D93U is where the viewer can see the video that is being recorded and is where the playback is displayed. It is important to have the screen and can be frustrating if the screen is cracked or won't display content. The process of replacing the screens involves unscrewing a lot of screws so have a place that you will be able to keep the screws.
What you need
-
-
-
Unscrew 3 mm Phillips #0 screws around the LCD Screen. You will have to turn the screen to get the screws on the bottom of the screen.
 Ask FixBot
-
-
-
-
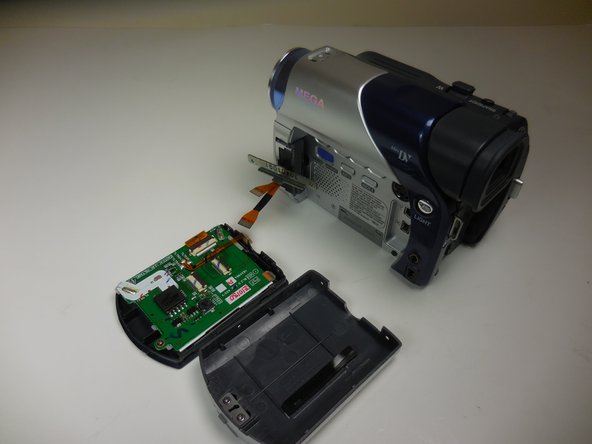
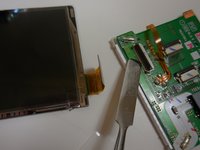
Carefully remove the wires connected to the screen from the black box. Now you will be able to separate the screen from the camera.
-
-
-
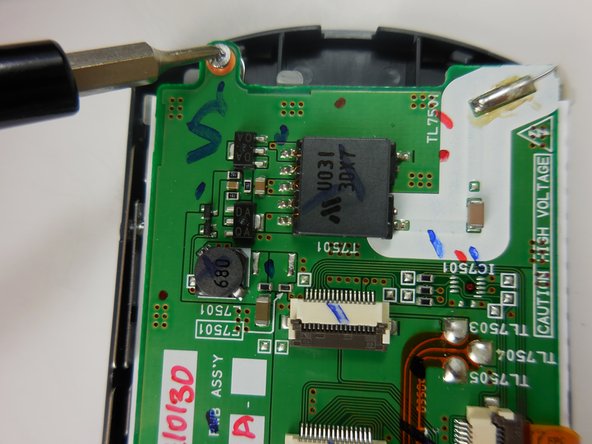
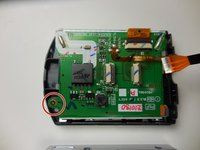
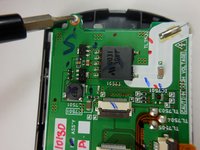
Unscrew the 5 mm Phillips #0 screw that is connecting the screen to the plastic casing.
-
-
-
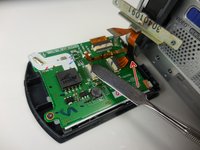
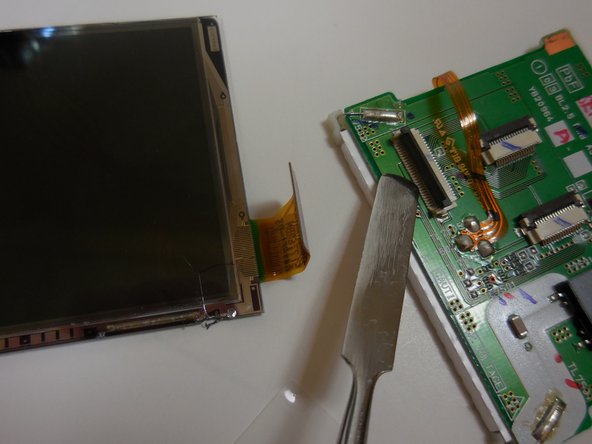
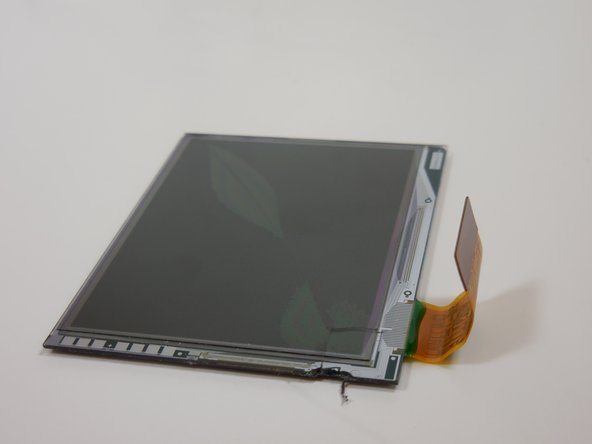
You can now take out the screen to be replaced. Carefully remove cables from the data board.
-
-




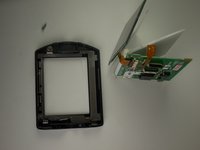
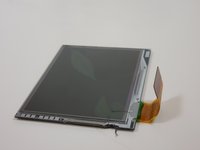
To reassemble your device, follow these instructions in reverse order.
Cancel: I did not complete this guide.
2 other people completed this guide.

Team

Colorado Springs, Team 1-5, May Spring 2015 Member of Colorado Springs, Team 1-5, May Spring 2015
UCCS-MAY-S15S1G5
4 Members
36 Guides authored
