Free Shipping on Domestic Orders $75+

JVC GR-D72U LED Light Replacement

What you need

  1. JVC GR-D72U LED Light Replacement, Battery: step 1, image 1 of 2 JVC GR-D72U LED Light Replacement, Battery: step 1, image 2 of 2
    • Locate button on bottom of camera.

    • Slide button to the right.

    Ask FixBot
    Add Comment

  2. JVC GR-D72U LED Light Replacement: step 2, image 1 of 1
    • Pull the battery towards the bottom of the camcorder while lifting battery .

    Ask FixBot
    Add Comment

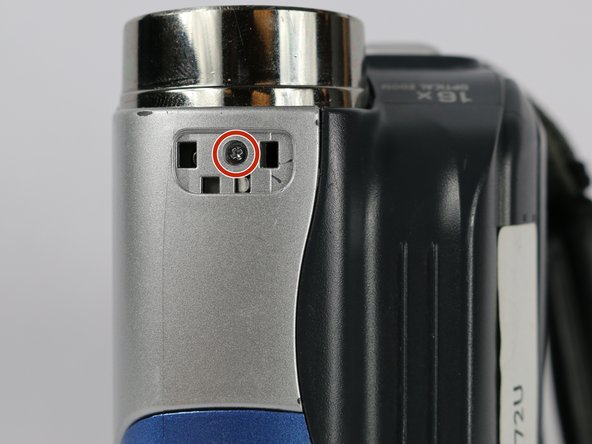
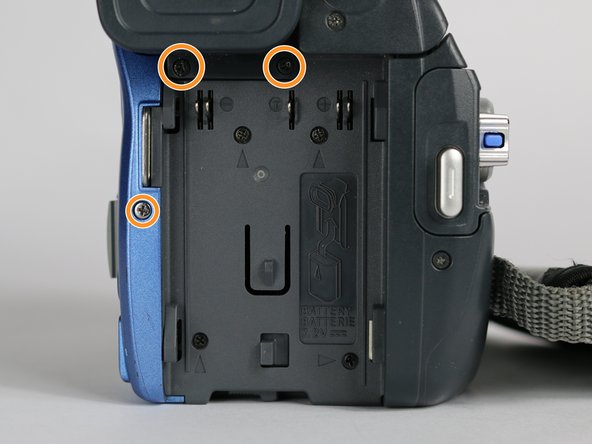
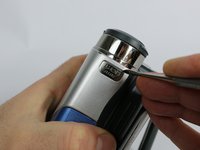
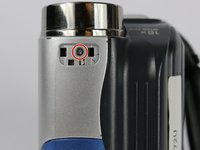
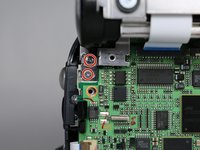
  3. JVC GR-D72U LED Light Replacement, Lateral Function Port Panel: step 3, image 1 of 3 JVC GR-D72U LED Light Replacement, Lateral Function Port Panel: step 3, image 2 of 3 JVC GR-D72U LED Light Replacement, Lateral Function Port Panel: step 3, image 3 of 3
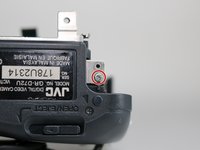
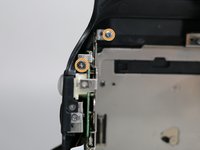
    • Remove silver plate that says “Auto Light” on the top of the camera using a metal spudger.

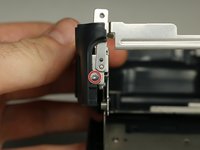
    • Remove the 3.1 mm screw.

    • Remove the three 5.3 mm screws from the back of the camera.

    Ask FixBot
    Add Comment

  4. JVC GR-D72U LED Light Replacement: step 4, image 1 of 1
    • From the bottom of the camera remove the following four screws:

    • 5.3 mm

    • 3.1 mm

    • 5.1 mm

    • 3.5 mm

    Ask FixBot

    Add Comment

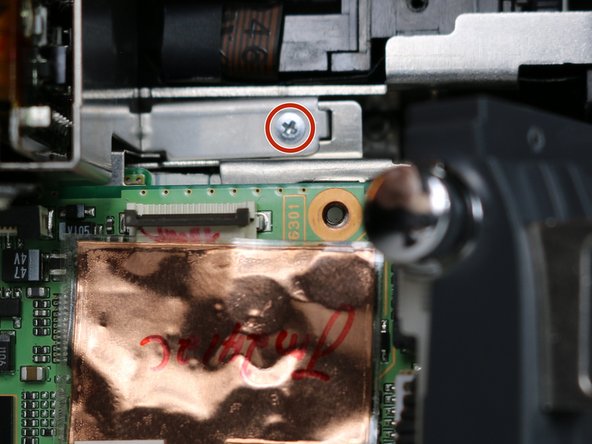
  5. JVC GR-D72U LED Light Replacement: step 5, image 1 of 1
    • Use the small plastic opening tool to remove the blue side cover piece.

    Ask FixBot
    Add Comment

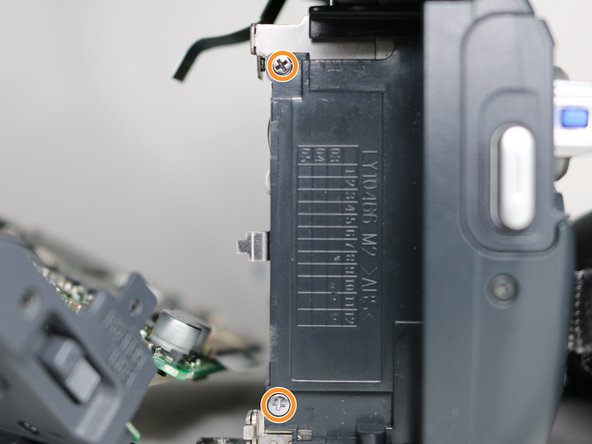
  6. JVC GR-D72U LED Light Replacement: step 6, image 1 of 1
    • Remove the 3.1 mm screw on top of the camera, closest to the LCD monitor.

    • Remove the 5.4 mm screw next to the snapshot button.

    Ask FixBot
    Add Comment

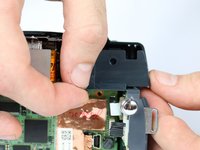
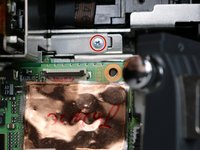
  7. JVC GR-D72U LED Light Replacement: step 7, image 1 of 1
    • Remove the 3.1 mm screw next to the USB and DV inputs.

    Ask FixBot
    Add Comment

  8. JVC GR-D72U LED Light Replacement: step 8, image 1 of 1
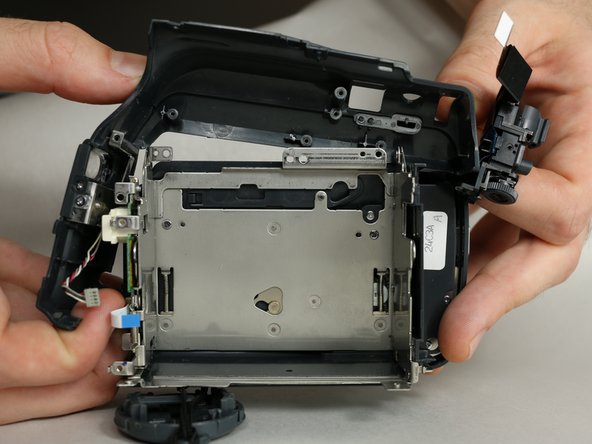
    • Gently pull apart both halves of the camera to reveal the inner components.

    Ask FixBot
    Add Comment

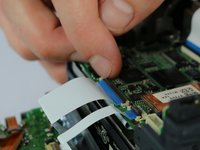
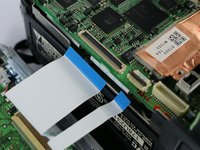
  9. JVC GR-D72U LED Light Replacement: step 9, image 1 of 3 JVC GR-D72U LED Light Replacement: step 9, image 2 of 3 JVC GR-D72U LED Light Replacement: step 9, image 3 of 3
    Tool used on this step:
    Tweezers
    $4.99
    Buy
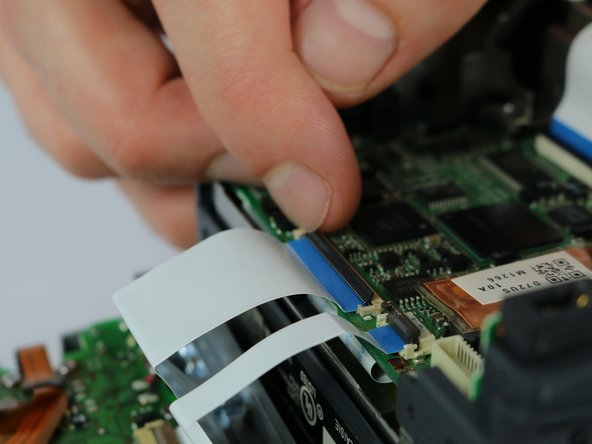
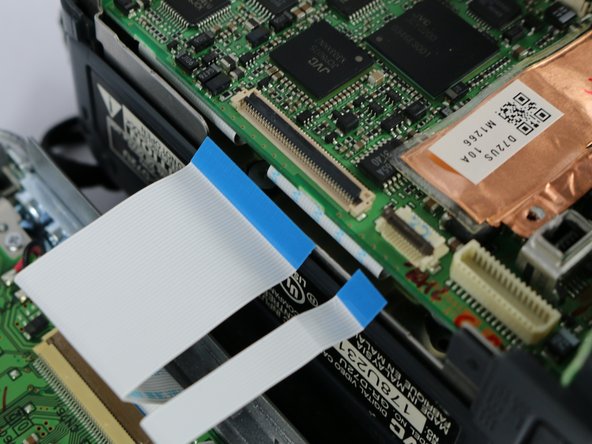
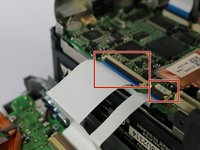
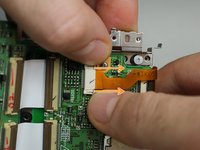
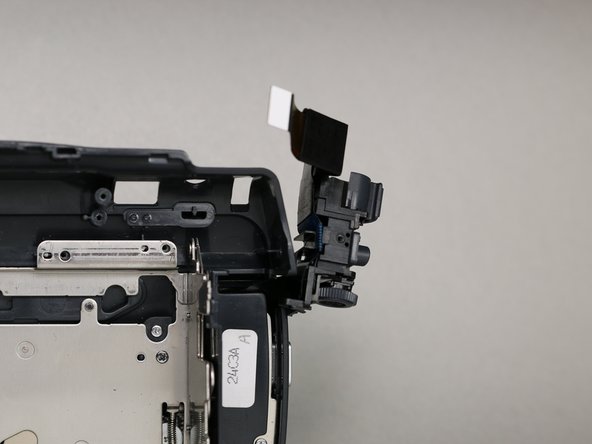
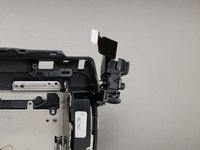
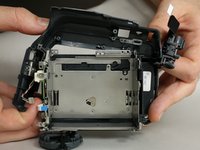
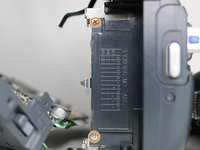
    • Flip the cable locks to the up-position and pull both cables connecting the lateral function port panel to the rest of the camera.

    • Insert the cables from the new port panel into their inputs and flip the locks to the down position.

    • It is easier to use tweezers when inserting the cable but not required.

    Ask FixBot
    Add Comment

  10. JVC GR-D72U LED Light Replacement, Cassette Holder: step 10, image 1 of 1
    • From the inside of the camera remove these six screws.

    • 3.3 mm

    • 3.6 mm

    • 3.1 mm

    • 4.3 mm

    • 4.3 mm

    • 3.7 mm

    Ask FixBot

    Add Comment
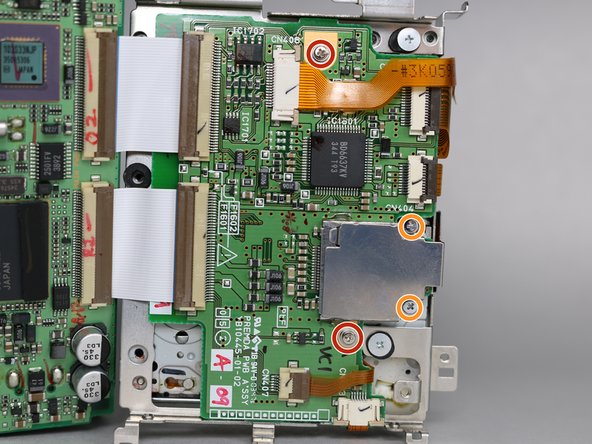
  11. JVC GR-D72U LED Light Replacement: step 11, image 1 of 1
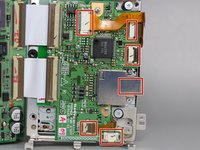
    • Unplug the three cables from the circuit board.

    Ask FixBot

    Add Comment

  12. JVC GR-D72U LED Light Replacement: step 12, image 1 of 3 JVC GR-D72U LED Light Replacement: step 12, image 2 of 3 JVC GR-D72U LED Light Replacement: step 12, image 3 of 3
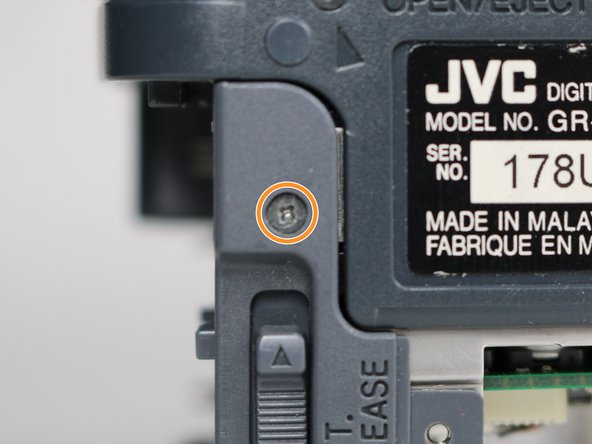
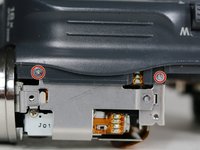
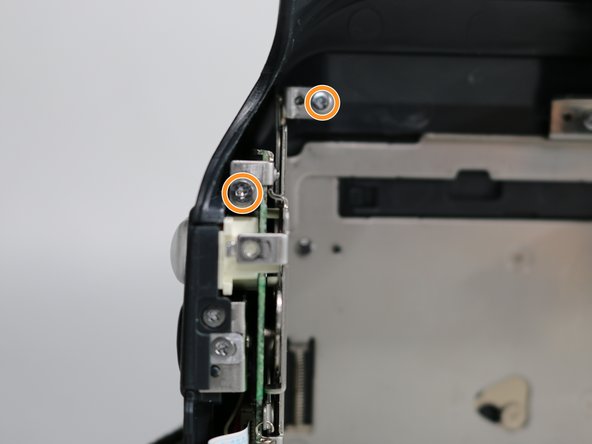
    • From the top of the camera remove the two 3.1 mm screws securing the lens to the camera frame.

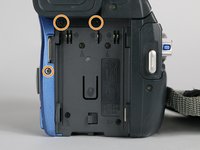
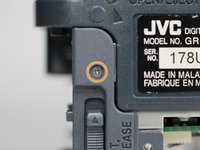
    • From the bottom of the camera remove the 3.2 mm screw next to the battery release switch.

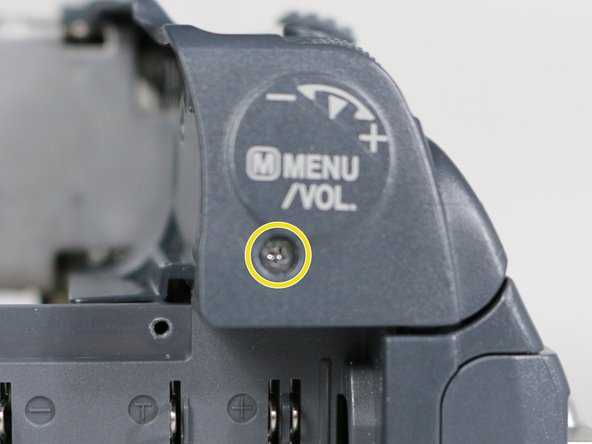
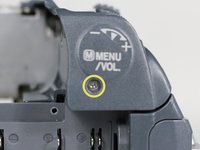
    • Remove the 9.1 mm screw next to the menu and volume control label.

    Ask FixBot

    Add Comment

  13. JVC GR-D72U LED Light Replacement: step 13, image 1 of 2 JVC GR-D72U LED Light Replacement: step 13, image 2 of 2
    • Remove the lens cap housing.

    • Remove the two 3.1 mm screws from the inside of the camera.

    Ask FixBot

    Add Comment

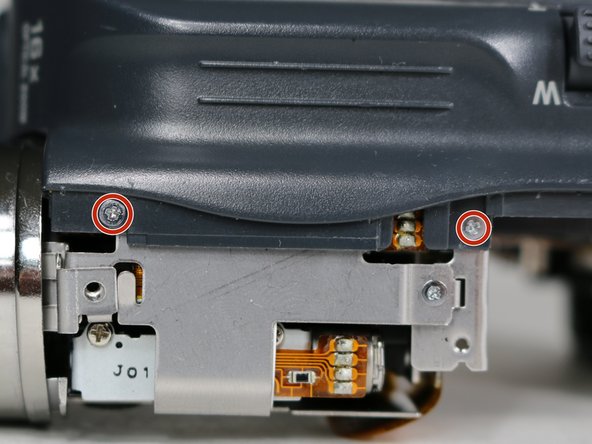
  14. JVC GR-D72U LED Light Replacement: step 14, image 1 of 3 JVC GR-D72U LED Light Replacement: step 14, image 2 of 3 JVC GR-D72U LED Light Replacement: step 14, image 3 of 3
    • Remove the plastic cover piece next to the silver light button.

    • Remove the 3.1 mm screw securing the lens to the circuit board.

    • Remove the two 3.3 mm screws from underneath the battery port.

    Ask FixBot

    Add Comment

  15. JVC GR-D72U LED Light Replacement: step 15, image 1 of 2 JVC GR-D72U LED Light Replacement: step 15, image 2 of 2
    • Take the cassette holder and circuit board by lifting it out of the camera frame.

    • Remove the two 3.6 mm screws.

    • Remove the two 1.8 mm screws then the plate.

    • If you are following this guide to replace the LED light or microphone you do not need to follow this step or the next step.

    Ask FixBot

    Add Comment

  16. JVC GR-D72U LED Light Replacement: step 16, image 1 of 3 JVC GR-D72U LED Light Replacement: step 16, image 2 of 3 JVC GR-D72U LED Light Replacement: step 16, image 3 of 3
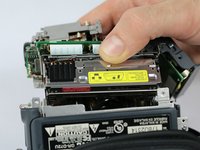
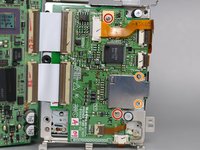
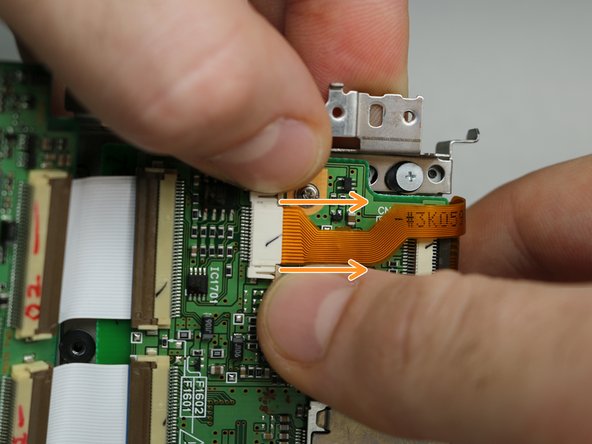
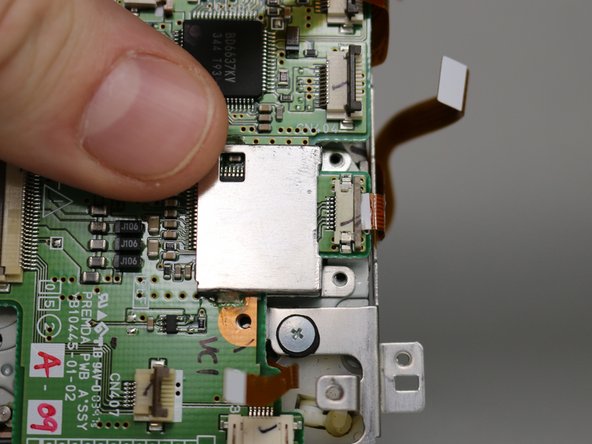
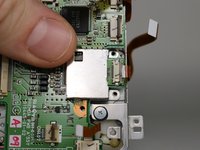
    • Remove the six cables (one is underneath the metal plate) connecting the cassette holder to the circuit board.

    • To unplug two of the cables you must first pull the lock tabs out (towards the cable) then remove the cable.

    Ask FixBot

    Add Comment

  17. JVC GR-D72U LED Light Replacement, LED Light: step 17, image 1 of 1
    • Remove the three screws securing the microphone housing and camera operation buttons to the frame with the following sizes:

    • 4.3 mm

    • 3.1 mm

    • 4.2 mm

    Ask FixBot

    Add Comment

  18. JVC GR-D72U LED Light Replacement: step 18, image 1 of 2 JVC GR-D72U LED Light Replacement: step 18, image 2 of 2
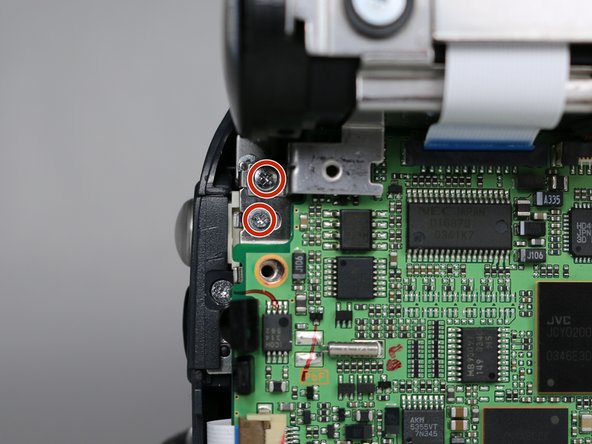
    • Remove the 4.3 mm screw on the bottom of the camera frame.

    • Remove the two 4.3 mm screws above the LED securing the microphone housing to the frame.

    Ask FixBot

    Add Comment

  19. JVC GR-D72U LED Light Replacement: step 19, image 1 of 3 JVC GR-D72U LED Light Replacement: step 19, image 2 of 3 JVC GR-D72U LED Light Replacement: step 19, image 3 of 3
    • Open the cassette holder to reveal a 2.4 mm screw on the bottom of the camera and remove it.

    • Make sure the camera operation buttons are positioned completely outside of the camera frame.

    • Gently lift the microphone housing from the front-bottom side of the camera and remove it from the frame.

    Ask FixBot

    Add Comment

  20. JVC GR-D72U LED Light Replacement: step 20, image 1 of 2 JVC GR-D72U LED Light Replacement: step 20, image 2 of 2
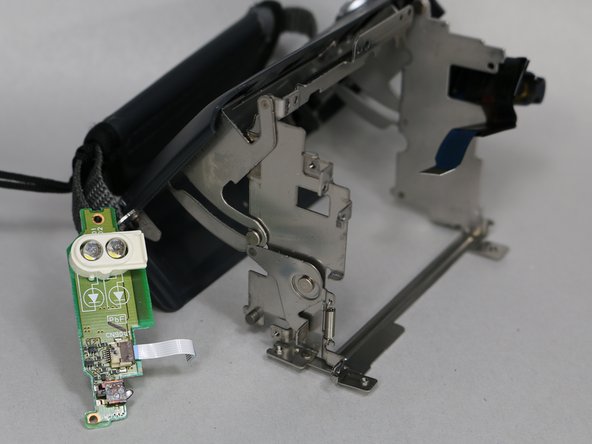
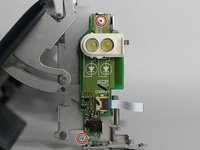
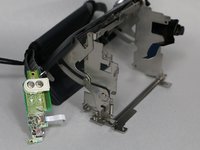
    • Remove the two 2.3 mm screws holding down the LED chip and remove the chip.

    • Ignore this step if you are following this guide for the microphone.

    Ask FixBot

    Add Comment

Conclusion

To reassemble your device, follow these instructions in reverse order.

Cancel: I did not complete this guide.

One other person completed this guide.

Jonah Powers

Member since: 09/28/17

437 Reputation

4 Guides authored

Team

USF Tampa, Team S2-G2, Nance Fall 2017 Member of USF Tampa, Team S2-G2, Nance Fall 2017

USFT-NANCE-F17S2G2

4 Members

5 Guides authored

0 Guide Comments

Add Comment

View Statistics:

Past 24 Hours: 0

Past 7 Days: 3

Past 30 Days: 28

All Time: 476