
JVC GR-D290U LCD Screen Replacement

justin chen and 14 other contributors
Last updated on Dec 22, 2021
Views: 5.9K
View statistics:
- Past 24 Hours:
- 2
- Past 7 Days:
- 23
- Past 30 Days:
- 115
- All Time:
- 5,938
Comments: 0
No one has left comments on this guide. Will you be first?
Go to guide commentsCompleted: 0 1
No one has marked this guide "completed." Will you be the first?
1 person has marked this guide "completed." It's you — great job!
Favorites: 1 2
1 person has favorited (and subscribed to) this guide. Will you be next?
2 people have favorited (and subscribed to) this guide — including you!
Needs Better Images
Better photos will improve this guide. Help out by taking, editing, or uploading new ones!
Better Introduction
Improve this guide by completing or revising its introduction.
Introduction
Go to step 1 ↓This is a step-by-step guide to replace an LCD screen in a JVC GR-D290U camera.
What you need
Tools


-
-
-
Remove the camera battery. (Not shown.)
-
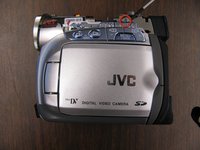
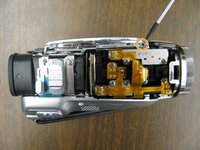
Remove the 2 screws connecting the back plate to the camera base.
 Ask FixBot
-
-
-
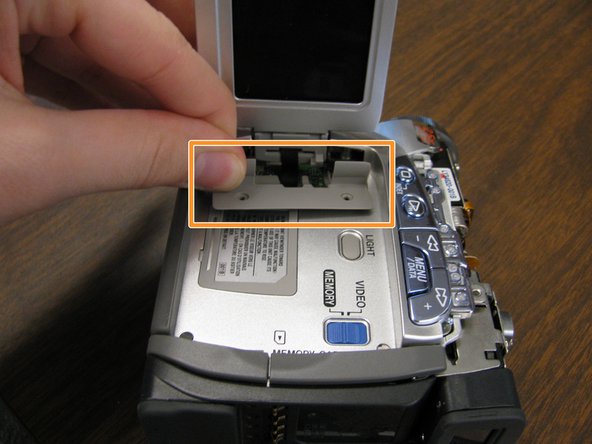
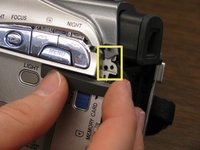
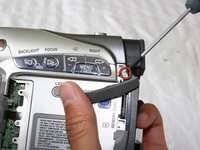
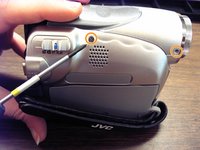
Lift up the dark gray tab on the LCD side of the camera and move it aside.
-
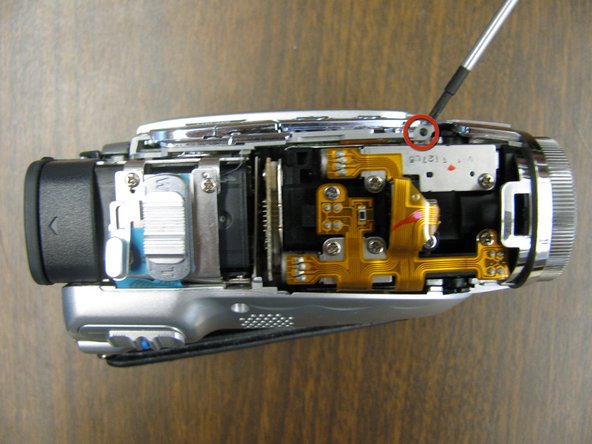
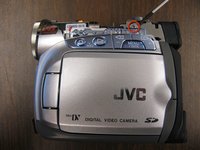
Remove the screw under the dark gray tab and then replace the tab.
-
-
-
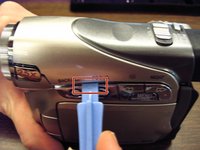
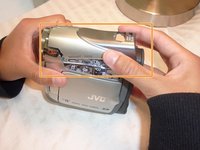
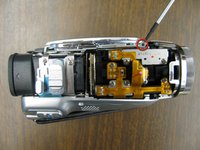
Place a plastic opening tool under the seam of the camera top cover and unsnap the cover.
-
Pull the top cover off of the camera base and set aside.
-
-
-
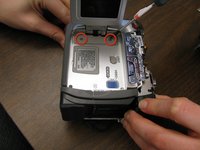
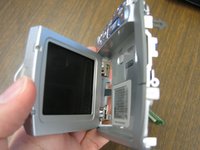
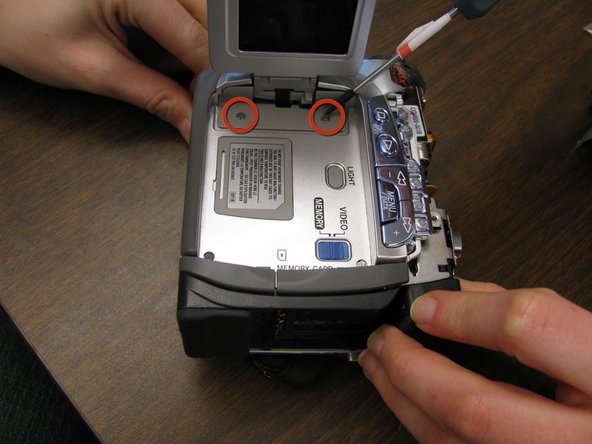
Open the LCD screen and remove the 2 screws at the hinge of the screen.
-
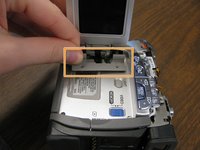
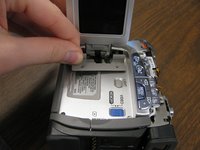
Remove the plastic hinge cover from the camera base.
-
Close the LCD screen when finished.
-
-
-
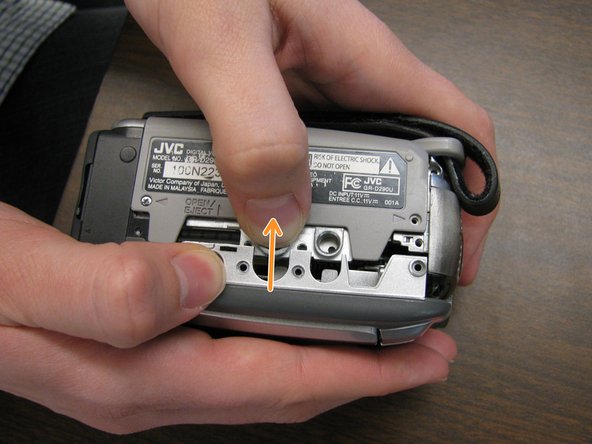
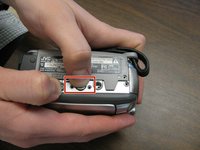
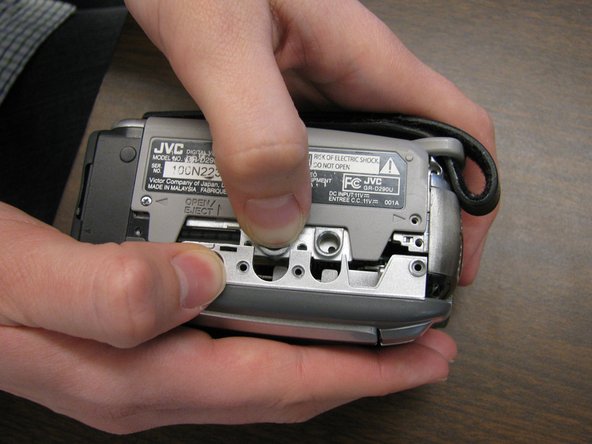
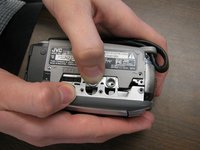
Start from the bottom of the camera. Press and hold the eject button with one hand.
-
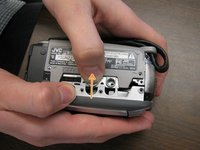
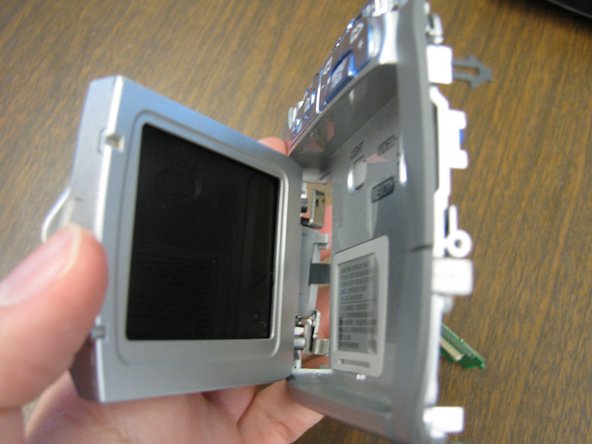
Use your other hand to pry the LCD screen cover from the base. Leave the labeled side closed.
-
-
-
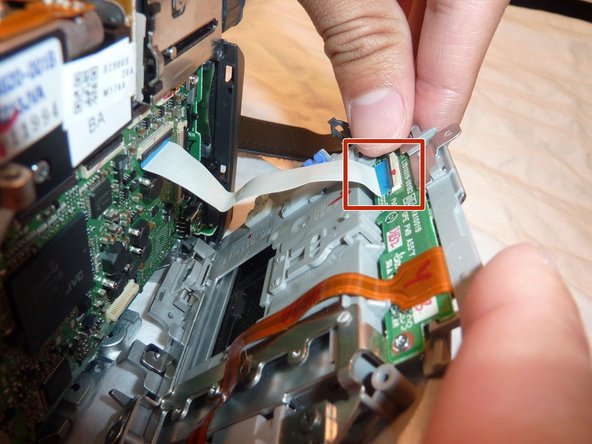
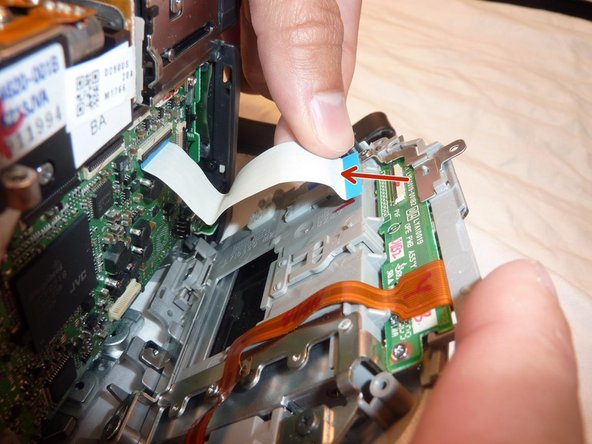
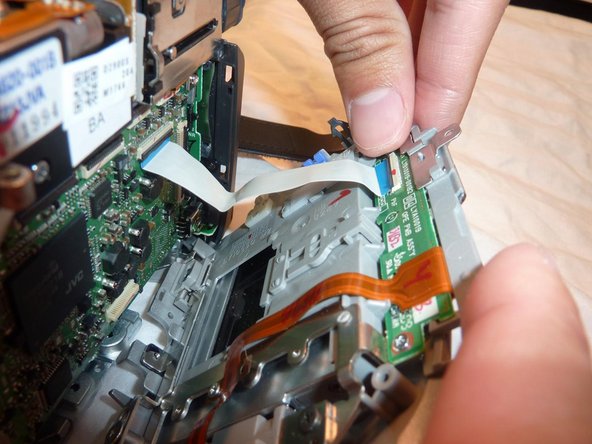
Detach the white tab from the LCD screen side of the camera by gently tugging at the base of the tab.
-
Put the larger camera base aside.
-
-
-
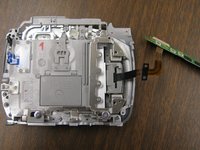
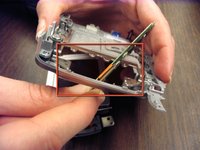
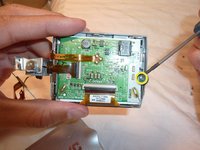
Remove the L-shaped metal piece from the upper left-hand corner of the circuit board.
-
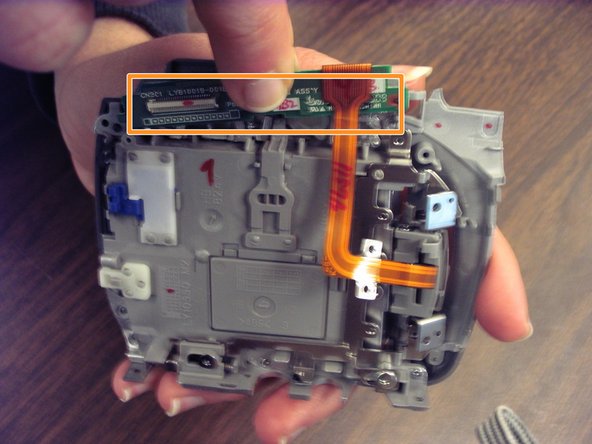
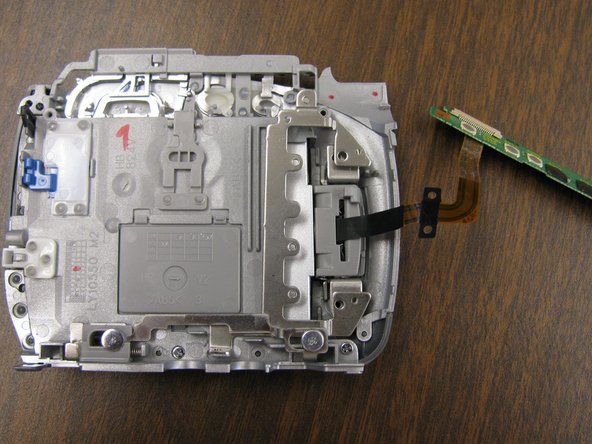
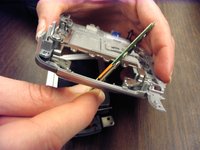
Remove the circuit board from the cover piece and move it aside with the orange band intact.
-
-
-
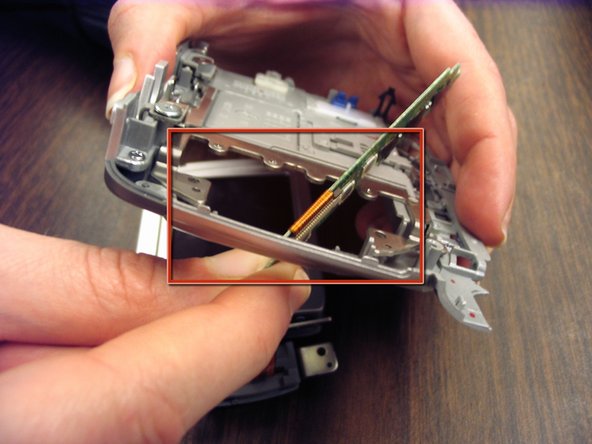
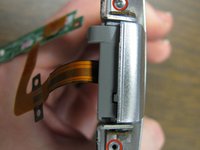
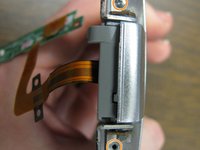
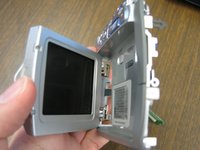
Open the LCD screen and carefully pull the circuit board through the empty hinge space.
-
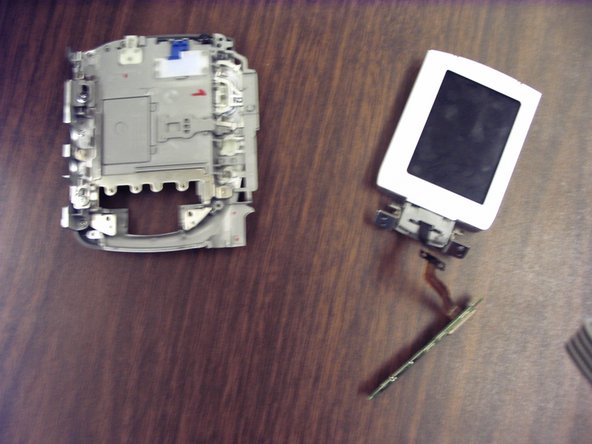
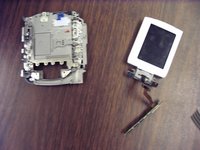
Set aside the larger LCD panel.
-
-
-
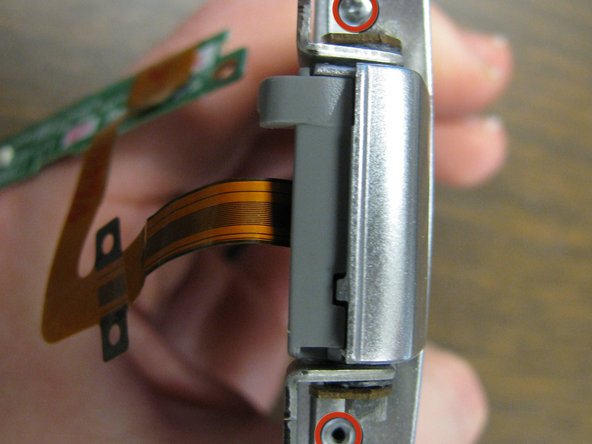
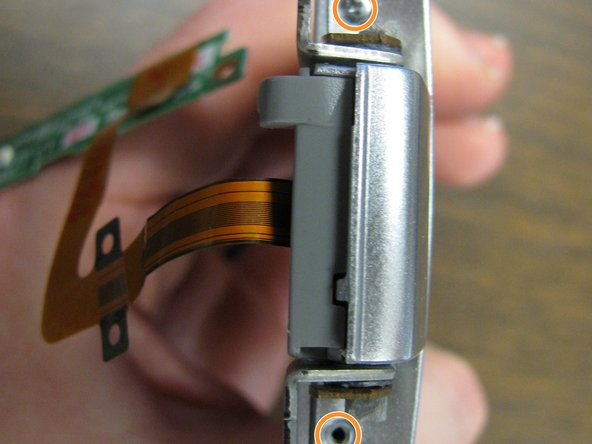
Remove the 2 screws on the hinge side of the LCD screen.
-
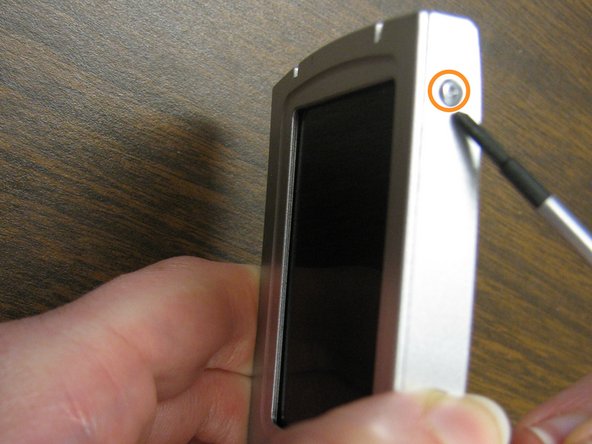
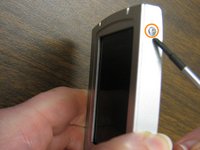
Remove the screw at side of the LCD screen.
-
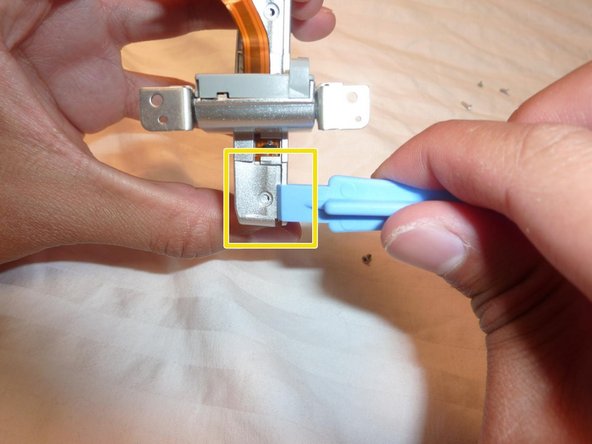
Pull it open with a plastic opening tool and pry it apart.
-
-
-
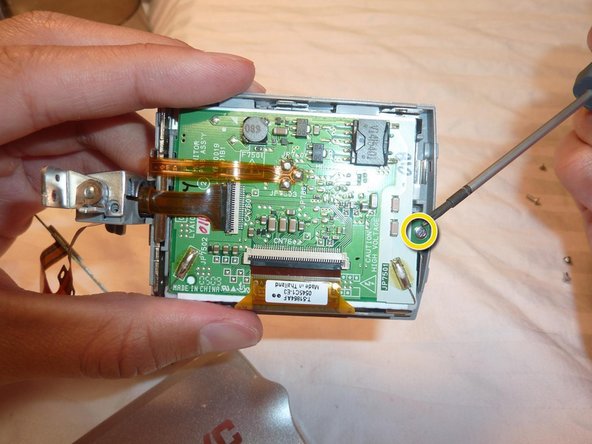
Remove the screw in the circuit board.
-
Pull the LCD screen pack from the frame with the circuit board on top.
-
Detach the LCD screen by firmly grasping the copper tab and gently tugging until the latch unsnaps.
-
-
-
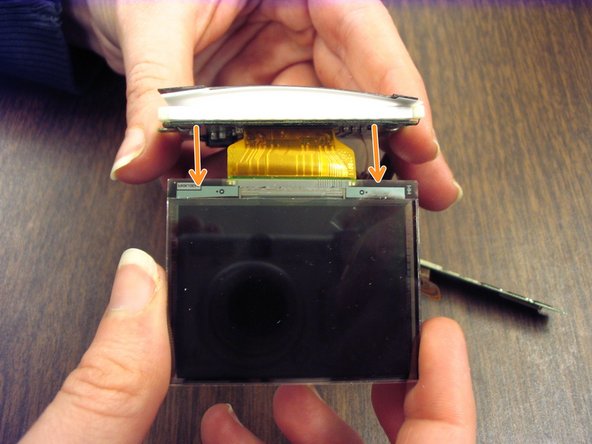
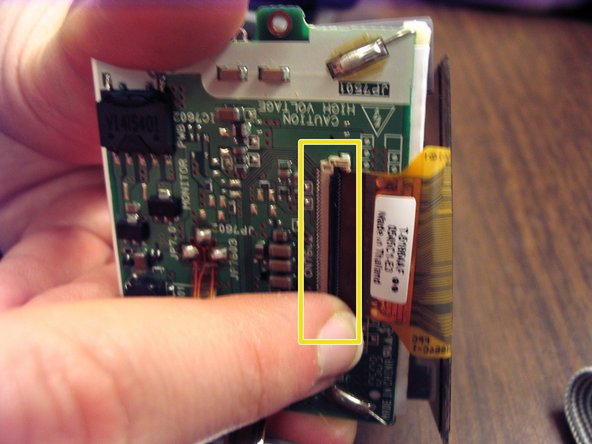
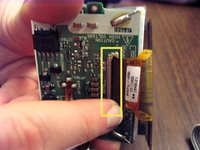
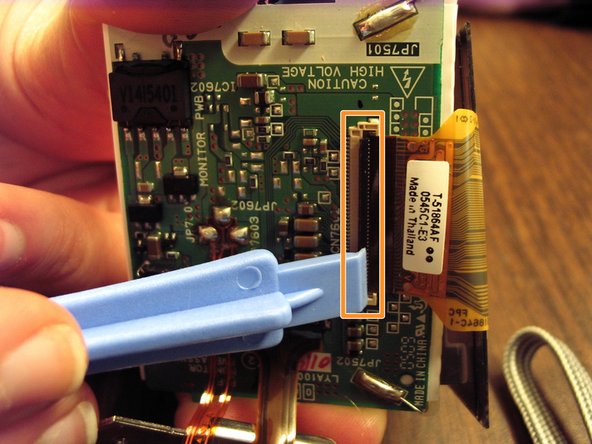
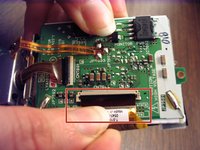
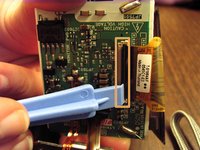
Connect the new LCD screen by fitting in the copper attachment site to the thin, black clasp on the circuit board.
-
Fold over the black clasp and snap it into place.
-
-
-
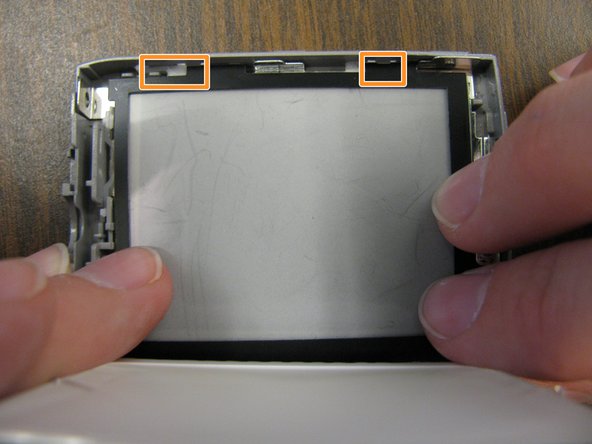
Put the LCD screen into the silver frame and make sure it lies flat. It should line up with the two white plastic brackets.
-
Place the black film frame lined up with the white film into the silver frame. Both should be held in place by tabs.
-
Place the circuit board over the film layers.
-
Screw in the circuit board to the frame.
-
Double-check that the LCD screen lies flat in its frame and reinsert the circuit board screw.
-
-
-
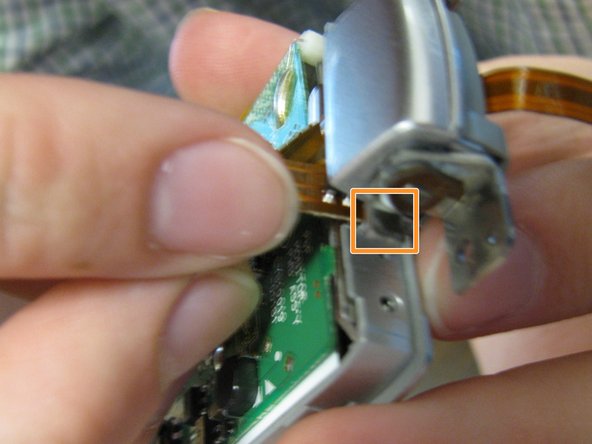
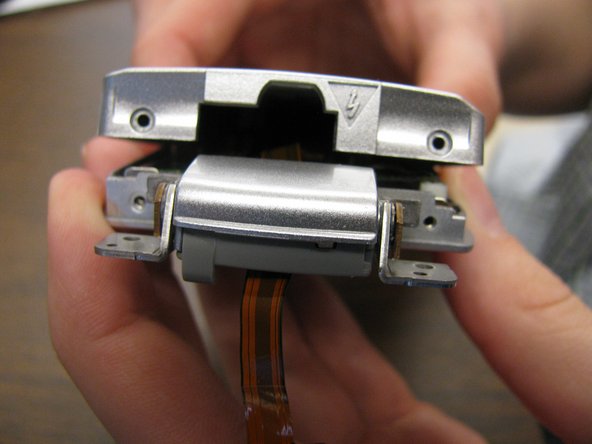
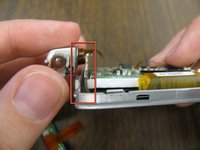
Before reattaching the LCD screen lid, make sure the silver hinge piece is inserted in the slot next to the circuit board.
-
Replace the loose orange band in the slot on the hinge side of the LCD screen.
-
Snap the LCD screen lid back in place starting at the side opposite the hinge.
-
-
-
-
Reinsert the shortest of the 3 screws on the top of the screen cover opposite of the hinge.
-
Reinsert the 2 remaining screws on the hinge side of the LCD screen.
-
-
-
Place the loose circuit board back through the empty hinge space.
-
Line up the LCD screen in slot on the camera base and snap it into place.
-
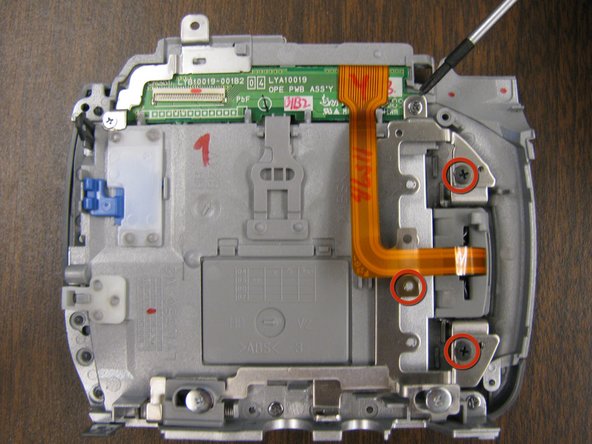
Reinsert the 3 screws along the orange band to hold the LCD screen onto the entire panel.
-
-
-
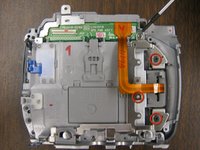
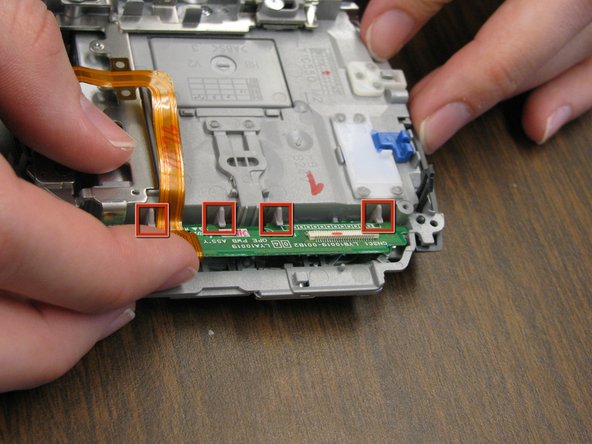
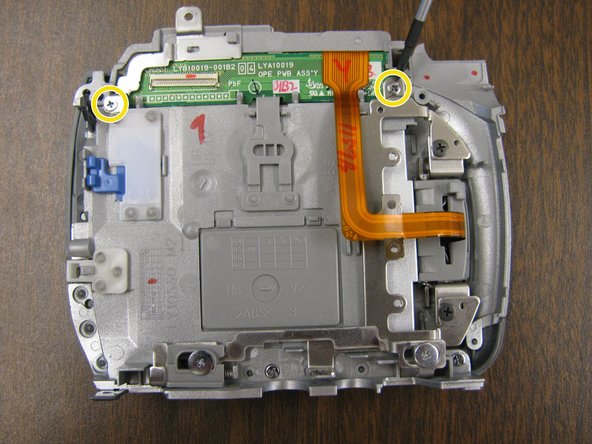
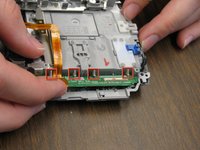
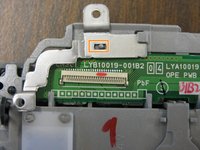
Reinsert the circuit board into the slot. Make sure to lock it securely under the tabs.
-
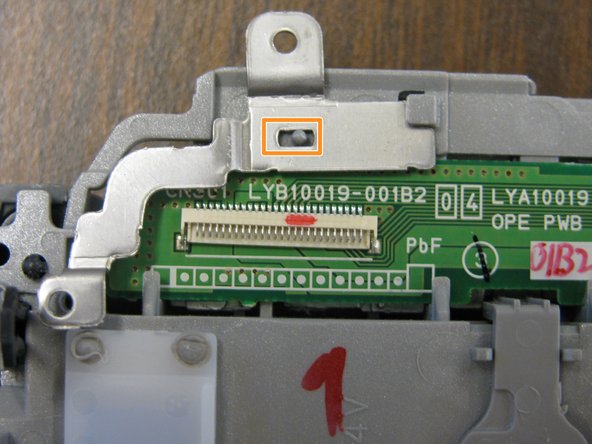
Reinsert the L-shaped metal piece into its slot. Line it up with the screw hole and the protruding place holder.
-
Reinsert the 2 screws in the circuit board with the longer screw holding the L-shaped metal piece in place.
-
-
-
Reattach the white tab by placing it under the thin, black slot and snap it back into place.
-
Carefully line up the bottom of the LCD panel and the camera base, then snap it back into place.
-
-
-
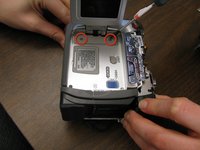
Reinsert the LCD screen hinge and screw in the 2 screws to hold it in place
-
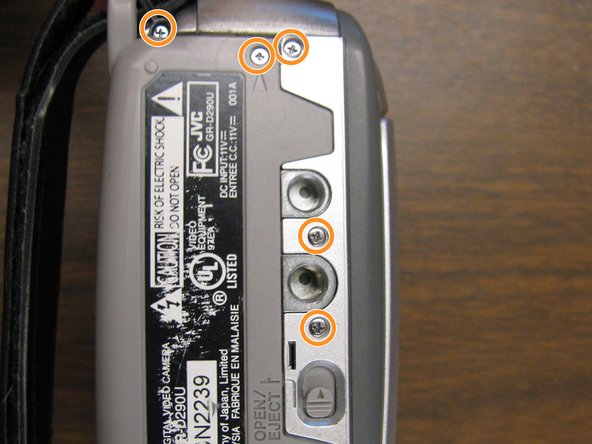
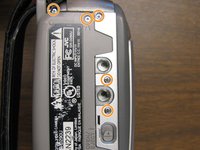
Reinsert the 5 screws on the bottom panel of the camera. The shortest screw needs to be put into the hole with the arrow pointing to it.
-
-
-
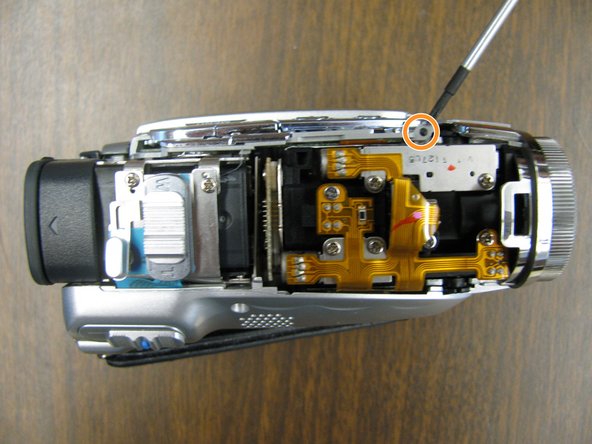
Reinsert the 2 screws under the top cover of the LCD side of the camera.
-
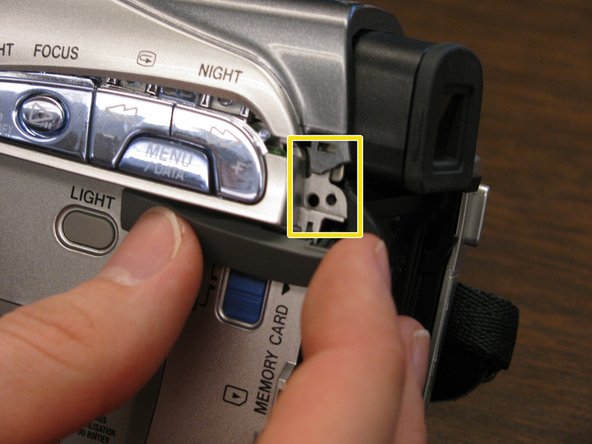
Move the dark grey tab to ensure that the top cover is not damaged.
-
Line up the top cover on the camera base and then snap it back into place.
-
-
-
Reinsert the screw under the dark, grey tab on the LCD side of the camera and replace tab.
-
Reinsert the 2 screws on the side of the camera opposite of the LCD screen.
-
-























Team

Cal Poly, Team 18-69, Johann Spring 2010 Member of Cal Poly, Team 18-69, Johann Spring 2010
CPSU-JOHANN-S10S18G69
4 Members
36 Guides authored
