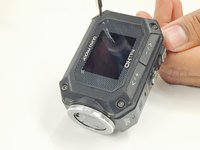
Free Shipping on Domestic Orders $75+

JVC Adixxion GC-XA1BU LCD Screen Replacement

What you need

  1. JVC Adixxion GC-XA1BU LCD Screen Replacement, Battery: step 1, image 1 of 1
    • Find the side of the camera with the black switch shown.

    Ask FixBot
    Add Comment

  2. JVC Adixxion GC-XA1BU LCD Screen Replacement: step 2, image 1 of 1
    • Push down on the black switch.

    Ask FixBot
    Add Comment

  3. JVC Adixxion GC-XA1BU LCD Screen Replacement: step 3, image 1 of 1
    • Slide the battery cover back while pushing down on the black switch.

    Ask FixBot
    Add Comment

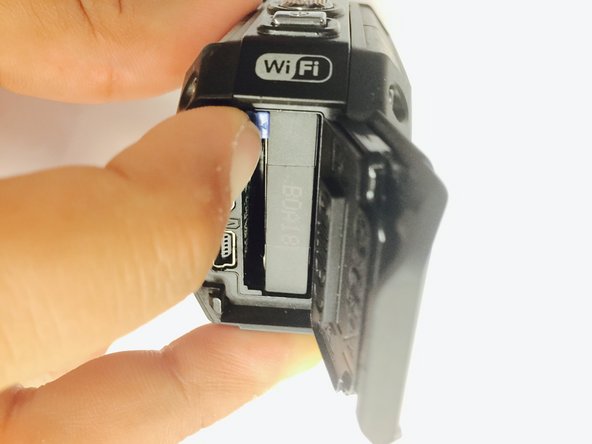
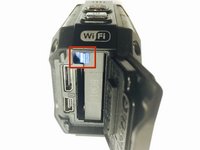
  4. JVC Adixxion GC-XA1BU LCD Screen Replacement: step 4, image 1 of 2 JVC Adixxion GC-XA1BU LCD Screen Replacement: step 4, image 2 of 2
    • Open the battery compartment and push the blue battery release switch.

    Ask FixBot
    Add Comment

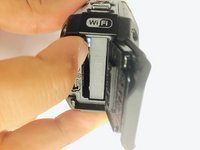
  5. JVC Adixxion GC-XA1BU LCD Screen Replacement: step 5, image 1 of 1
    • Remove the battery from the camera.

    Ask FixBot
    Add Comment

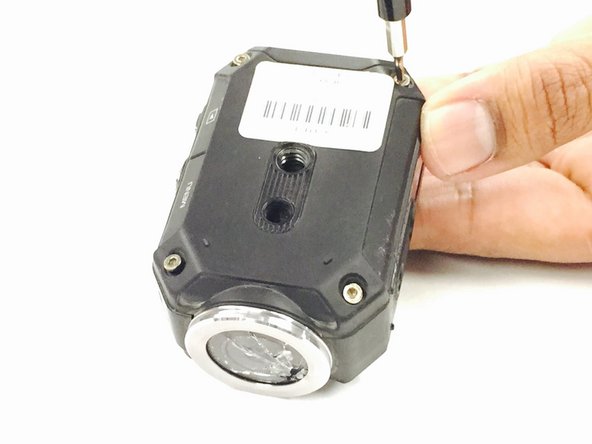
  6. JVC Adixxion GC-XA1BU LCD Screen Replacement, Battery Cover: step 6, image 1 of 1
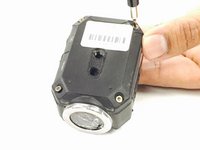
    • Remove the two Phillips screws (4mm x 3mm) using the Phillips #00 screwdriver.

    Ask FixBot

    Add Comment

  7. JVC Adixxion GC-XA1BU LCD Screen Replacement, LCD Cover: step 7, image 1 of 2 JVC Adixxion GC-XA1BU LCD Screen Replacement, LCD Cover: step 7, image 2 of 2
    • Remove the 8 screws (5mm x 4mm) from the corners of both the front and back of the camera (4 screws on each side) using the T6 Torx screwdriver.

    Ask FixBot
    Add Comment

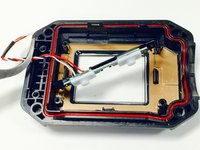
  8. JVC Adixxion GC-XA1BU LCD Screen Replacement: step 8, image 1 of 1
    • Carefully open the camera as shown and gently peel off the black cover tape.

    Ask FixBot
    Add Comment

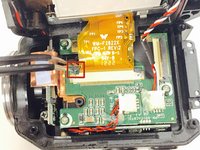
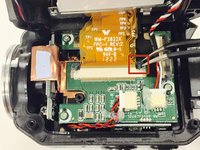
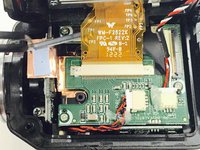
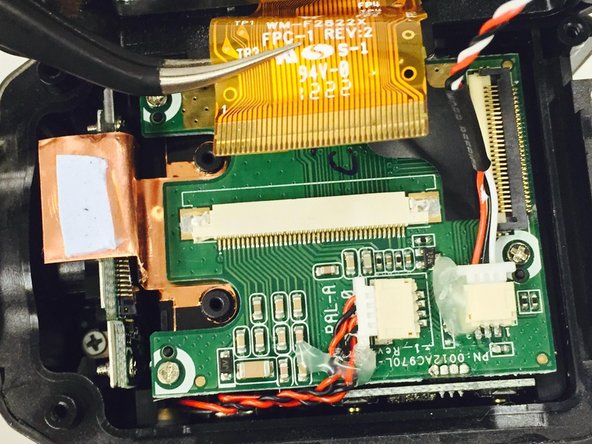
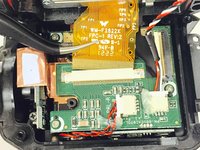
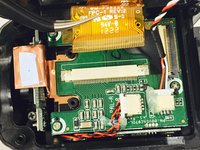
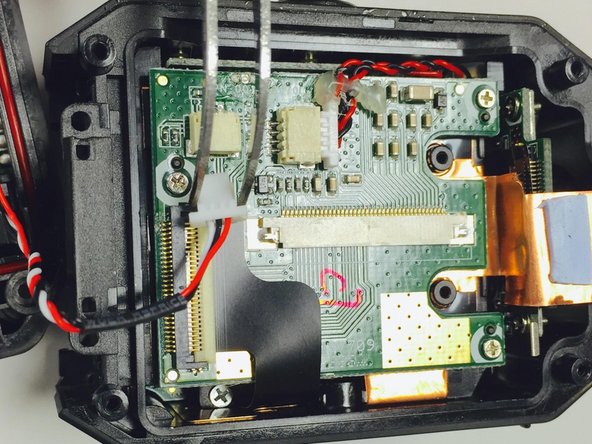
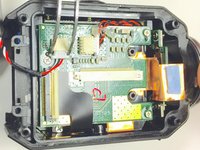
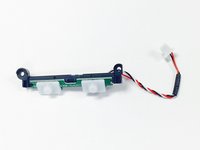
  9. JVC Adixxion GC-XA1BU LCD Screen Replacement: step 9, image 1 of 3 JVC Adixxion GC-XA1BU LCD Screen Replacement: step 9, image 2 of 3 JVC Adixxion GC-XA1BU LCD Screen Replacement: step 9, image 3 of 3
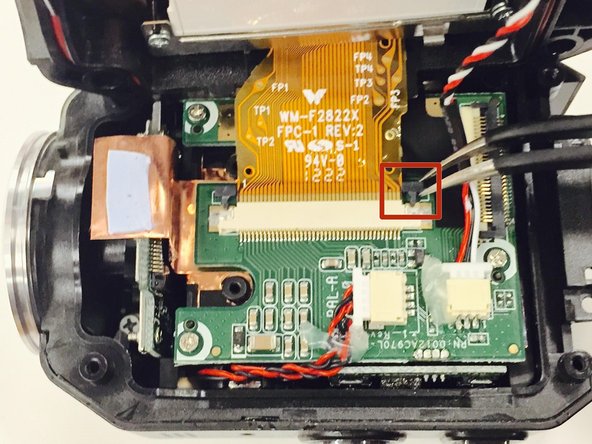
    • Carefully lift up and remove the cable ribbon clip using the tweezers.

    Ask FixBot
    Add Comment

  10. JVC Adixxion GC-XA1BU LCD Screen Replacement: step 10, image 1 of 2 JVC Adixxion GC-XA1BU LCD Screen Replacement: step 10, image 2 of 2
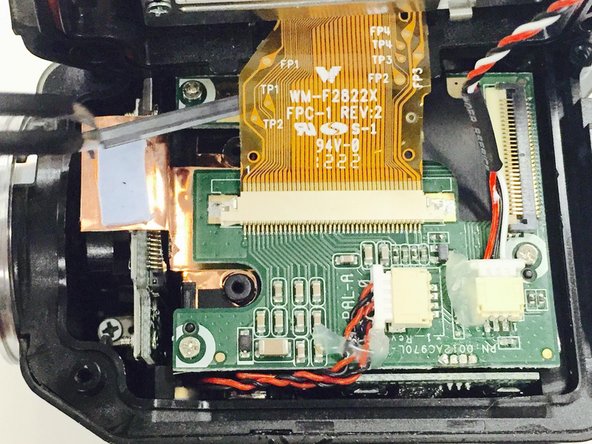
    • Carefully grasp and remove the ribbon cable using the tweezers.

    Ask FixBot

    Add Comment
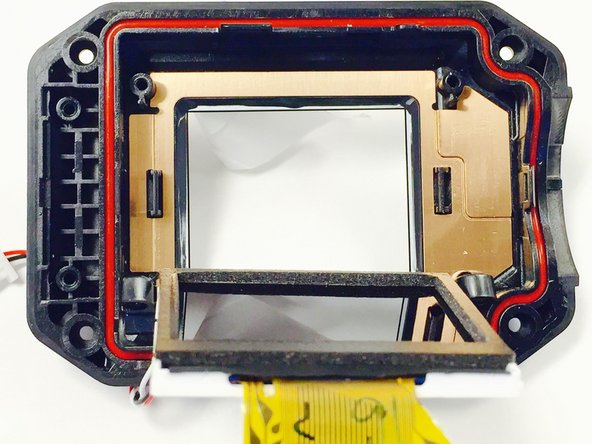
  11. JVC Adixxion GC-XA1BU LCD Screen Replacement: step 11, image 1 of 1
    • Turn the camera as shown and carefully remove the glue from the connector.

    Ask FixBot

    Add Comment

  12. JVC Adixxion GC-XA1BU LCD Screen Replacement: step 12, image 1 of 2 JVC Adixxion GC-XA1BU LCD Screen Replacement: step 12, image 2 of 2
    • Carefully pull the white clip out of the casing using the tweezers.

    Ask FixBot

    Add Comment

  13. JVC Adixxion GC-XA1BU LCD Screen Replacement, Zoom (+/-) Buttons: step 13, image 1 of 2 JVC Adixxion GC-XA1BU LCD Screen Replacement, Zoom (+/-) Buttons: step 13, image 2 of 2
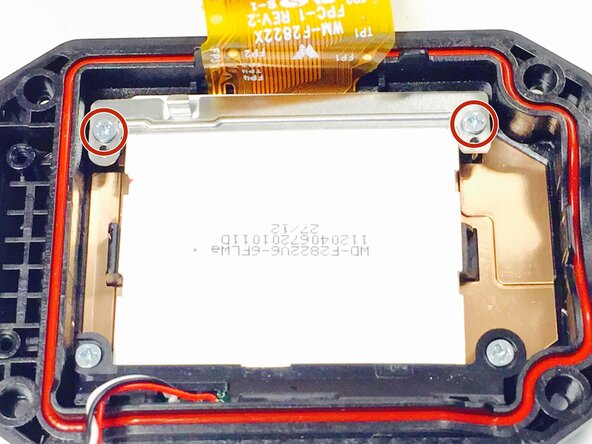
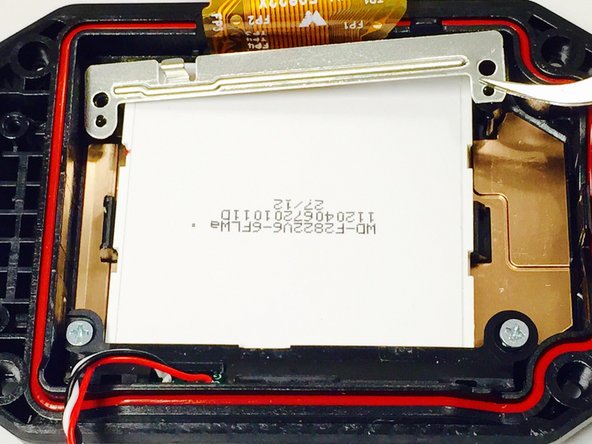
    • Use a Phillips #00 screwdriver to remove the two top screws (4mmx x 3mm). Once the screws are removed, carefully lift off the silver plate using Tweezers.

    Ask FixBot

    Add Comment

  14. JVC Adixxion GC-XA1BU LCD Screen Replacement: step 14, image 1 of 1
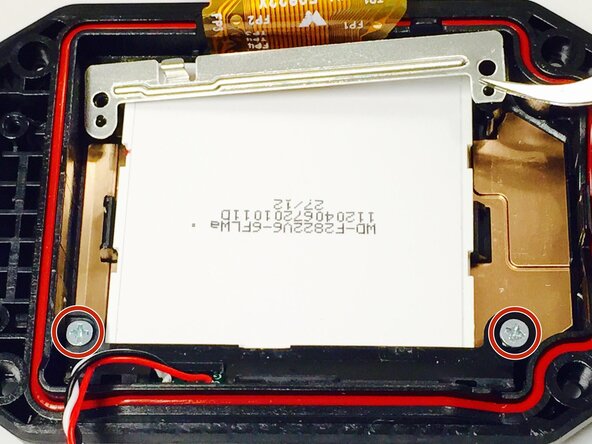
    • Once you have lifted and removed the silver plate, use a Phillips #00 screwdriver to remove the two bottom screws (4mm x 3mm).

    Ask FixBot

    Add Comment

  15. JVC Adixxion GC-XA1BU LCD Screen Replacement: step 15, image 1 of 2 JVC Adixxion GC-XA1BU LCD Screen Replacement: step 15, image 2 of 2
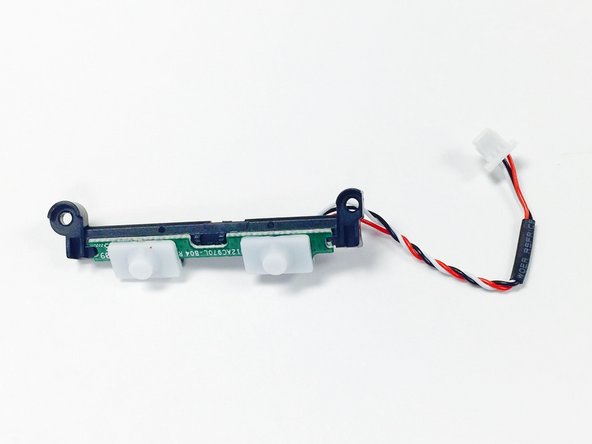
    • Using Tweezers, gently pull the red, black, and white threaded wire to disconnect it, then remove the attached panel as shown.

    Ask FixBot

    Add Comment

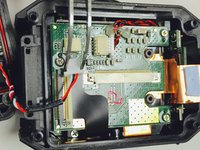
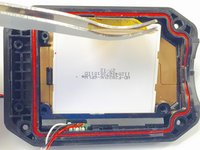
  16. JVC Adixxion GC-XA1BU LCD Screen Replacement, LCD Screen: step 16, image 1 of 2 JVC Adixxion GC-XA1BU LCD Screen Replacement, LCD Screen: step 16, image 2 of 2
    • Carefully lift up and remove the LCD screen using the tweezers.

    Ask FixBot

    Add Comment

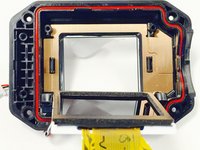
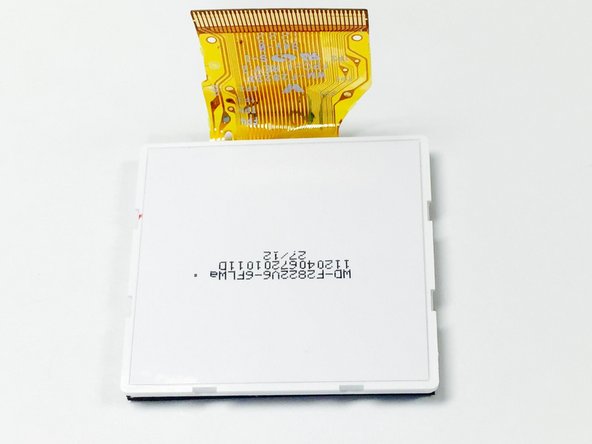
  17. JVC Adixxion GC-XA1BU LCD Screen Replacement: step 17, image 1 of 2 JVC Adixxion GC-XA1BU LCD Screen Replacement: step 17, image 2 of 2
    • The screen as shown if removed properly.

    Ask FixBot

    Add Comment

Conclusion

Follow these steps in reverse order with the new LCD screen in order to complete the replacement.

Cancel: I did not complete this guide.

One other person completed this guide.

Christina Michelle Johnson

Member since: 01/15/15

1,047 Reputation

8 Guides authored

Team

USF Tampa, Team 1-2, Tanski Winter 2015 Member of USF Tampa, Team 1-2, Tanski Winter 2015

USFT-TANSKI-W15S1G2

4 Members

8 Guides authored

0 Guide Comments

Add Comment

View Statistics:

Past 24 Hours: 1

Past 7 Days: 13

Past 30 Days: 38

All Time: 1,020