JBL Wave Beam Case Disassembly

Chris P. Croutonne and one other contributor
Last updated on May 5, 2026
Views: 4.3K
View statistics:
- Past 24 Hours:
- 20
- Past 7 Days:
- 170
- Past 30 Days:
- 711
- All Time:
- 4,286
Comments: 0
No one has left comments on this guide. Will you be first?
Go to guide commentsCompleted: 2 3
2 people have marked this guide "completed." Will you be next?
3 people have marked this guide "completed." Including you — great job!
Favorites: 0 1
No one has favorited (and subscribed to) this guide. Will you be the first?
1 person has favorited (and subscribed to) this guide — and that's you!
Community-Contributed Guide
An awesome member of our community made this guide. It was not created by iFixit staff.
Introduction
Go to step 1 ↓This guide will show you how to disassemble your Wave Beam aka Vibe Beam earbuds case and replace a dead battery.
Although a Vibe Beam case is shown, these steps should work with other JBL cases that use a similar design.
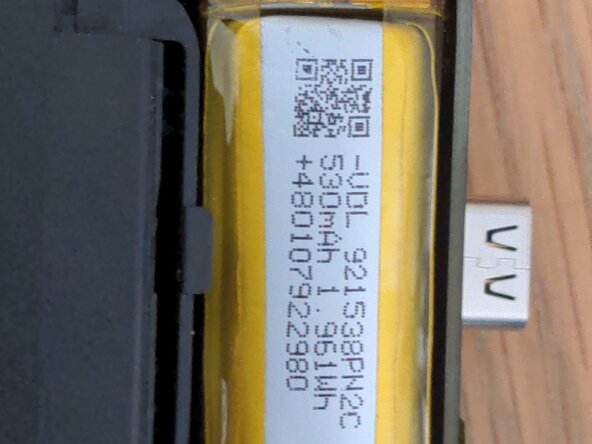
If you want to order a battery, it needs to be 3.7v and smaller than 10mm x 14mm x 40mm. This aliexpress listing should do the job:
https://www.aliexpress.com/item/10050097...
What you need
Tools
-
-
Solder and Desolder Kit$115.00
-


-
-
-
Open up your case and remove the earbuds. Prepare a heat gun at around 150℃, and gently heat up the front part of the case, around where the LED is.
 Ask FixBot
-
-
-
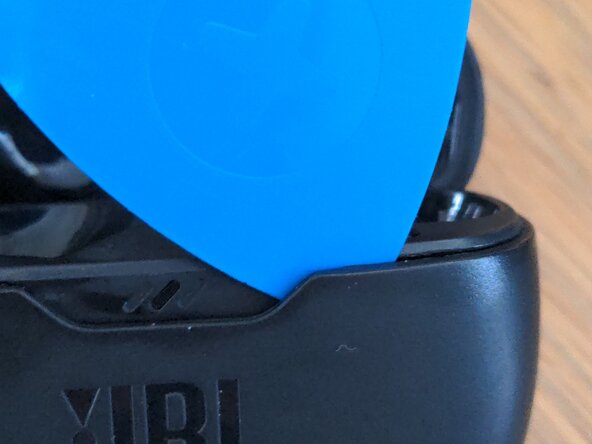
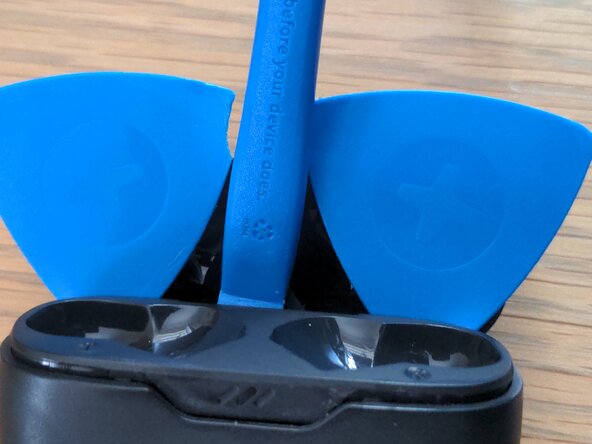
Now try to insert an opening pick into the seam as shown. If you can't get it in, try heating the case more or using a different pick.
-
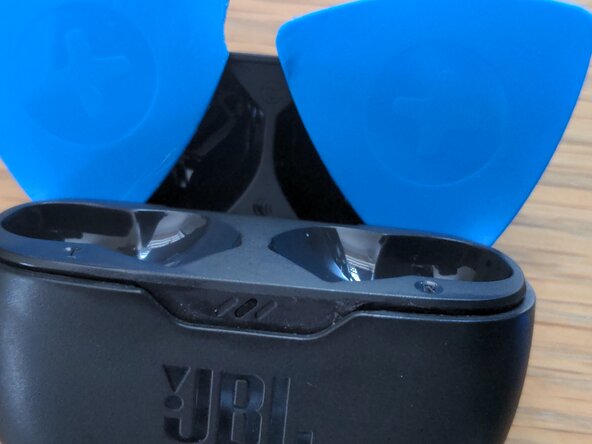
Slide the pick around the edge of the case until it reaches the back, next to the hinge part. You can apply more heat here if this is too difficult.
-
Repeat with a second opening pick, going round the other side. The second image shows what your case should now look like.
-
-
-
Use a plastic tool to lift up the internals as shown
-
If this is too difficult, you might want to use a third pick, and pry around the area under the LED.
-
-
-
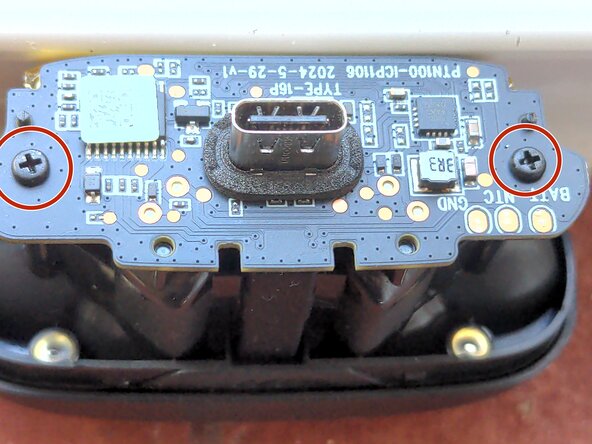
You should now have removed the outer case. Remove the two Phillips #0 screws next to the exposed USB port.
-
Pull the motherboard directly upwards. Be gentle here, as it is still connected to the glued-down battery
-
Use a plastic tool to pry out the battery, it is attached to the case with a sticky pad. If you have isopropyl alcohol, apply some underneath the battery to loosen the adhesive.
-
-
-
-
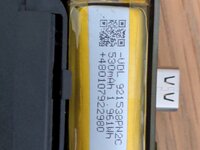
The battery is connected to the motherboard with either 3 or 2 solder pads. Use a soldering iron and flux to remove all of them, being careful not to cause any shorts.
-
-
-
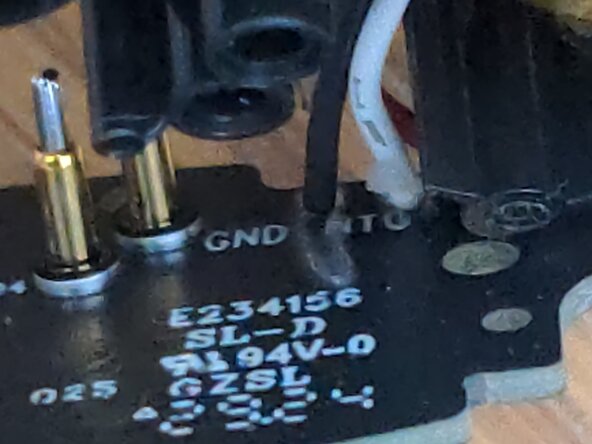
Solder the black and red wires of your new battery to GND and BATT on the motherboard, respectively. If there is a third wire (temperature sensor) solder it to the NTC pad.
-
-

To reassemble your device, follow these instructions in reverse order.
Cancel: I did not complete this guide.
2 other people completed this guide.