
JBL Pulse Outer Casing Replacement

Maxwell Busenbarrick and 2 other contributors
Last updated on Dec 24, 2016
Views: 3.1K
View statistics:
- Past 24 Hours:
- 5
- Past 7 Days:
- 29
- Past 30 Days:
- 110
- All Time:
- 3,131
Comments: 4
4 comments on steps.
Completed: 3 4
3 people have marked this guide "completed." Will you be next?
4 people have marked this guide "completed." Including you — great job!
Favorites: 0 1
No one has favorited (and subscribed to) this guide. Will you be the first?
1 person has favorited (and subscribed to) this guide — and that's you!
Introduction
Go to step 1 ↓This guide is for replacing the outer casing of the JBL Pulse for when some kind of damage has occurred to the outside of the device.
What you need
Tools


-
-
-
Use a plastic opening tool to pry around the edges of the circular rubber panel.
 Ask FixBot
-
-
-
Use your plastic opening tool to pry the button board loose by lifting the edges.
-
-
-
-
Pull black piece on top of socket away from board to loosen, then detach the cable.
-
-
-
-
-
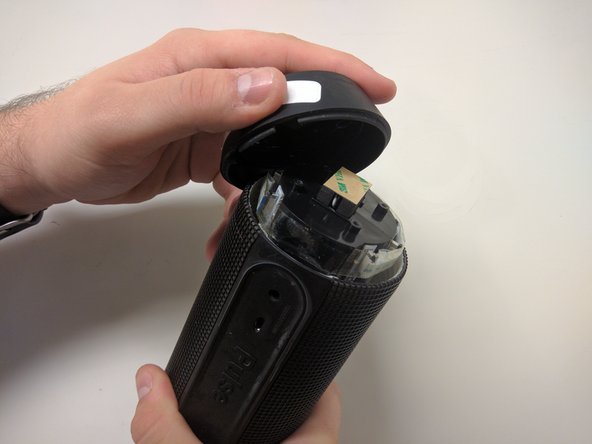
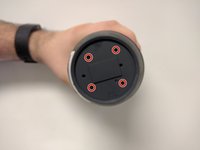
Take out the four 9mm black PH0 screws from the top and bottom of the device.
-
Pull off cap by hand.
-
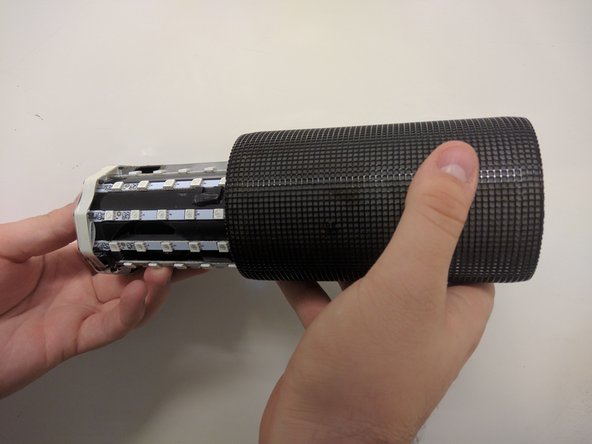
The outer casing can now be removed.
-
-


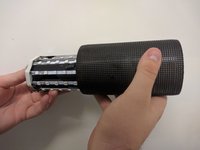
To reassemble your device, follow these instructions in reverse order.
Cancel: I did not complete this guide.
3 other people completed this guide.

Team

USF Tampa, Team 18-6, Blackwell Fall 2016 Member of USF Tampa, Team 18-6, Blackwell Fall 2016
USFT-BLACKWELL-F16S18G6
3 Members
84 Guides authored
