
JBL Pulse 4 LED Light Display Replacement

Maria Parks and one other contributor
Last updated on Jun 3, 2025
Views: 645
View statistics:
- Past 24 Hours:
- 4
- Past 7 Days:
- 19
- Past 30 Days:
- 87
- All Time:
- 645
Comments: 0
No one has left comments on this guide. Will you be first?
Go to guide commentsCompleted: 0 1
No one has marked this guide "completed." Will you be the first?
1 person has marked this guide "completed." It's you — great job!
Favorites: 0 1
No one has favorited (and subscribed to) this guide. Will you be the first?
1 person has favorited (and subscribed to) this guide — and that's you!
Introduction
Go to step 1 ↓If your JBL Pulse 4 speaker’s LED light display is flickering, showing incorrect colors, or not lighting up at all, use this guide to replace the LED light display.
The LED light display is a signature feature of the JBL Pulse 4. It provides 360-degree customizable lighting that syncs with your music. A malfunctioning display can take away from the experience the speaker is known for.
Before using this guide, scan the speaker for any software or app-related issues that may be affecting the LED performance. The issue may be resolved by resetting the device or updating the firmware through the JBL Portable app. Additionally, make sure the speaker is fully charged and has not sustained any water or impact damage.
This guide will walk you through the steps to access and replace the internal LED light display.
Make sure to power off the speaker completely and disconnect it from any charger or external power source before beginning.
What you need
Tools
-
Spudger4.9
-


-
-
-
Power off the device before doing any repairs.
-
Hold the power button for 3+ seconds to power down the device.
 Ask FixBot
-
-
-
Remove each rubber end cap using a plastic pry tool.
-
Go around each end of the speaker slowly popping up a small section of the rubber cap until there is a gap on all sides.
-
Remove the top by hand.
-
-
-
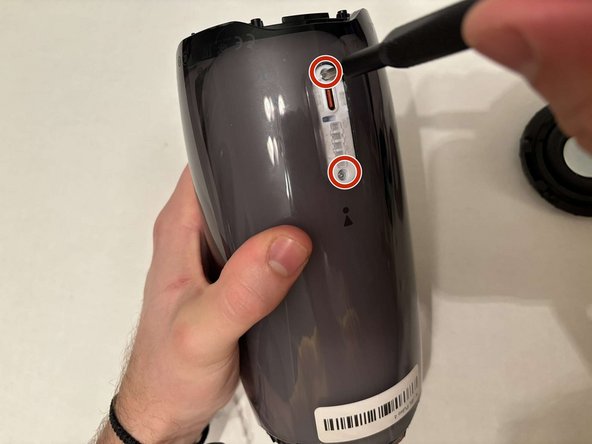
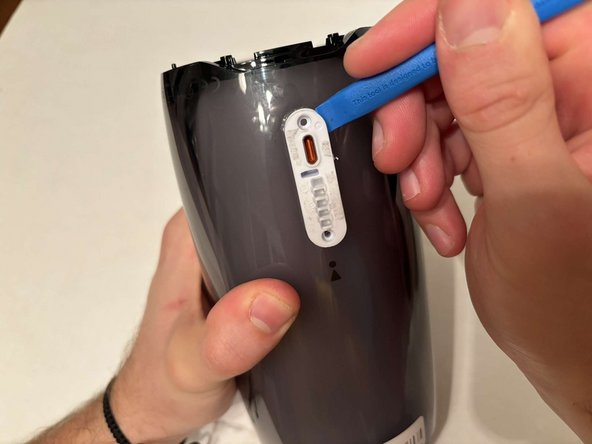
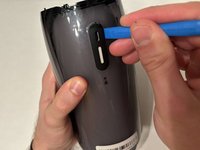
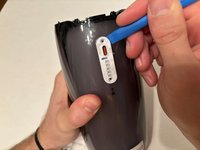
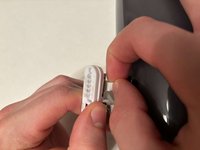
Remove the charging port cover using a plastic pry tool.
-
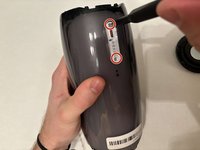
Remove the two 12.7 mm Phillips #1 screws.
-
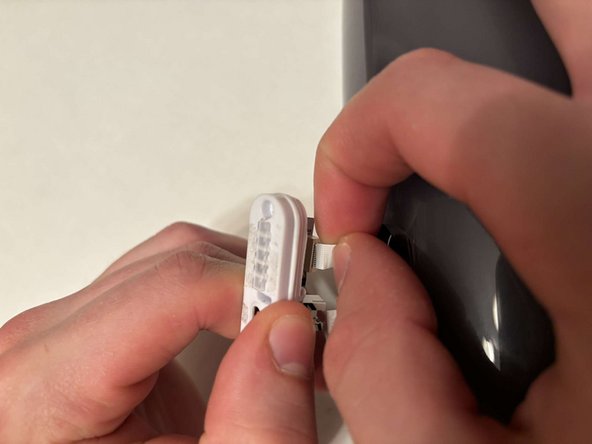
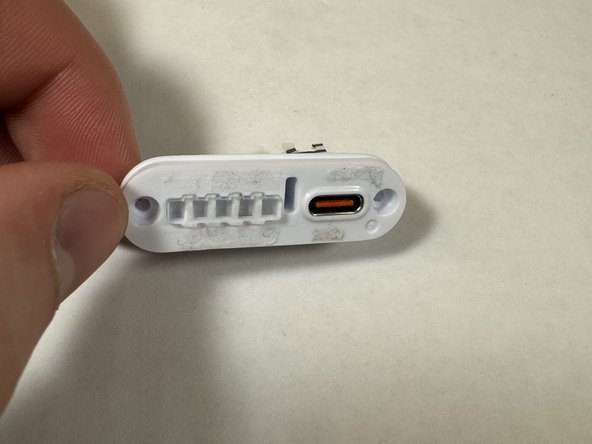
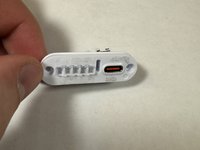
Remove the charging port housing from the casing.
-
-
-
Disconnect the charging port connector by pulling the connector away from the port.
-
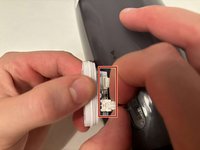
Disconnect the battery level indicator light by pulling the wire away from the lights.
-
-
-
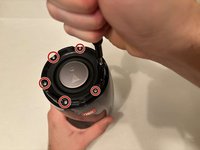
Remove the six 8 mm Phillips #1 screws from the end of the speaker with the grill that says "JBL."
-
Remove the plastic piece where the 6 screws came out of.
-
-
-
Flip the speaker to the other end.
-
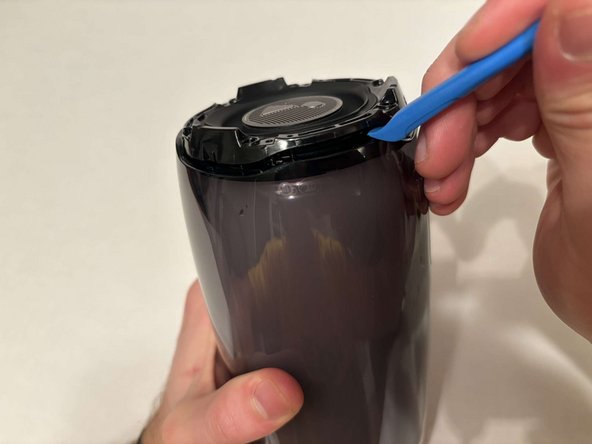
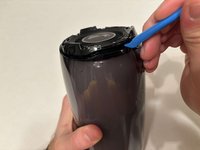
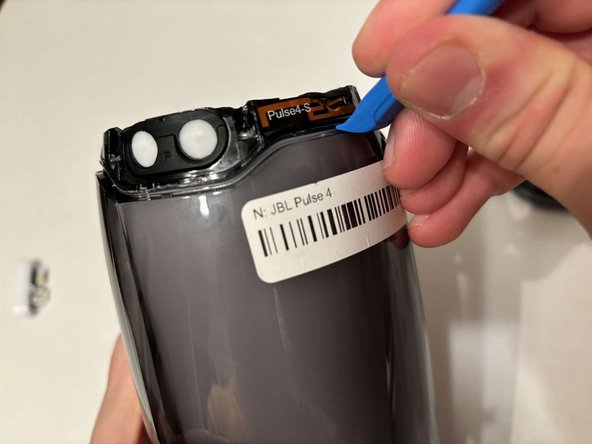
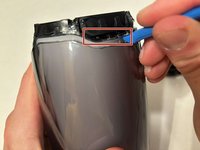
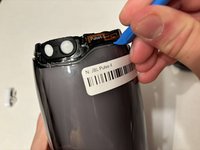
Use a pry tool to pry between the casing of the speaker and the internals.
-
Go around the entirety of this end of the speaker slowly prying apart the two pieces.
-
-
-
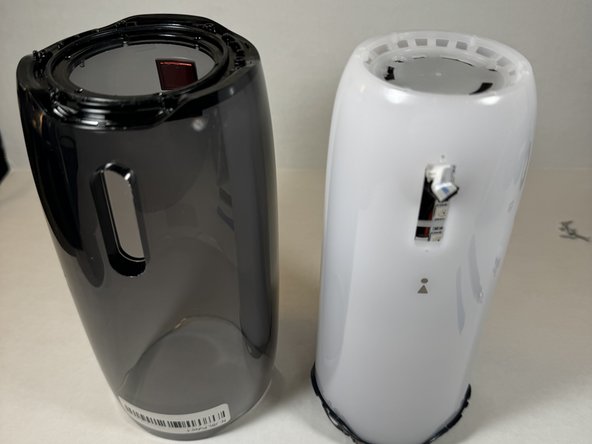
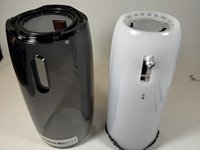
The casing is now fully detached from the internal components.
-
You can now replace the outer casing of the speaker.
-
-
-
-
-
Place the speaker on the table with the button board side down.
-
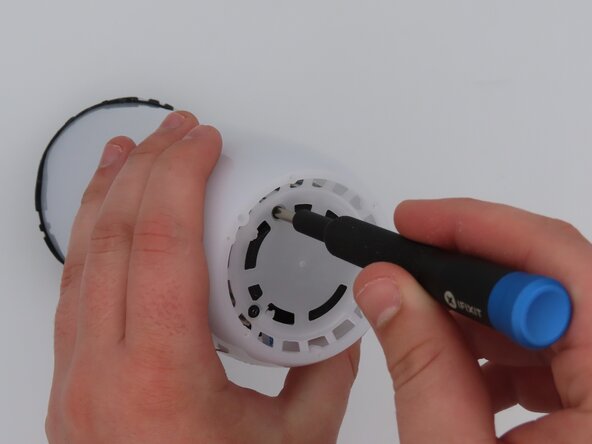
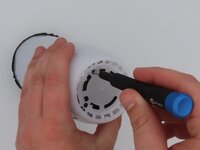
Remove the three black 5 mm screws using a Phillips #1 screwdriver.
-
Remove the white casing by pulling it away from the button board.
-
-
-
-
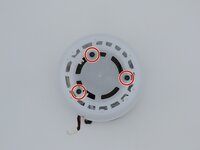
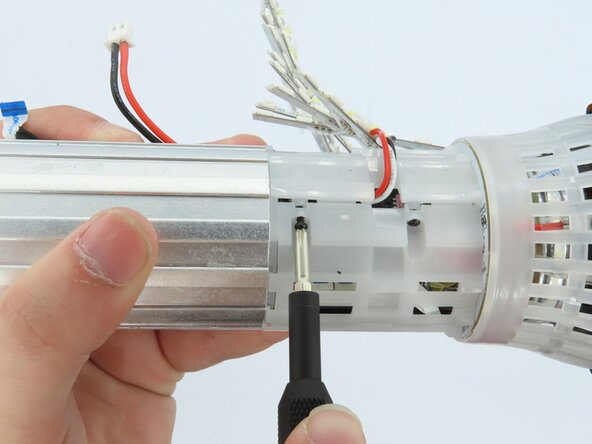
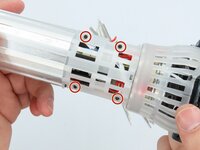
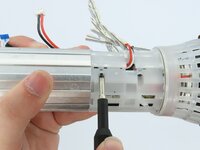
Remove the four black 5 mm screws using a Phillips #1 screwdriver.
-
Remove the white plastic piece that is held in place by the screws.
-
-












To reassemble your device, follow these instructions in reverse order.

Team

University of Kentucky, Team 1-6, Frey Spring 2025 Member of University of Kentucky, Team 1-6, Frey Spring 2025
UKY-FREY-S25S1G6
5 Members
60 Guides authored
