Introduction
If your JBL Pulse 4 Bluetooth speaker has distorted sound, low volume, or no sound at all, this guide will show you how to replace the internal speaker drivers.
The speaker drivers are the parts that create sound. If they stop working, you might hear buzzing, crackling, or nothing at all. To reach them, you’ll need to take apart the speaker by removing the outer casing, LED display, battery, and motherboard.
Before starting, make sure the problem isn’t due to a Bluetooth connection or software issue. Try restarting the speaker and connecting it to different devices.
Be sure the speaker is powered off and unplugged before starting. If the battery looks swollen or damaged, don’t continue the repair. It’s also a good idea to work in a clean, static-safe area to avoid damaging any parts.
What you need
-
-
Power off the device before doing any repairs.
-
Hold the power button for 3+ seconds to power down the device.
 Ask FixBot
-
-
-
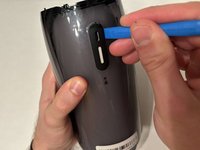
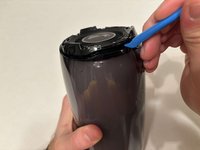
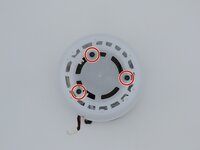
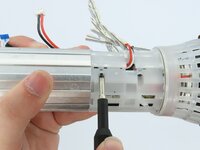
Remove each rubber end cap using a plastic pry tool.
-
Go around each end of the speaker slowly popping up a small section of the rubber cap until there is a gap on all sides.
-
Remove the top by hand.
-
-
-
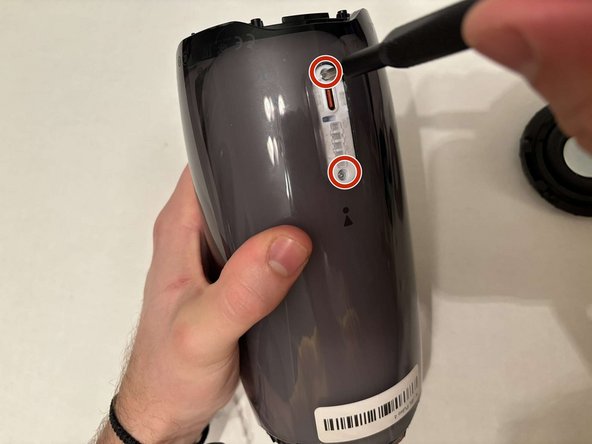
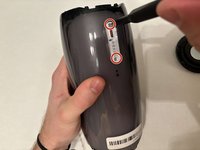
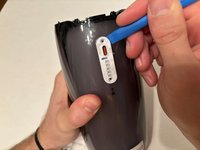
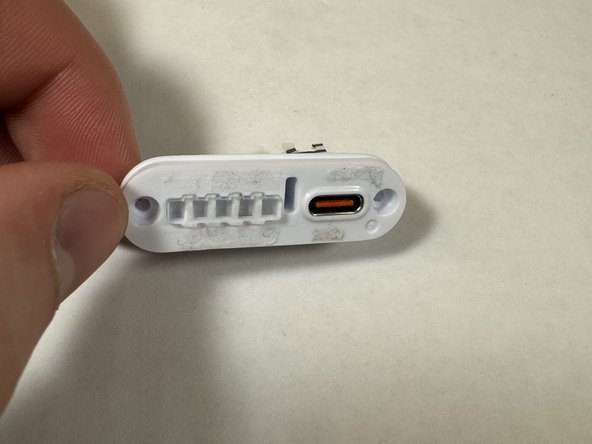
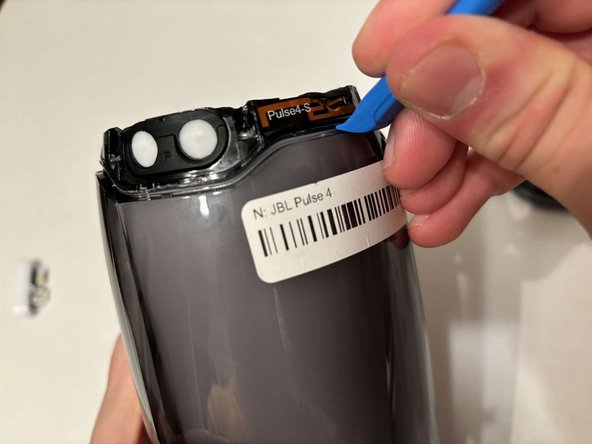
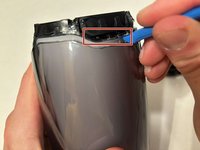
Remove the charging port cover using a plastic pry tool.
-
Remove the two 12.7 mm Phillips #1 screws.
-
Remove the charging port housing from the casing.
-
-
-
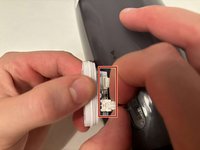
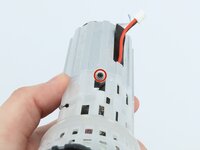
Disconnect the charging port connector by pulling the connector away from the port.
-
Disconnect the battery level indicator light by pulling the wire away from the lights.
-
-
-
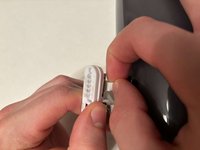
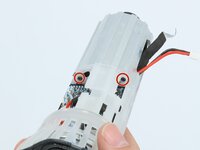
Remove the six 8 mm Phillips #1 screws from the end of the speaker with the grill that says "JBL."
-
Remove the plastic piece where the 6 screws came out of.
-
-
-
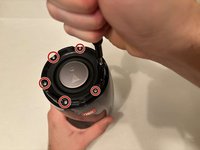
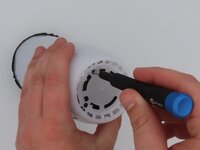
Flip the speaker to the other end.
-
Use a pry tool to pry between the casing of the speaker and the internals.
-
Go around the entirety of this end of the speaker slowly prying apart the two pieces.
-
-
-
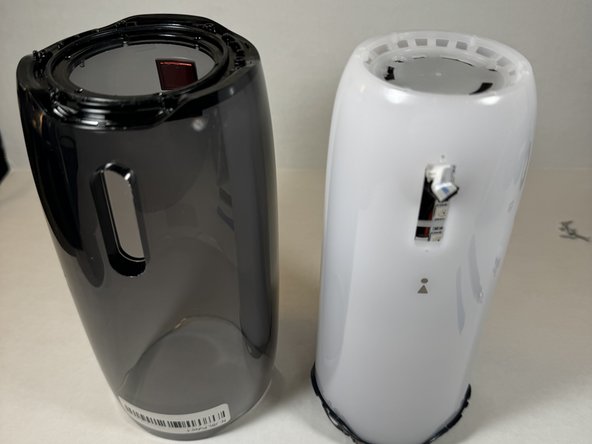
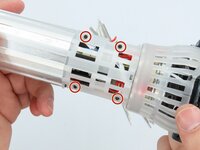
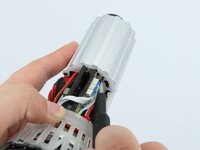
The casing is now fully detached from the internal components.
-
You can now replace the outer casing of the speaker.
-
-
-
Place the speaker on the table with the button board side down.
-
Remove the three black 5 mm screws using a Phillips #1 screwdriver.
-
Remove the white casing by pulling it away from the button board.
-
-
-
-
Remove the four black 5 mm screws using a Phillips #1 screwdriver.
-
Remove the white plastic piece that is held in place by the screws.
-
-
-
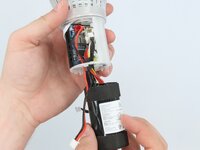
Feed the wire out of the central housing unit.
-
Pull the battery out of the central housing unit.
-
-
-
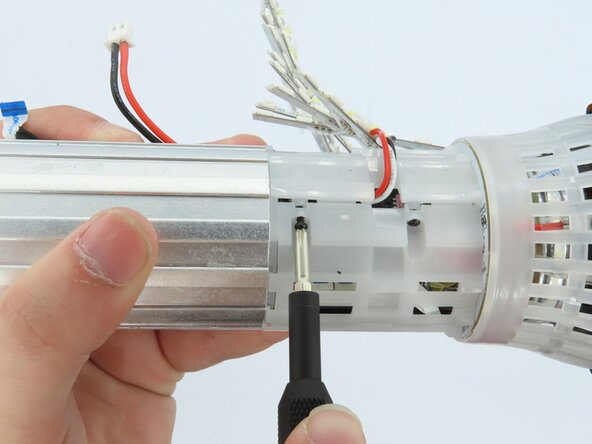
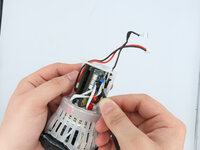
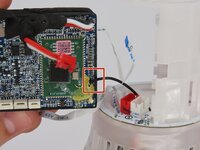
Cut the black cable off the motherboard using cutters to remove the button board.
-
-
Tool used on this step:Tweezers$4.99
-
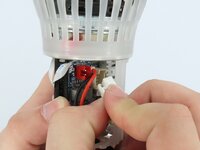
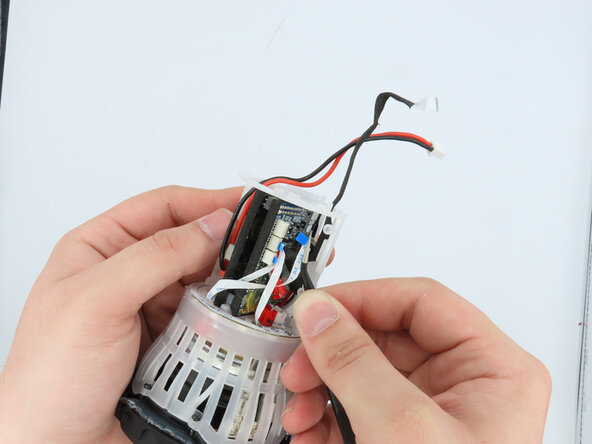
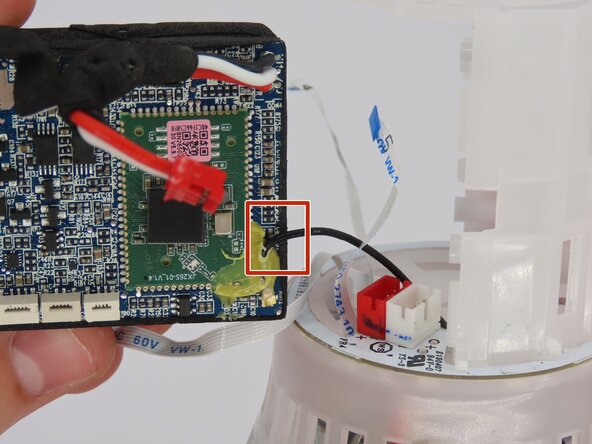
Using the tweezers, gently unplug the three connections attached to the motherboard.
-
-
-
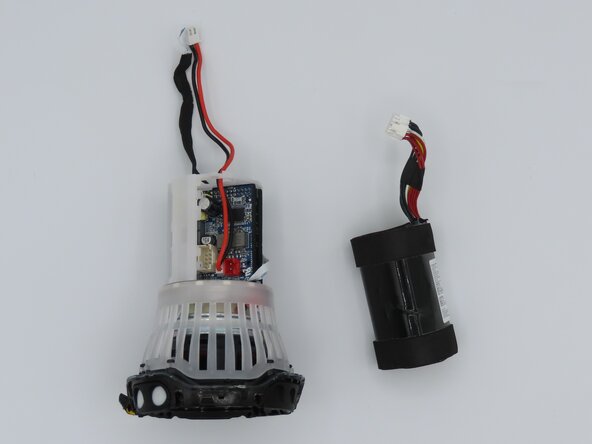
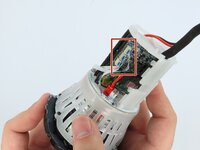
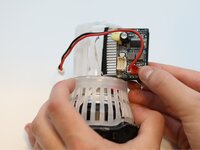
Pull the motherboard out of the frame.
-
The only connection the motherboard has to the frame now should be the soldered-on black wire.
-
-
-
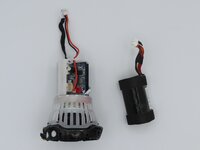
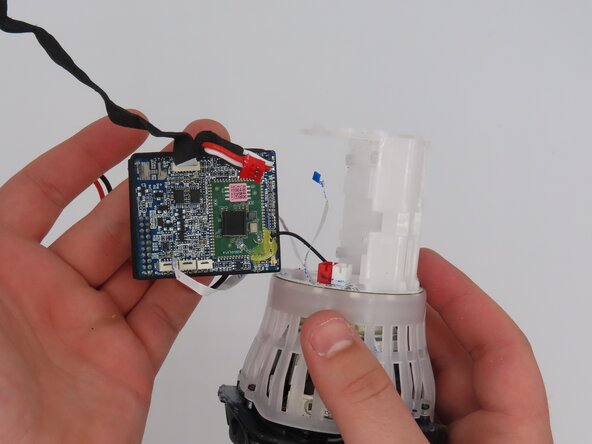
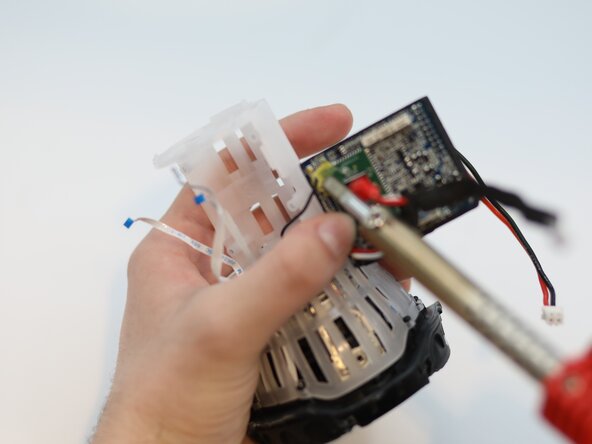
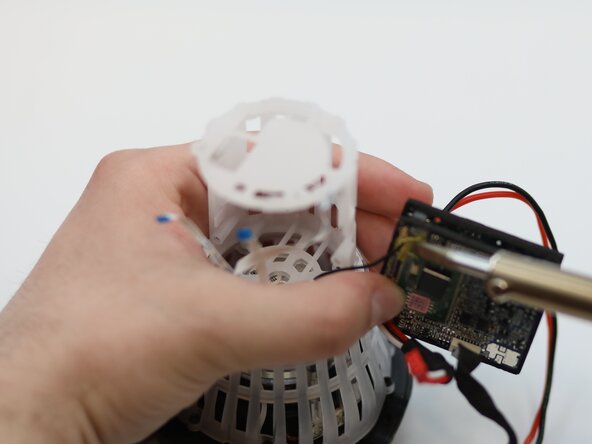
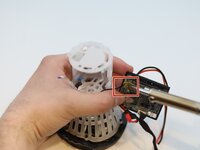
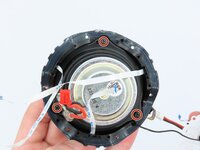
Desolder the wire from the motherboard.
-
Remove the motherboard from the speaker.
-
-
-
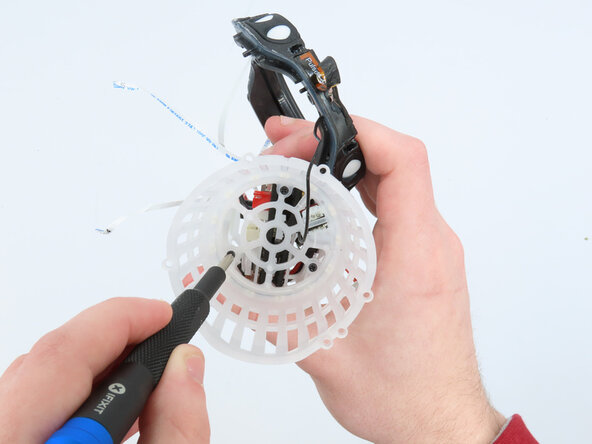
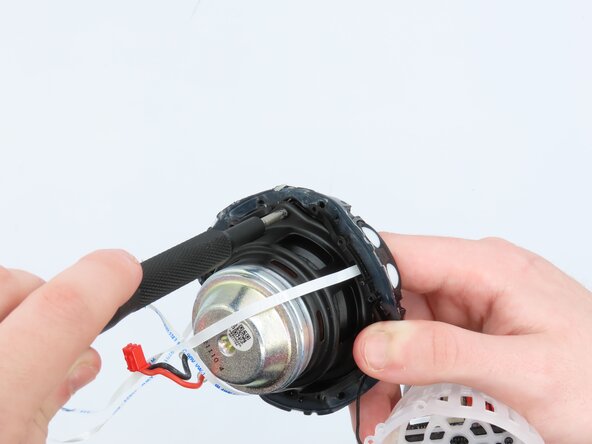
Use a Phillips #00 screwdriver to remove the three 5 mm screws securing the plastic housing.
-
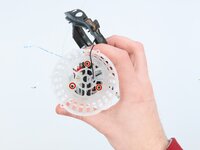
Remove the bumper assembly.
-
-
-
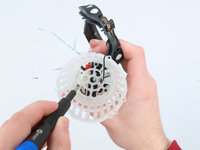
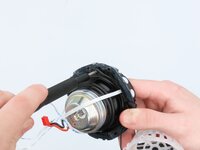
Remove the driver from the plastic housing by gently pulling them apart.
-
Use a Phillips #00 screwdriver to remove any screws securing the driver, if necessary.
-


To reassemble your device, follow these instructions in reverse order.
Team

University of Kentucky, Team 1-6, Frey Spring 2025 Member of University of Kentucky, Team 1-6, Frey Spring 2025
UKY-FREY-S25S1G6
5 Members
5 Guides authored