
JBL Go 3 Driver Replacement

Kasey Oliver and one other contributor
Last updated on Jan 14, 2026
Views: 1.4K
View statistics:
- Past 24 Hours:
- 7
- Past 7 Days:
- 45
- Past 30 Days:
- 201
- All Time:
- 1,376
Comments: 0
No one has left comments on this guide. Will you be first?
Go to guide commentsCompleted: 0 1
No one has marked this guide "completed." Will you be the first?
1 person has marked this guide "completed." It's you — great job!
Favorites: 0 1
No one has favorited (and subscribed to) this guide. Will you be the first?
1 person has favorited (and subscribed to) this guide — and that's you!
Missing Steps
Oops! This guide is currently missing one or more important steps.
Introduction
Go to step 1 ↓This guide walks you through replacing the main speaker driver in a JBL Go 3. This may be necessary if your speaker is producing distorted sound, no audio, or rattling noises. Be prepared to handle delicate internal components and possibly perform some soldering.
What you need
Tools


-
-
-
Hold the power button until the JBL Go 3 shuts off
-
Disconnect any charging cables
-
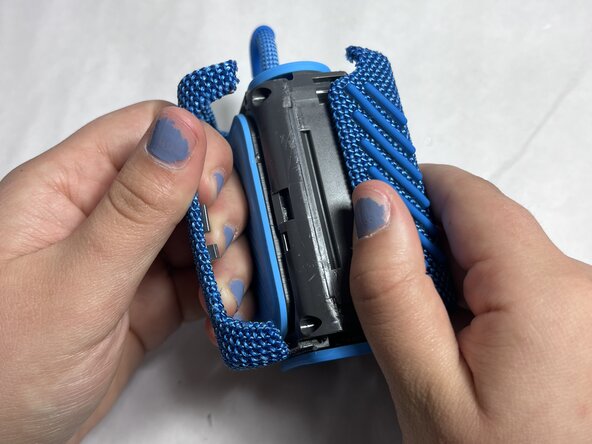
Use jimmy to remove the hard shell
-
Work your way around the edges slowly—be patient as it's glued or snapped in tightly
 Ask FixBot
-
-
-
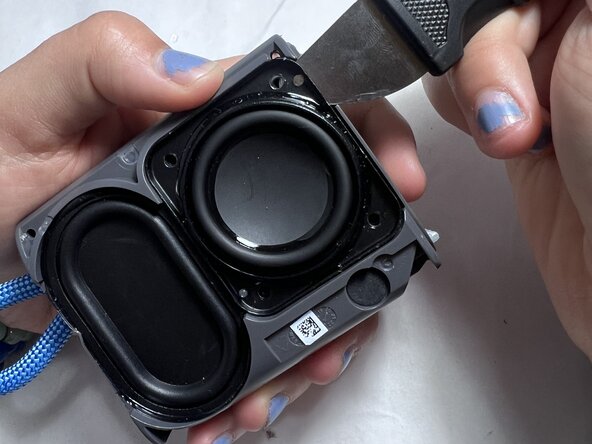
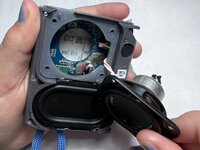
Once the hard shell is removed,use jimmy to lift up the speaker part.
-
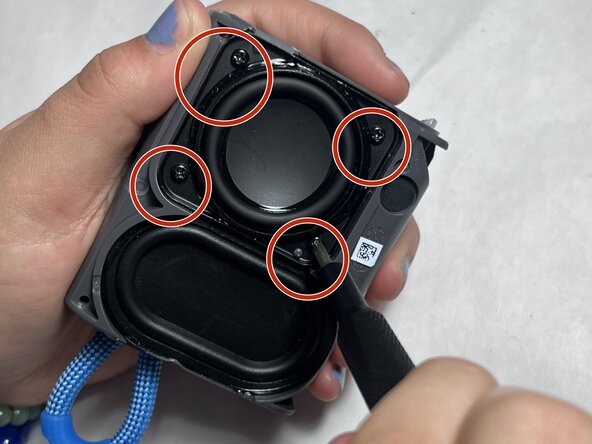
Locate the internal screws underneath the outer shell.
-
Use your precision screwdriver to remove all screws securing the plastic enclosure.
-
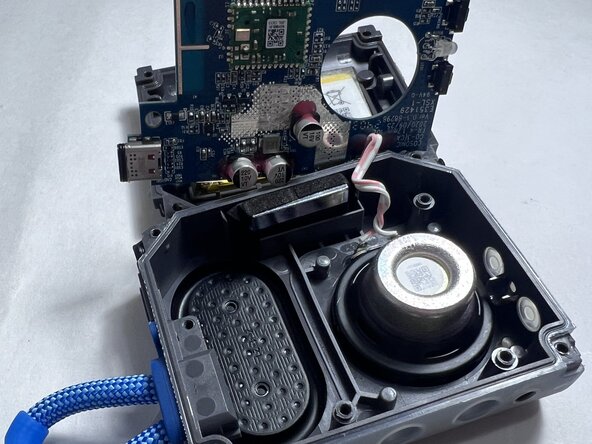
Carefully lift the casing to expose the speaker and other internal components.
-
-
-
-
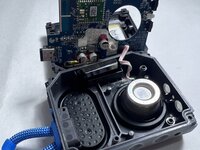
If accessible, unplug the battery to prevent any electrical short while working.
-
If it's soldered, proceed carefully and avoid touching metal contacts unnecessarily.
-
Unscrew any fasteners holding the speaker in place.
-
-





To reassemble your device, follow the above steps in reverse order.
Take your e-waste to an R2 or e-Stewards certified recycler.
Repair didn’t go as planned? Try some basic troubleshooting or ask our Answers community for help.

Team

UMass Dartmouth, Team 4-5, Konn Spring 2025 Member of UMass Dartmouth, Team 4-5, Konn Spring 2025
UMASSD-KONN-S25S4G5
4 Members
60 Guides authored
