
JBL Flip disassembly

Dillon and 3 other contributors
Last updated on Feb 19, 2016
Views: 24K
View statistics:
- Past 24 Hours:
- 7
- Past 7 Days:
- 63
- Past 30 Days:
- 283
- All Time:
- 24,386
Comments: 5
1 comment on steps, 4 guide comments.
Go to guide commentsCompleted: 12 13
12 people have marked this guide "completed." Will you be next?
13 people have marked this guide "completed." Including you — great job!
Favorites: 2 3
2 people have favorited (and subscribed to) this guide. Will you be next?
3 people have favorited (and subscribed to) this guide — including you!
Introduction
Go to step 1 ↓The JBL Flip 1 is an excellent speaker, but we have noticed there are some issues with it. In order to fix these issues, you must first understand how to disassemble the Flip’s outer layers. This guide will teach you how to do this safely and precisely.
What you need
Tools


-
-
-
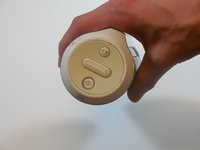
On the end with the buttons, remove the end cap using the flat head screwdriver to get between the rubber lining and the plastic.
-
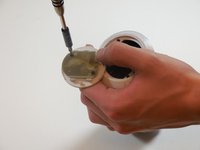
After the cap is removed, unscrew the two 3.3mm screws using a size 1 ph screw driver.
 Ask FixBot
-
-
-
Unscrew four 3.3mm screws on each end of the JBL using a size 1 ph screw driver (8 screws total).
-
-
-
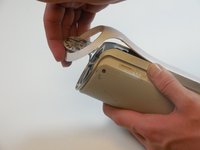
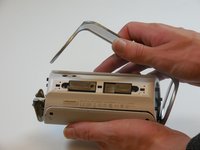
Remove outermost white casing by gently lifting up on one side.
-
Remove two 5mm screws holding the silver back plate in place with a size 2 ph screw driver.
-
Gently lift up and remove the silver casing.
-
-
-
-
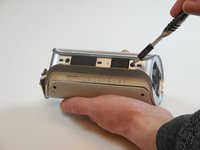
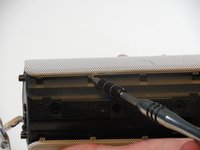
Pry the four tabs on each side of the speaker cover (8 tabs total).
-
Pry the two tabs on each end to remove the cover (4 tabs total).
-
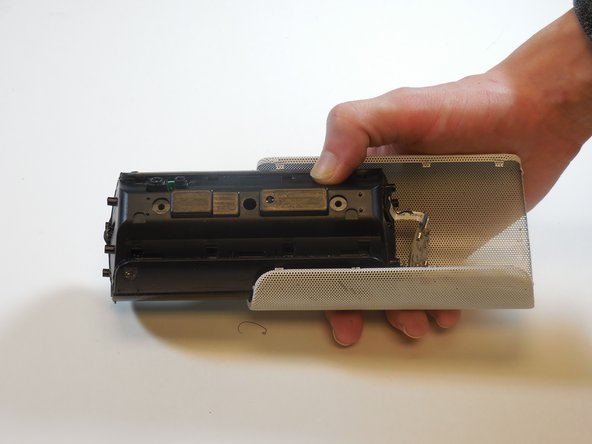
Slide speaker out of metal speaker cover.
-
-
-
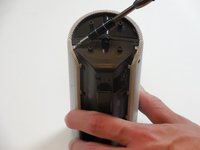
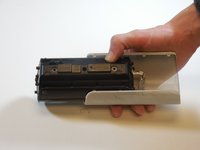
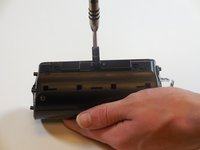
Remove 5mm screw in the middle of the back of the device with a size 2 ph screw driver.
-
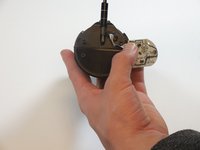
Unscrew the two 5mm screws on each side using a size 2 ph screwdriver.
-
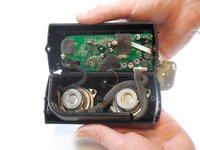
Open the speaker.
-
-









To reassemble your device, follow these instructions in reverse order.
Cancel: I did not complete this guide.
12 other people completed this guide.

Team

Colorado Springs, Team 9-5, Panko Spring 2015 Member of Colorado Springs, Team 9-5, Panko Spring 2015
UCCS-PANKO-S15S9G5
3 Members
60 Guides authored
4 Guide Comments
How do i take apart jbl flip 3
The charging PCB on my Flip3 is damaged and needs to be replaced. Any chance of purchasing the charging/interface module, fully populated?
I live in South Africa, and cannot find it here!
Paul M
The charging PCB on my JBL Flip3 is also damaged and needs to be replaced. Any chance of purchasing the charging/interface module?
I live in Pune - Maharashtra in India and cannot find a good reliable service station for JBL speakers here!
Suresh Karve
