Introduction
This guide will walk through the steps for replacing the micro-USB charging port of a JBL Clip 3 Bluetooth speaker.
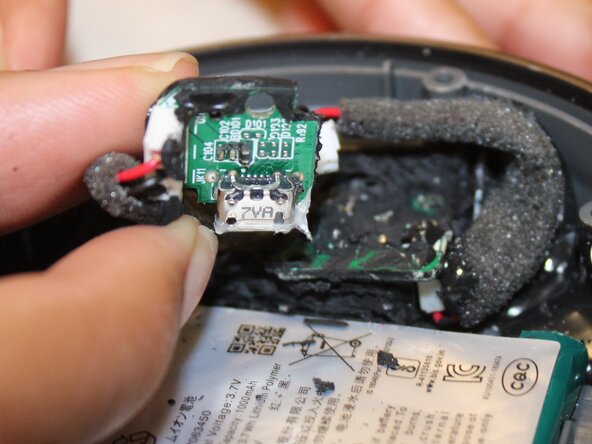
The charging port is located inside the speaker at the bottom (opposite the volume buttons). A micro-USB cable is plugged into it in order to charge the speaker. If the port is damaged, the cable is unable to make a connection, and the battery is unable to recharge.
Replacement micro USB ports can be purchased online. The port is connected to a printed circuit board (PCB) inside the speaker. Replacement PCBs with the micro-USB port pre-attached may be available online.
Replacing this port will require disassembling the device, locating the printed circuit board that holds the micro-USB port, and may require soldering.
No soldering is required if the entire PCB is replaced (that is, the replacement port is already attached to a PCB). If soldering is required, follow this guide: How To Solder and Desolder Connections
Completing this replacement may affect the waterproof seal of the speaker.
What you need
-
-
Unplug the speaker from any power source and power it off.
-
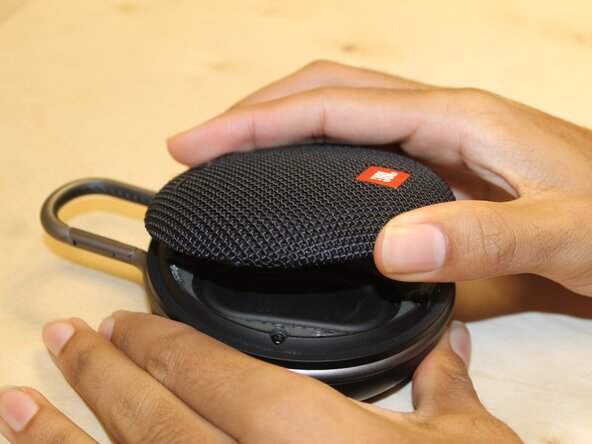
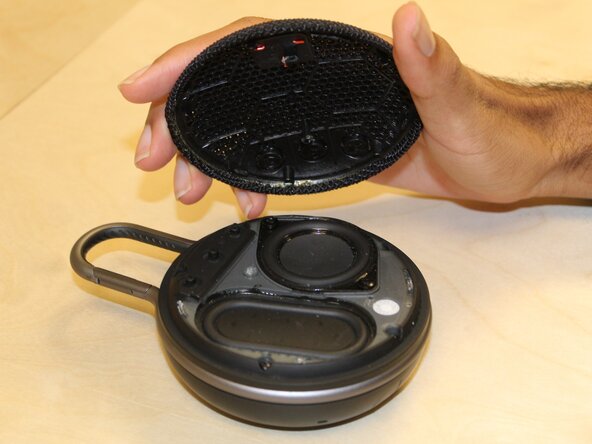
Gently pry the plastic front cover away from the device face using your hands or a flat tool and set it aside.
 Ask FixBot
-
-
-
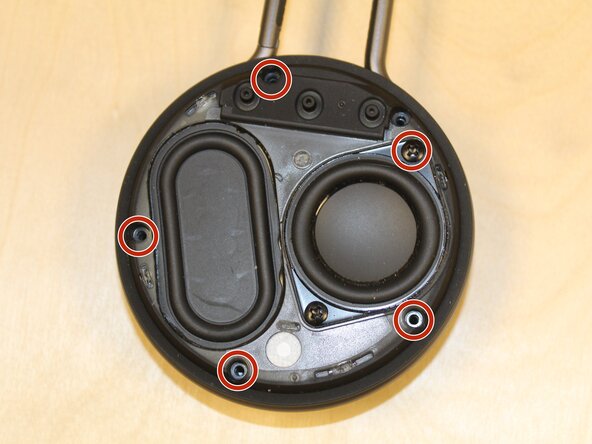
Using a Phillips #0 screwdriver, remove the five outermost screws from the speaker.
-
-
-
-
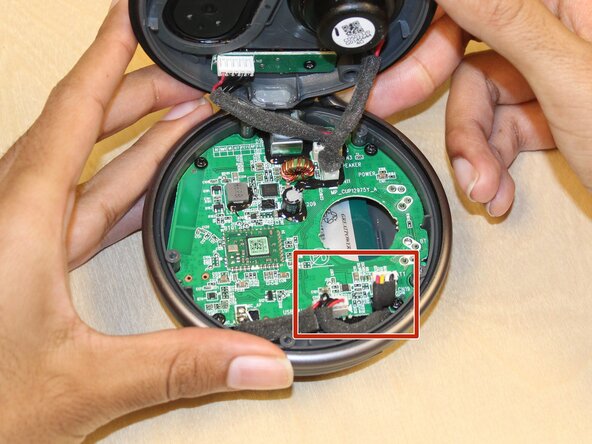
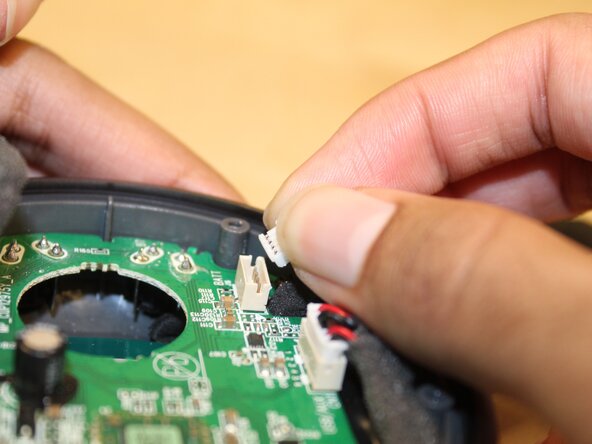
Unplug the wire connectors (the black and red wires with the white head) by pulling the connector head from its housing on the motherboard.
-
-
-
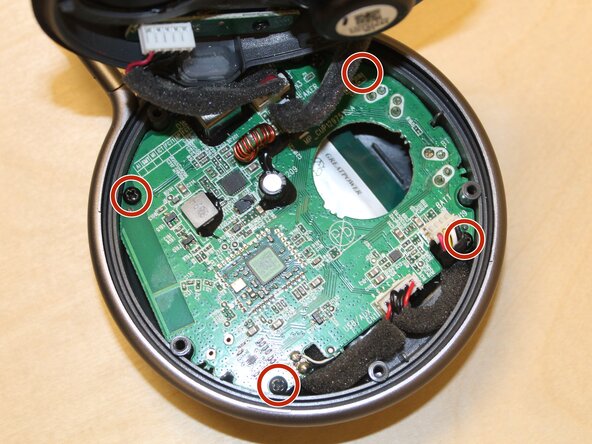
Remove the four screws holding the motherboard in place using a Phillips #0 screwdriver.
-
-
-
Gently remove and set aside the motherboard.
-
Make sure the microphone wire stays connected to the motherboard and the back piece of the device at all times.
-
-
-
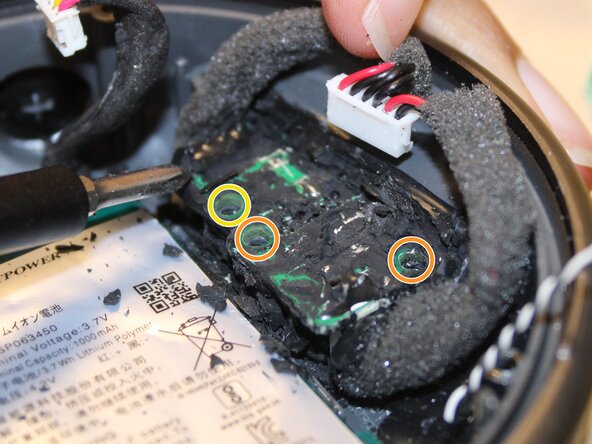
If an epoxy seal is present on the printed circuit board (PCB), carefully remove it. It can be peeled off, and it may help to remove the screws first.
-
Remove the three screws holding the PCB in place using a Phillips #0 screwdriver.
-
The only screw holding the micro-USB side down is the leftmost screw.
-
-
-
Remove the PCB, ensuring that there are no other connections with the device.
-













To reassemble your device, follow these instructions in reverse order.
Cancel: I did not complete this guide.
2 other people completed this guide.

Team

UC Davis, Team 1-1, Morris Winter 2026 Member of UC Davis, Team 1-1, Morris Winter 2026
UCD-MORRIS-W26S1G1
3 Members
1 Guide authored
