
JBL Clip 3 Battery Replacement

Kyle Montague and 8 other contributors
Last updated on Jul 1, 2024
Views: 12K
View statistics:
- Past 24 Hours:
- 8
- Past 7 Days:
- 79
- Past 30 Days:
- 322
- All Time:
- 11,813
Comments: 9
6 comments on steps, 3 guide comments.
Go to guide commentsCompleted: 6 7
6 people have marked this guide "completed." Will you be next?
7 people have marked this guide "completed." Including you — great job!
Favorites: 2 3
2 people have favorited (and subscribed to) this guide. Will you be next?
3 people have favorited (and subscribed to) this guide — including you!
Introduction
Go to step 1 ↓The Clip 3 is IPX7 waterproof and offers up to 10 hours of playtime, powered by a 1000mAh rechargeable Li-ion battery. If the battery is not charging or holding adequate charge, the battery may require replacement.
This guide will show you the step by step process of replacing a speaker battery for a JBL Clip 3. The process won’t be too difficult, requiring no special skills. Make sure to be careful when removing parts on this device, because they can be fragile.
What you need
Parts
Tools


-
-
-
Insert the iFixit opening tool between the speaker grill and speaker housing and pry around the entire perimeter of the device until the grill releases.
 Ask FixBot
-
-
-
-
-
Use a Phillips #1 screwdriver to remove the five 6.3 mm screws around the perimeter.
-
-
Tool used on this step:Tweezers$4.99
-
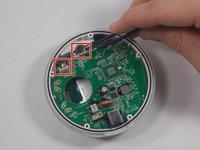
Use tweezers to remove the 2 pin and 4 pin connectors from the motherboard.
-
-
-
-
-
Tool used on this step:Tweezers$4.99
-
Use a pair of tweezers to lift the two cable connectors from their motherboard sockets.
-
-
-
-
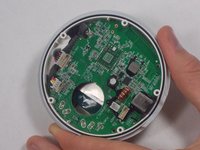
Use a Phillips #1 screwdriver to remove the four screws that secure the motherboard.
-
-
-
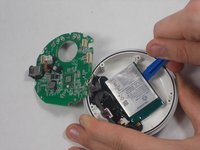
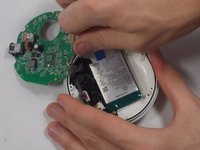
Use an opening tool to carefully pry your way around the battery, slowly lifting it off of the epoxy until it fully releases.
-
-


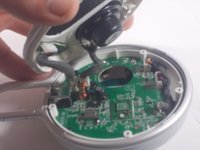
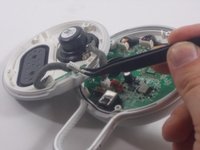


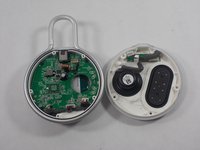
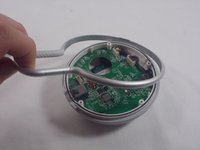




To reassemble your device, follow these instructions in reverse order.
Cancel: I did not complete this guide.
6 other people completed this guide.

Team

UMass Dartmouth, Team 1-5, Petersen Spring 2022 Member of UMass Dartmouth, Team 1-5, Petersen Spring 2022
UMASSD-PETERSEN-S22S1G5
3 Members
72 Guides authored
3 Guide Comments
Thanks, but unless I missed something I don't see the recommended battery to replace with (only that it's a 1000mAh). Under "what you need" there's no mention of battery.
