
JBL Charge Speaker Replacement

Alexander Castanares and 6 other contributors
Last updated on Nov 22, 2016
Views: 86K
View statistics:
- Past 24 Hours:
- 3
- Past 7 Days:
- 27
- Past 30 Days:
- 153
- All Time:
- 85,524
Comments: 21
9 comments on steps, 12 guide comments.
Go to guide commentsCompleted: 14 15
14 people have marked this guide "completed." Will you be next?
15 people have marked this guide "completed." Including you — great job!
Favorites: 3 4
3 people have favorited (and subscribed to) this guide. Will you be next?
4 people have favorited (and subscribed to) this guide — including you!
Incorrect Tools
Help make this guide better by using the correct tools in images and/or text.
Introduction
Go to step 1 ↓The speakers are located behind the motherboard. Follow this guide to replace one or both broken speakers.
What you need
Tools
-
-
-
Spudger4.9


-
-
-
Make sure the device is powered off before you begin to disassemble the speaker.
-
Remove the trim from the speaker using a jimmy or metal spudger.
 Ask FixBot
-
-
-
Use the PH1 screwdriver to remove all five of the 6 mm screws from the battery cover.
-
Remove the battery cover and set the cover aside.
-
-
-
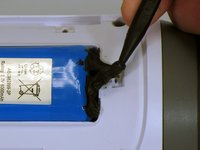
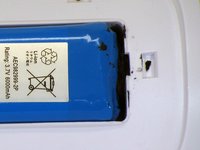
Use a spudger to carefully remove the liquid electrical tape that holds the battery inside the battery compartment.
-
-
-
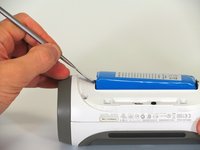
Use a spudger to lift the battery out of the device.
-
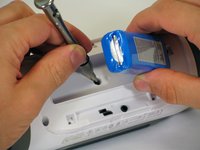
Lift the end of the battery that does not have the wire connection and remove the 16 mm PH2 screw underneath the battery.
-
-
-
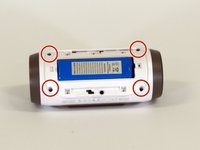
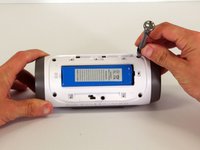
Remove the four 16 mm screws from the white plastic casing using the PH2 screwdriver.
-
-
-
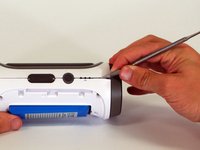
Starting in a corner of the device where the casing and the side meet, use a pointed metal spudger to pry the back casing off the speaker and the glue holding the seam together.
-
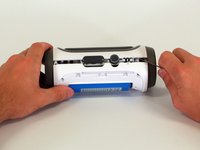
Slide the metal spudger along the seam to separate the back casing from the rest of the speaker.
-
-
-
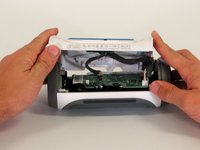
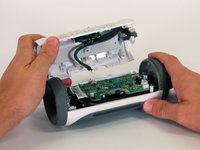
Once the back casing is open, disconnect the three white connectors from the motherboard.
-
Remove the upper casing.
-
-
-
-
-
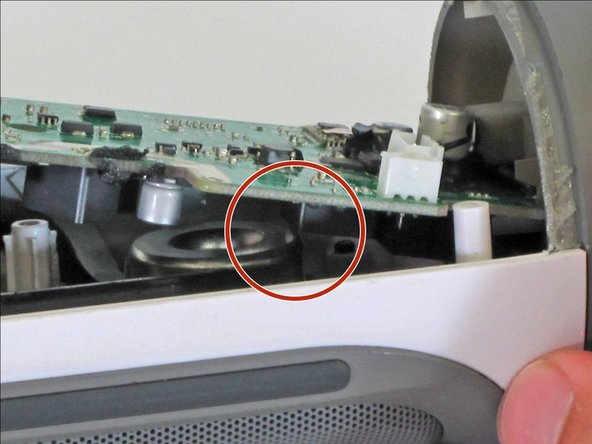
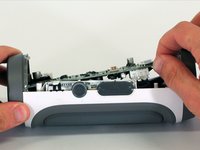
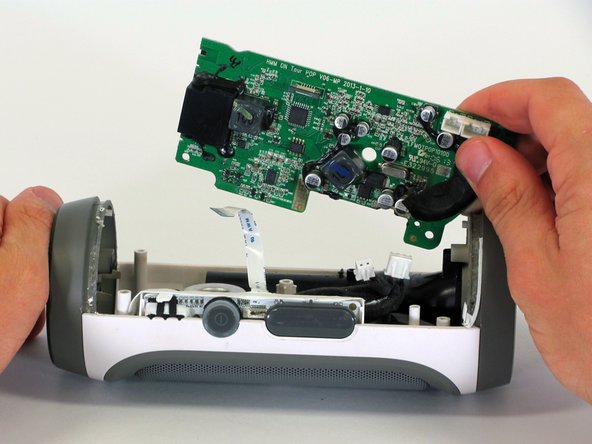
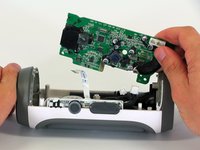
Remove the motherboard from the casing by lifting the corner of the board out of the device.
-
If the motherboard won't budge, be sure that the square component on the bottom of the motherboard clears the edge of the speaker.
-
-
-
-
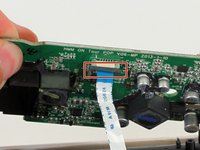
Pull down on the black clip holding the ribbon cable in place.
-
Pull the ribbon cable from the connector using the blue tab.
-
Remove the motherboard from the device.
-
-
-
-
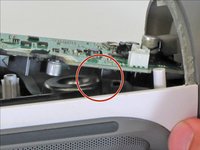
Using the PH1 screwdriver, remove the 9mm Phillips screw that connects the black tube to the device's interior.
-
-
-
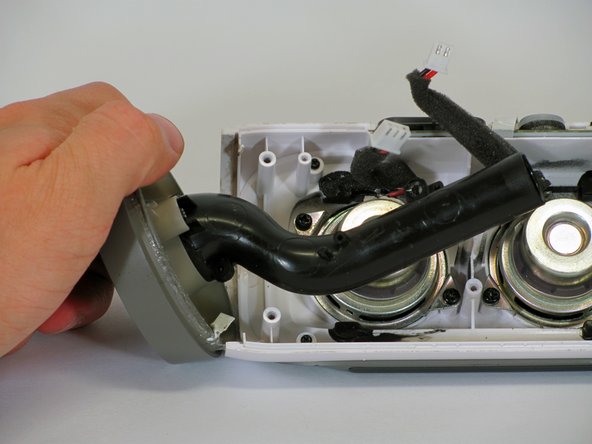
Slowly but firmly pull the grey cap off the device. This will provide complete access to the speakers.
-
-
-
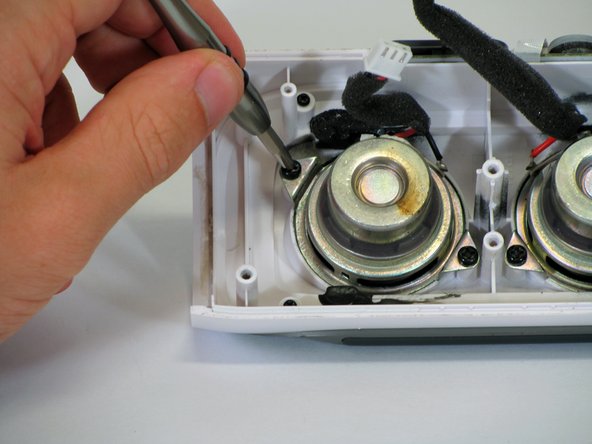
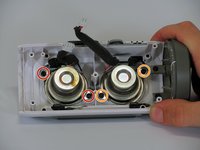
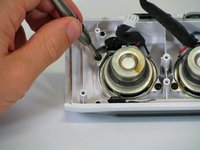
Each speaker is held in place with two 9mm Phillips screws. Remove the screws using the PH1 screwdriver head.
-
If you are replacing the left speaker, remove the screws and speaker on your right.
-
If you are replacing the right speaker, remove the screws and speaker on your left.
-
-


















To reassemble your device, follow these instructions in reverse order.
Cancel: I did not complete this guide.
14 other people completed this guide.

Team

Cal Poly, Team 12-4, Lancaster Spring 2015 Member of Cal Poly, Team 12-4, Lancaster Spring 2015
CPSU-LANCASTER-S15S12G4
2 Members
48 Guides authored
12 Guide Comments
Donde encuentro las bocinas no sirven la que tiene
Donde puedo conseguir las bocinas?
Where can I get gthe replacement speaker?
where can i get replaicment speaker?
