Introduction
Welcome to our guide for replacing the buttons on your JBL Charge 5 Speaker. This guide is for the TT version, but it's applicable with slight variations for other models. If you're facing issues like unresponsiveness, sticking, or physical damage, follow these steps to regain full control of your device's functionality.
For additional troubleshooting information, check out the JBL Charge 5 Troubleshooting page.
Note: This repair requires intermediate technical skills.
If unfamiliar, seek professional help or contact JBL's customer support.
Guide Highlights:
- Detailed step-by-step instructions with illustrations.
- Read the guide entirely before starting.
- Power off your JBL Charge 5 Speaker before repairs.
Check Warranty:
- If under warranty, contact the manufacturer or an authorized service center.
Pre-Repair Tips:
- Handle electronic components with care.
- Note connectors or ribbons for disconnection/reconnection.
- Work in a clean, well-illuminated space.
Post-Repair:
- Conduct a functionality test.
- Test each button individually for responsiveness and overall usability changes.
Before you begin the repair, power off your device and unplug the charger.
What you need
-
-
-
Insert the flat end of the Jimmy into the seam located between the fabric cover on the right side of the seam.
-
Pry upward on the fabric cover to release plastic clips on the right side of the seam.
 Ask FixBot
-
-
-
Insert the flat end of the Jimmy into the seam between the fabric cover at the center of the seam and the left side of the seam.
-
Use the Jimmy to pry open the edge with the rubber texture, releasing the remaining plastic clips.
-
-
-
-
Use your hands to gently open the two halves of the casing and slide the fabric cover off of the interior housing.
-
-
-
-
-
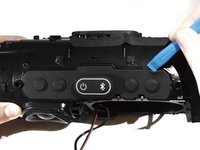
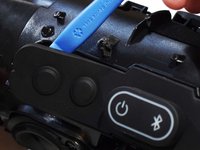
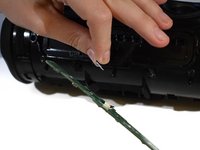
Use an iFixit opening tool, to softly pry open each side of the button cover.
-
-
-
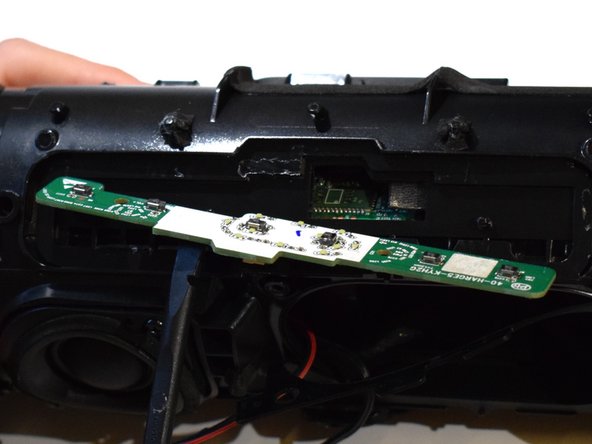
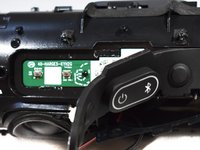
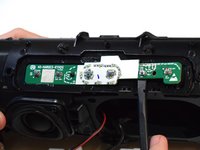
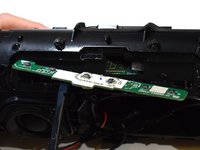
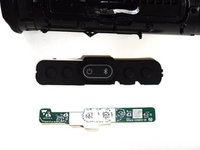
Use a plastic spudger, and softly pry up on the sides of the button control board to remove it from the slot.
-
-
-
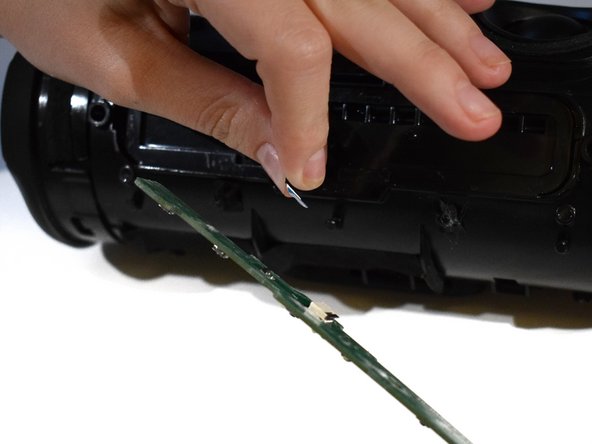
Pinch the no-fuss ribbon cable connector, and gently pull the cable out to disconnect it from the board.
-
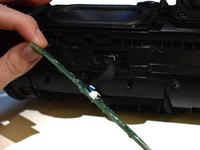
Remove the button board.
-
-


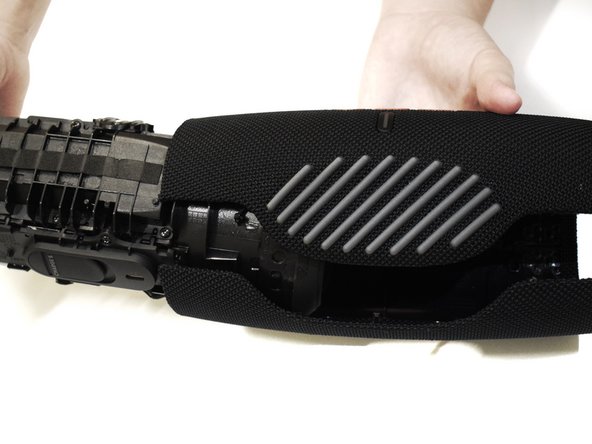
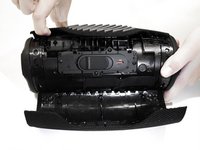
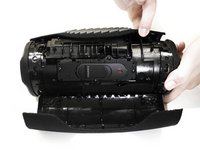
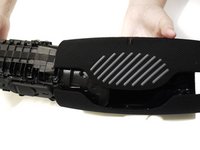






To reassemble your device, follow these instructions in reverse order.
Cancel: I did not complete this guide.
One other person completed this guide.

Team

Western Carolina University, Team 1-2, Virtue Fall 2023 Member of Western Carolina University, Team 1-2, Virtue Fall 2023
WCU-VIRTUE-F23S1G2
5 Members
72 Guides authored
