
Interlink VP4550 Case Replacement

Rachel and 11 other contributors
Last updated on Dec 22, 2021
Views: 710
View statistics:
- Past 24 Hours:
- 0
- Past 7 Days:
- 6
- Past 30 Days:
- 42
- All Time:
- 710
Comments: 0
No one has left comments on this guide. Will you be first?
Go to guide commentsCompleted: 1 2
1 person has marked this guide "completed." Will you be next?
2 people have marked this guide "completed." Including you — great job!
Favorites: 0 1
No one has favorited (and subscribed to) this guide. Will you be the first?
1 person has favorited (and subscribed to) this guide — and that's you!
Action Shots
Be an action hero! This guide needs images that better demonstrate how to perform specific actions.
Needs More Images
A few more images would make this guide's procedures crystal clear.
Introduction
Go to step 1 ↓Phone cases protect your phone's inner workings and screen from damage. In the event the case itself gets damaged, this guide will walk you through how to properly replace it. A Phillips #0 Screwdriver and a plastic opening tool will be needed to complete this. This repair will solve any problems that have to do with screen damage, and allows the user to put on an entirely brand new screen. This should take around 10 minutes to complete
What you need
Tools


-
-
-
Turn the phone over to where the battery compartment resides.
-
Remove the battery compartment door by pushing down on the door with your thumbs and sliding the door off of the bottom of the device.
-
Remove battery.
 Ask FixBot
-
-
-
Use a Phillips #0 screwdriver to remove the screw in the middle of the battery compartment.
-
Pry open the case body with the plastic opening tool. Start at the bottom of the device and work toward the top. You will hear a "click" sound as the sides open.
-
-
-
Carefully pull the wire connectors out of the white connector gauge to completely separate the front and back pieces.
-
-
-
-
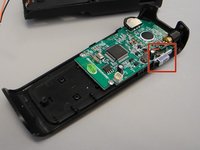
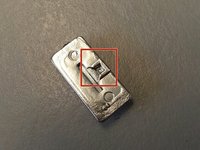
Find the lever on the right side of the back half of the device.
-
Insert the tip of the lever into the square indent on the underside of the button.
-
-


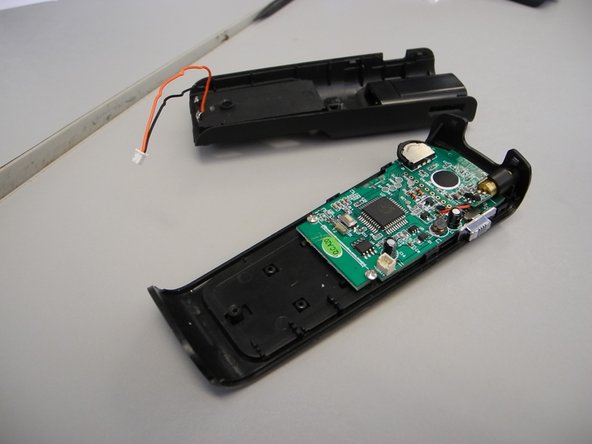
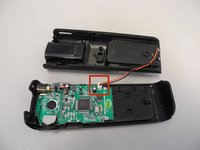
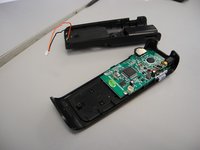


To reassemble your device, follow these instructions in reverse order. It's possible to either use a new case for your phone, or put the old one back on.
Cancel: I did not complete this guide.
One other person completed this guide.

Team

Ohio State, Team 1-1, Buehl Spring 2014 Member of Ohio State, Team 1-1, Buehl Spring 2014
OSU-BUEHL-S14S1G1
4 Members
36 Guides authored
