Free Shipping on Domestic Orders $75+

Inter-tel IP 8660 LCD Screen Replacement

What you need

  1. Inter-tel IP 8660 LCD Screen Replacement, Rear Cover: step 1, image 1 of 1
    • Before disassembling the phone, make sure it is not plugged into power and the handset phone cord is disconnected from the handset jack.

    Ask FixBot

    Add Comment

  2. Inter-tel IP 8660 LCD Screen Replacement: step 2, image 1 of 3 Inter-tel IP 8660 LCD Screen Replacement: step 2, image 2 of 3 Inter-tel IP 8660 LCD Screen Replacement: step 2, image 3 of 3
    • Unscrew the 9 highlighted screws using a #1 Phillips head screwdriver. You can use a magnetized screwdriver to draw them out.

    • 8 mm long

    • 11 mm long

    Ask FixBot

    Add Comment

  3. Inter-tel IP 8660 LCD Screen Replacement: step 3, image 1 of 1
    • Lift up the back cover and set it aside.

    Ask FixBot

    Add Comment

  4. Inter-tel IP 8660 LCD Screen Replacement, Internal speaker: step 4, image 1 of 1
    • While holding down the motherboard, gently pull the wire harness connecting the speaker to the motherboard until it comes free.

    Ask FixBot

    Add Comment

  5. Inter-tel IP 8660 LCD Screen Replacement: step 5, image 1 of 1
    • Lift up the speaker.

    Ask FixBot

    Add Comment

  6. Inter-tel IP 8660 LCD Screen Replacement, LCD Screen: step 6, image 1 of 3 Inter-tel IP 8660 LCD Screen Replacement, LCD Screen: step 6, image 2 of 3 Inter-tel IP 8660 LCD Screen Replacement, LCD Screen: step 6, image 3 of 3
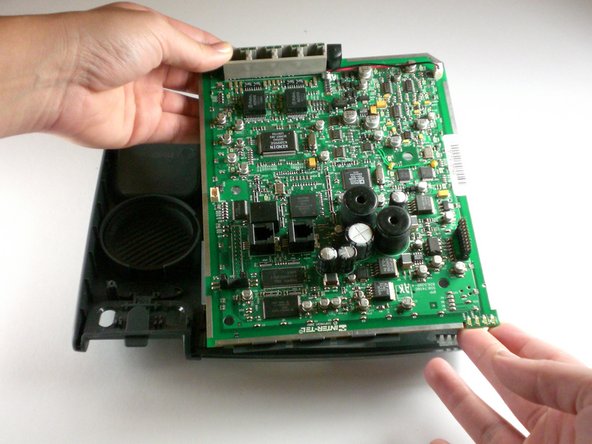
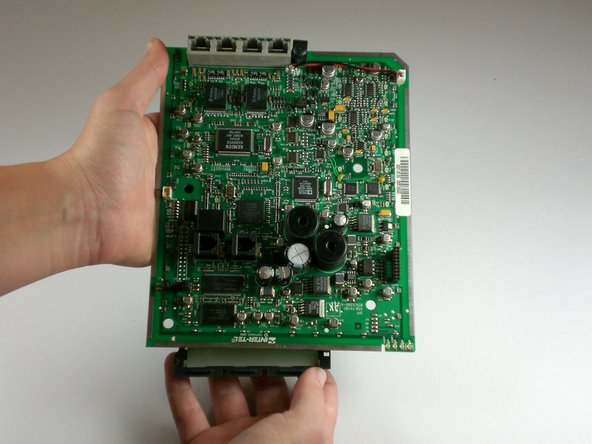
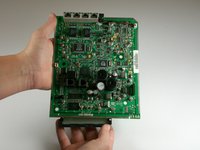
    • Lift up the motherboard out of its housing in the front cover of the phone.

    • Set the front cover and button pads aside.

    Ask FixBot

    Add Comment

  7. Inter-tel IP 8660 LCD Screen Replacement: step 7, image 1 of 3 Inter-tel IP 8660 LCD Screen Replacement: step 7, image 2 of 3 Inter-tel IP 8660 LCD Screen Replacement: step 7, image 3 of 3
    Tool used on this step:
    Tweezers
    $4.99
    Buy
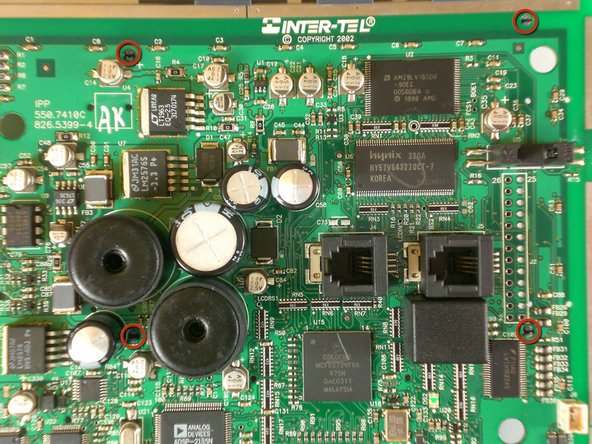
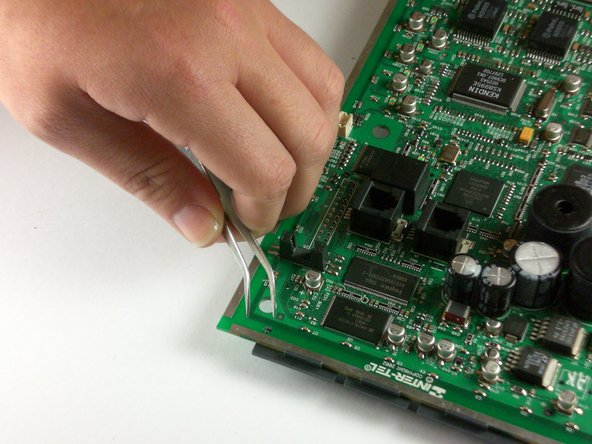
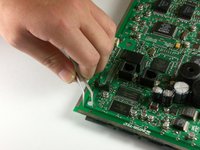
    • Using tweezers, pinch the highlighted connective clips together and depress. Start with the clips in the middle of the motherboard first.

    • Note: There are four clips, one at each corner of the LCD screen.

    Ask FixBot

    Add Comment

  8. Inter-tel IP 8660 LCD Screen Replacement: step 8, image 1 of 1
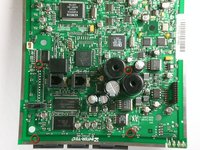
    • Flip the motherboard over so that the LCD screen is facing upward.

    Ask FixBot

    Add Comment

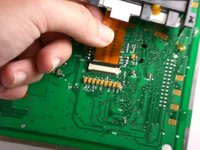
  9. Inter-tel IP 8660 LCD Screen Replacement: step 9, image 1 of 2 Inter-tel IP 8660 LCD Screen Replacement: step 9, image 2 of 2
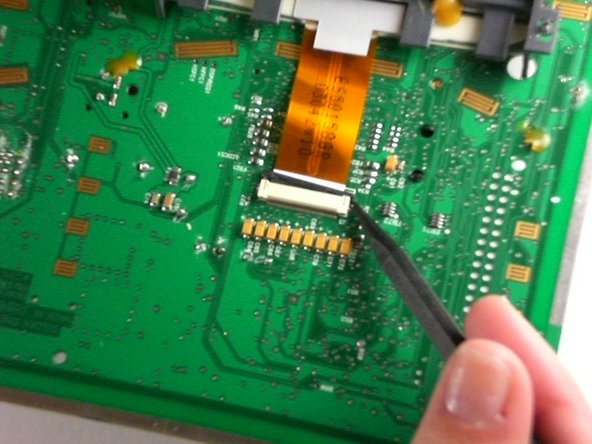
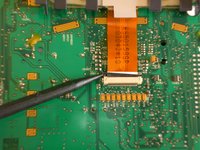
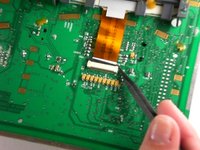
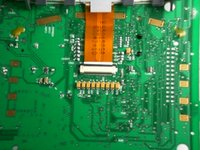
    • Push the black clip holding the ribbon cable out of its casing using the plastic opening tool.

    • This is done using the spudger to lift one side out of its housing.

    • Reposition the spudger to the other side of the black clip and push it flush with the other end.

    • Note: The black clip pushes out of the housing and does not come completely loose.

    Ask FixBot

    Add Comment

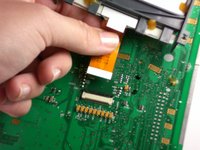
  10. Inter-tel IP 8660 LCD Screen Replacement: step 10, image 1 of 3 Inter-tel IP 8660 LCD Screen Replacement: step 10, image 2 of 3 Inter-tel IP 8660 LCD Screen Replacement: step 10, image 3 of 3
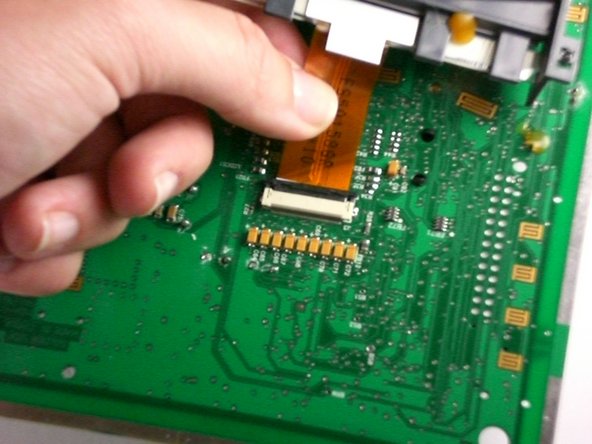
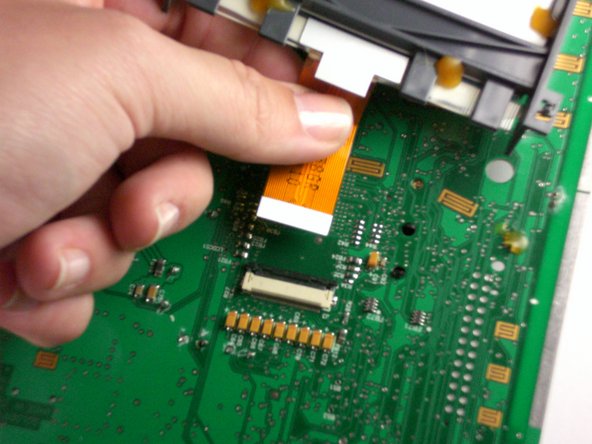
    • Pull gently on the ribbon cable so that it comes loose from the black clip.

    Ask FixBot

    Add Comment

Conclusion

To reassemble your device, follow these instructions in reverse order.

Cancel: I did not complete this guide.

One other person completed this guide.

Team

Cal Poly, Team 11-24, Maness Winter 2012 Member of Cal Poly, Team 11-24, Maness Winter 2012

CPSU-MANESS-W12S11G24

4 Members

21 Guides authored

0 Guide Comments

Add Comment

View Statistics:

Past 24 Hours: 0

Past 7 Days: 5

Past 30 Days: 32

All Time: 1,114