
Instant Pot 60 EPC Button Panel Replacement

Bela Hernandez and 3 other contributors
Last updated on Jan 3, 2025
Views: 988
View statistics:
- Past 24 Hours:
- 6
- Past 7 Days:
- 23
- Past 30 Days:
- 98
- All Time:
- 988
Comments: 0
No one has left comments on this guide. Will you be first?
Go to guide commentsCompleted: 2 3
2 people have marked this guide "completed." Will you be next?
3 people have marked this guide "completed." Including you — great job!
Favorites: 0 1
No one has favorited (and subscribed to) this guide. Will you be the first?
1 person has favorited (and subscribed to) this guide — and that's you!
Introduction
Go to step 1 ↓The following guide is from replacing the front panel of an Instant Pot 60 EPC. Consider following this guide if you have issues with unresponsive buttons, random error codes, or a flickering screen display.
What you need
Parts
Tools

-
-
-
Remove the lid and inner pot from the Instant Pot and turn the body upside down.
-
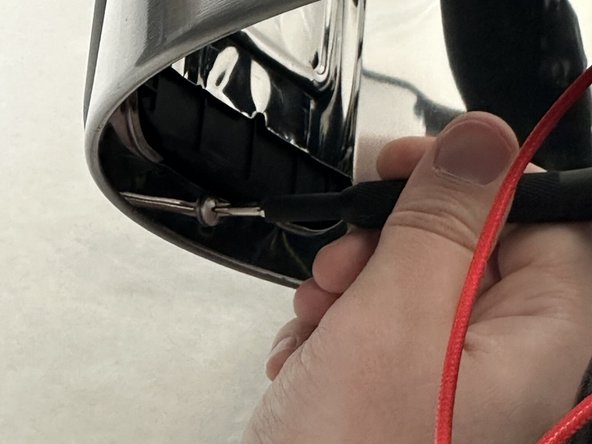
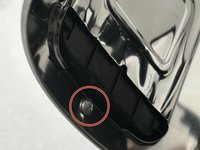
Remove the single Torx screw.
 Ask FixBot
-
-
-
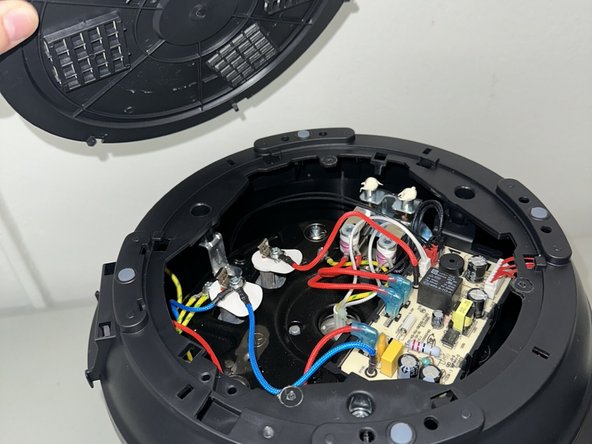
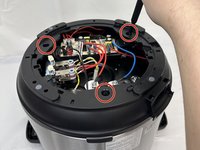
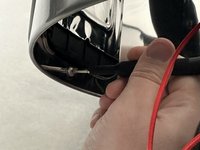
Remove the three Phillips screws securing the frame.
-
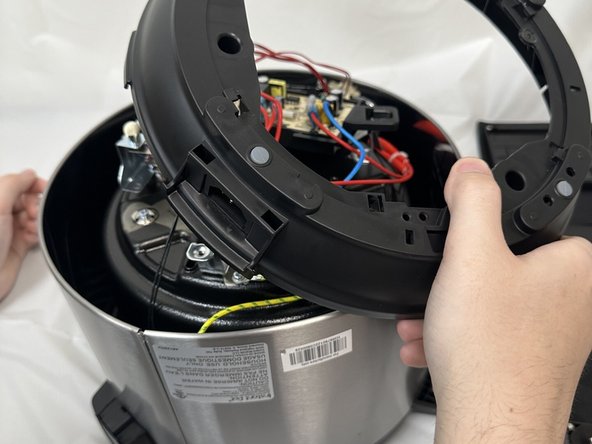
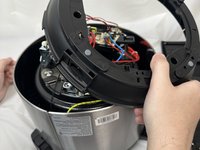
Lift the frame, twist and set next to the body. Take care not to damage any of the attached wiring.
-
-
-
Remove the single screw attaching the front panel to the main body with a Phillips screwdriver.
-
-
-
-
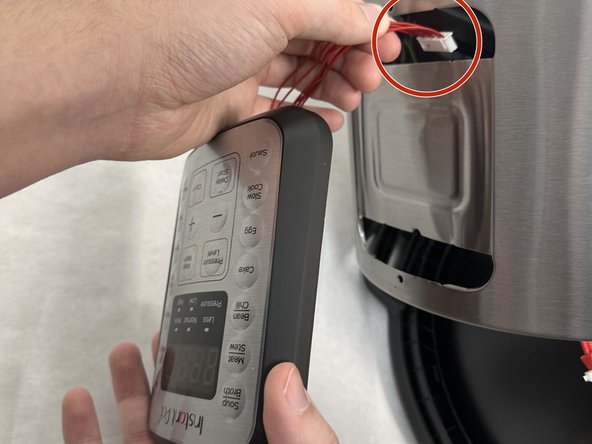
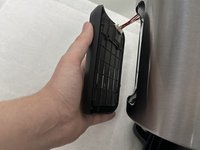
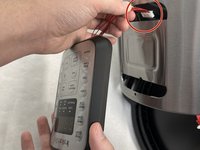
Pull the front panel away from the body and carefully pull out the wires that connect the front panel to the circuit board.
-
-





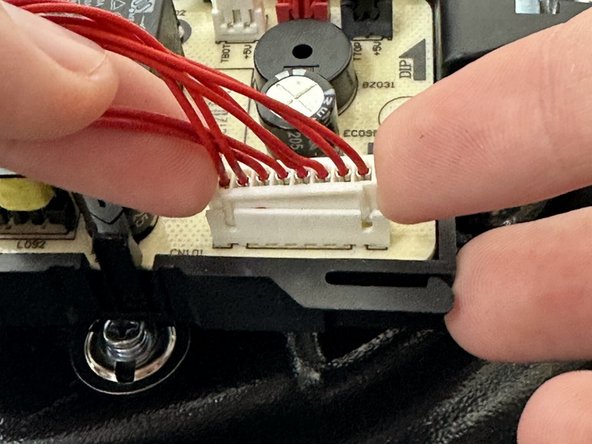


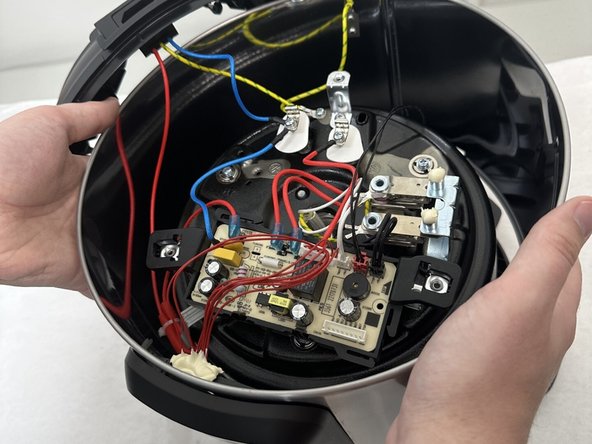
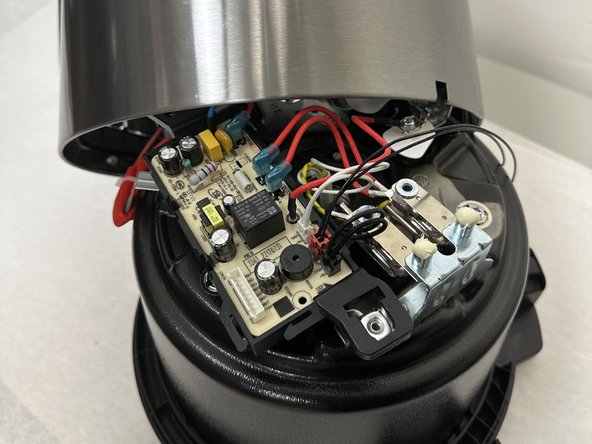
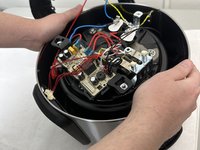
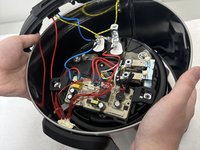
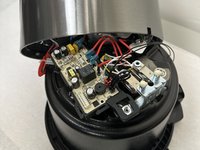


To reassemble your device, follow the above steps in reverse order.
Take your e-waste to an R2 or e-Stewards certified recycler.
Repair didn’t go as planned? Try some basic troubleshooting or ask our Answers community for help.
Cancel: I did not complete this guide.
2 other people completed this guide.

Team

University of North Texas, Team 6-4, Kilpatrick Fall 2024 Member of University of North Texas, Team 6-4, Kilpatrick Fall 2024
UNT-KILPATRICK-F24S6G4
4 Members
60 Guides authored
