Free Shipping on Domestic Orders $75+

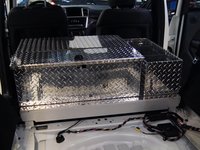
Installing Mercedes W166 RAV Tool Box

What you need

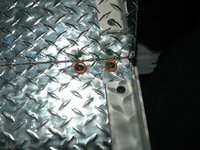
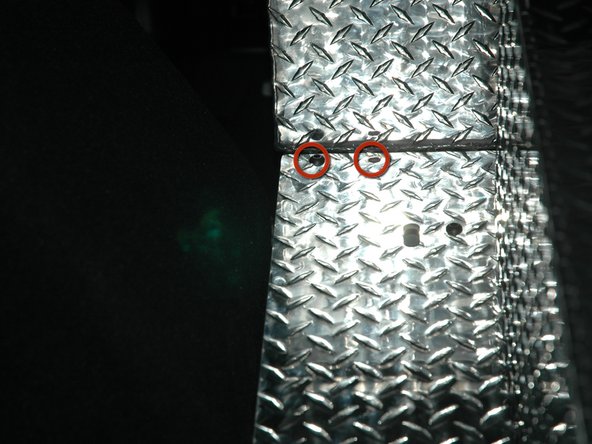
    1. Installing Mercedes W166 RAV Tool Box, RAV Tool Box: step 1, image 1 of 2 Installing Mercedes W166 RAV Tool Box, RAV Tool Box: step 1, image 2 of 2
      • 1. Vehicle Preparation

      • Remove all loose items from the cargo area. Remove the cargo floor, spare wheel and tool tray.

      • Remove rear seats as in WIS instructions (Save seat mounting hardware)

      Ask FixBot

      Add Comment

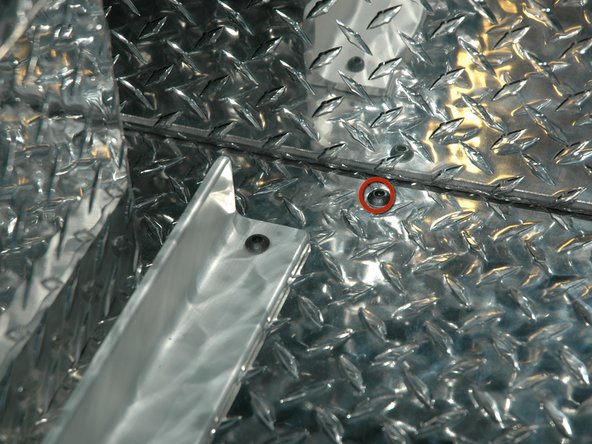
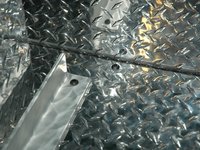
    2. Installing Mercedes W166 RAV Tool Box: step 2, image 1 of 3 Installing Mercedes W166 RAV Tool Box: step 2, image 2 of 3 Installing Mercedes W166 RAV Tool Box: step 2, image 3 of 3
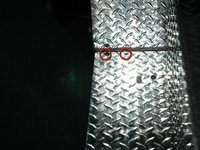
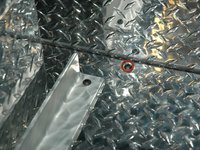
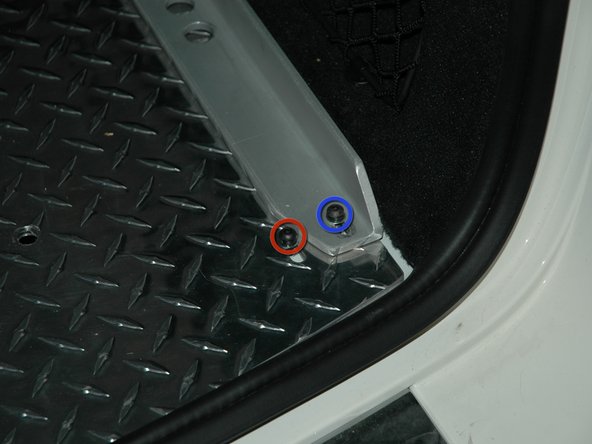
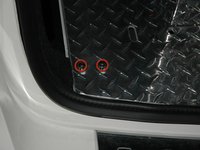
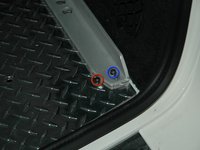
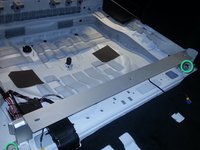
      • Remove bolt from rear deck sill plate

      • Unclip rear deck sill plate and remove.

      Ask FixBot

      Add Comment

    3. Installing Mercedes W166 RAV Tool Box: step 3, image 1 of 1
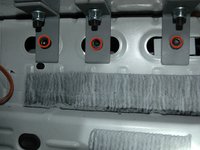
      • Remove plastic covers

      • Remove Felt liner

      Ask FixBot

      Add Comment

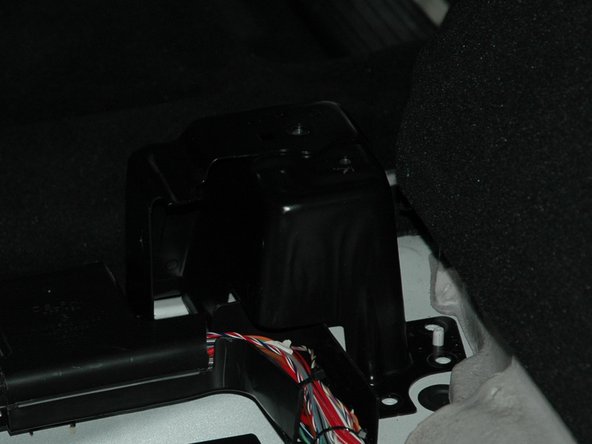
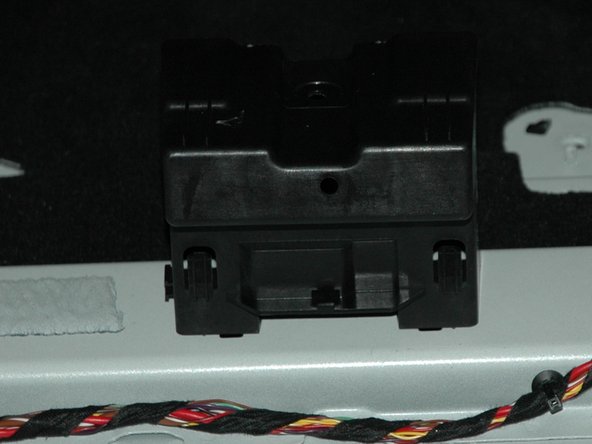
    4. Installing Mercedes W166 RAV Tool Box: step 4, image 1 of 3 Installing Mercedes W166 RAV Tool Box: step 4, image 2 of 3 Installing Mercedes W166 RAV Tool Box: step 4, image 3 of 3
      • Remove side consoles and center support (T30 10 Bolts)

      Ask FixBot

      Add Comment

    5. Installing Mercedes W166 RAV Tool Box: step 5, image 1 of 3 Installing Mercedes W166 RAV Tool Box: step 5, image 2 of 3 Installing Mercedes W166 RAV Tool Box: step 5, image 3 of 3
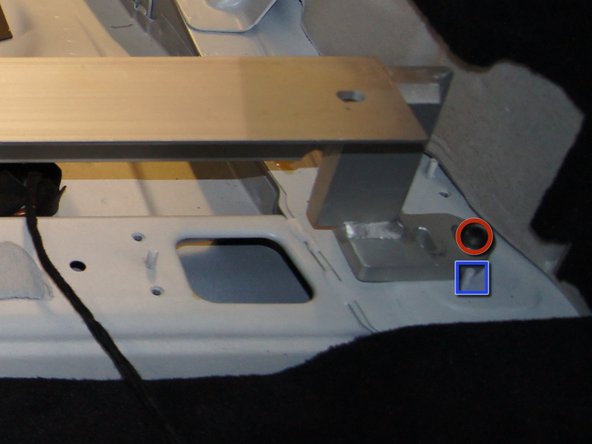
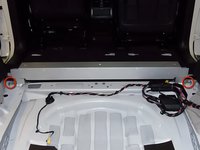
      • Install and bolt down center support bracket (2 Bolts M10 x 1.5 x35mm 6mm Allen cap, 10mm flat washers)

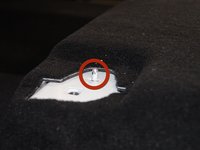
      • Pay attention to the pin to align properly

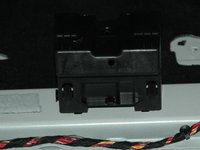
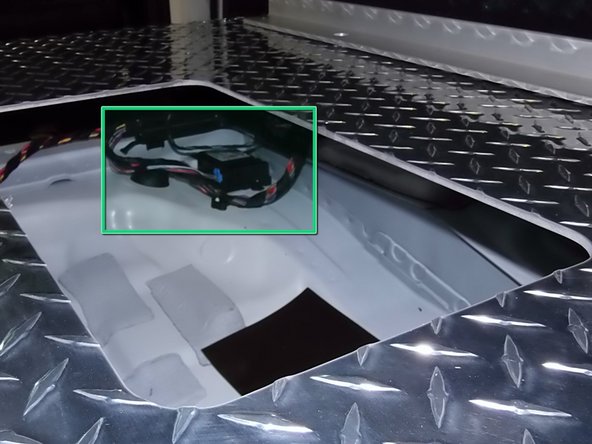
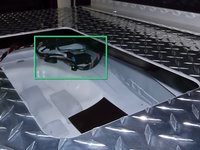
      • NOTE: To service TPMS control module remove drawers ad service through access door in bottom plate.

      Ask FixBot

      Add Comment

    6. Installing Mercedes W166 RAV Tool Box: step 6, image 1 of 3 Installing Mercedes W166 RAV Tool Box: step 6, image 2 of 3 Installing Mercedes W166 RAV Tool Box: step 6, image 3 of 3
      • 2. Installation of Front Box

      • Place box inside vehicle. It fits through the rear doors. This is a 2 person job.

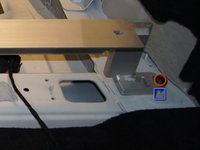
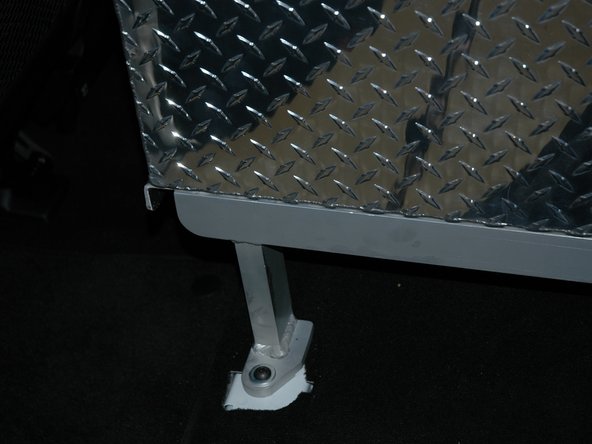
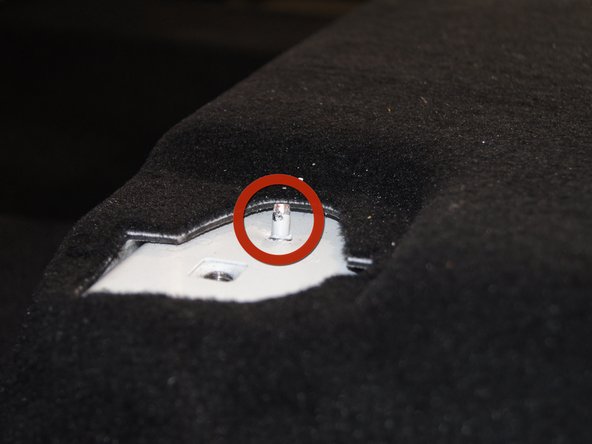
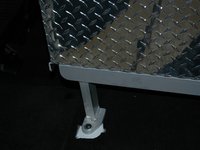
      • Mount front legs on front consoles, tighten loosely (2 Bolts M10 x 1.5 x35mm 6mm Allen cap, 10mm flat washers). Pay attention not to break off the alignment pin, which will be inside the post after mounting.

      • DO NOT mount the box to the center bracket at this point

      Ask FixBot

      Add Comment

    7. Installing Mercedes W166 RAV Tool Box: step 7, image 1 of 2 Installing Mercedes W166 RAV Tool Box: step 7, image 2 of 2
      • 3. Installation of the rear plate

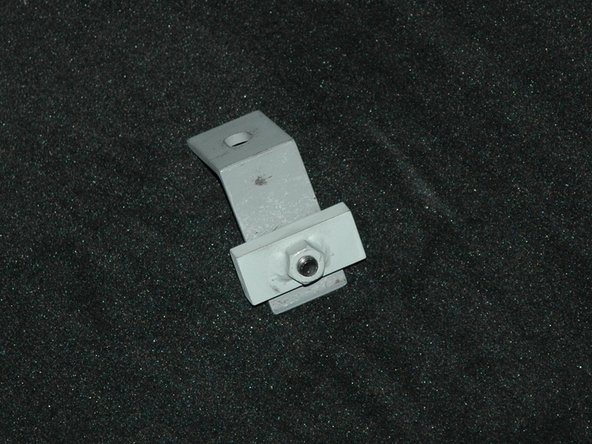
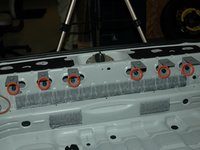
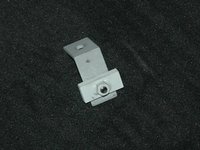
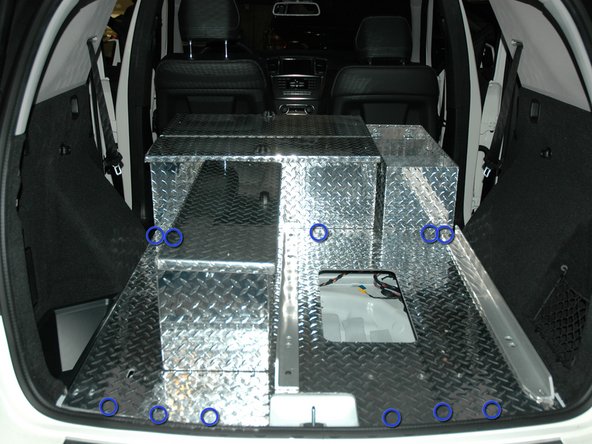
      • Install 6 rear support brackets and tighten finger tight

      Ask FixBot

      Add Comment

    8. Installing Mercedes W166 RAV Tool Box: step 8, image 1 of 3 Installing Mercedes W166 RAV Tool Box: step 8, image 2 of 3 Installing Mercedes W166 RAV Tool Box: step 8, image 3 of 3
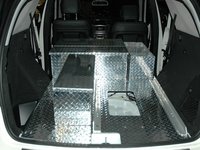
      • Set plate on brackets and align, overlapping the base plate of the front box on the center support bracket.

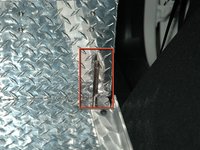
      • Use punch tool to align holes and drop in 2 bolts M8 x 1.25 x 40mm in holes on each side and one bolt M8 x 1.25 x 30 in the center hole.

      Ask FixBot

      Add Comment

    9. Installing Mercedes W166 RAV Tool Box: step 9, image 1 of 3 Installing Mercedes W166 RAV Tool Box: step 9, image 2 of 3 Installing Mercedes W166 RAV Tool Box: step 9, image 3 of 3
      • Secure plate to center support bracket with 2 bolts on the outside and on in the middle, align and finger tighten

      Ask FixBot

      Add Comment

    10. Installing Mercedes W166 RAV Tool Box: step 10, image 1 of 2 Installing Mercedes W166 RAV Tool Box: step 10, image 2 of 2
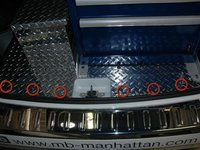
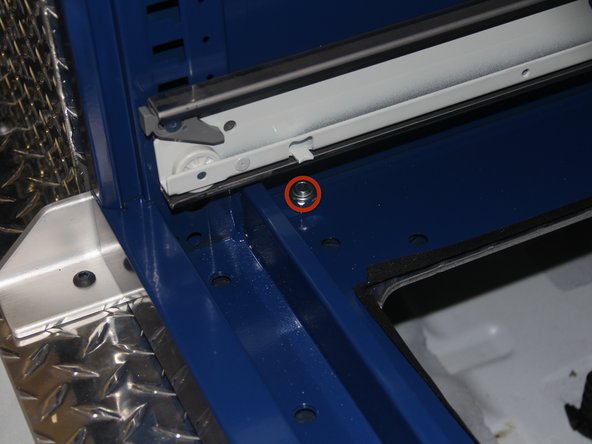
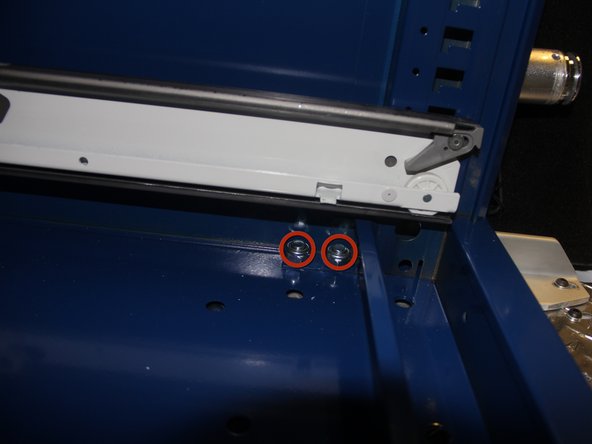
      • Install 3 bolts securing base plate to vehicle frame

      • and 4th bolt securing the tool box rail to the base plate and vehicle frame.

      • Put bolt sizes in

      Ask FixBot

      Add Comment

    11. Installing Mercedes W166 RAV Tool Box: step 11, image 1 of 2 Installing Mercedes W166 RAV Tool Box: step 11, image 2 of 2
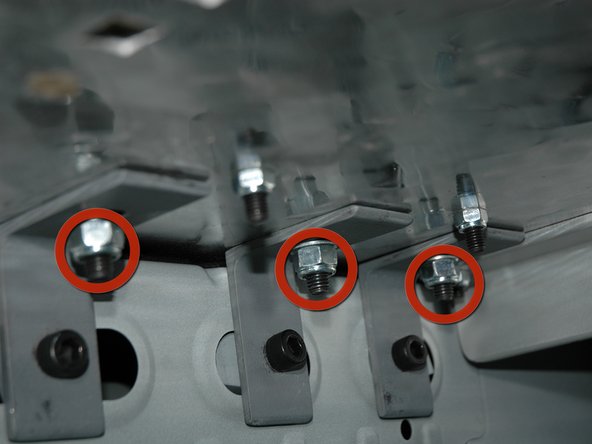
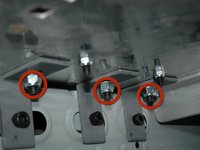
      • Install and loosely tighten 3 M8 black oxide bolts on each side until L bracket touches the underside of the base plate

      Ask FixBot

      Add Comment

    12. Installing Mercedes W166 RAV Tool Box: step 12, image 1 of 2 Installing Mercedes W166 RAV Tool Box: step 12, image 2 of 2
      • Fully tighten M8 (20 Nm)

      • Fully tighten M6 (8 Nm)

      Ask FixBot

      Add Comment

    13. Installing Mercedes W166 RAV Tool Box: step 13, image 1 of 3 Installing Mercedes W166 RAV Tool Box: step 13, image 2 of 3 Installing Mercedes W166 RAV Tool Box: step 13, image 3 of 3
      • Fully tighten M10 bolts (35 Nm)

      Ask FixBot

      Add Comment

    14. Installing Mercedes W166 RAV Tool Box: step 14, image 1 of 3 Installing Mercedes W166 RAV Tool Box: step 14, image 2 of 3 Installing Mercedes W166 RAV Tool Box: step 14, image 3 of 3
      • 4. Install box

      • Remove drawers and slide box on rail guides, align with bolt holes

      • Install 6 (M12) bolts and fully tighten to 66 Nm

      Ask FixBot

      Add Comment

    15. Installing Mercedes W166 RAV Tool Box: step 15, image 1 of 3 Installing Mercedes W166 RAV Tool Box: step 15, image 2 of 3 Installing Mercedes W166 RAV Tool Box: step 15, image 3 of 3
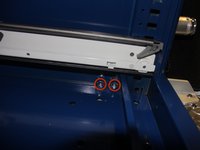
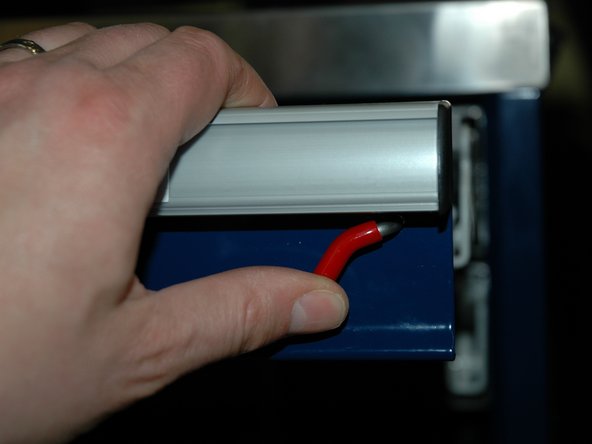
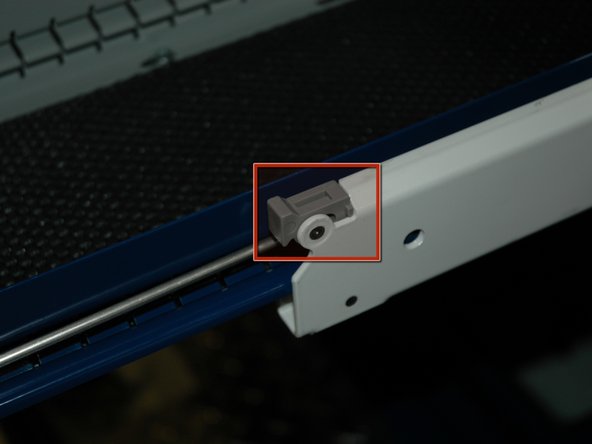
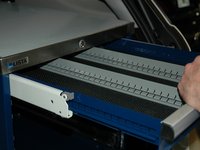
      • Install drawers.

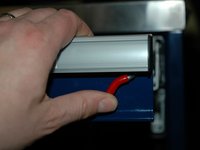
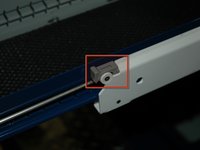
      • After drawer is installed move rail clip to locked position

      Ask FixBot

      Add Comment

    16. Installing Mercedes W166 RAV Tool Box: step 16, image 1 of 1
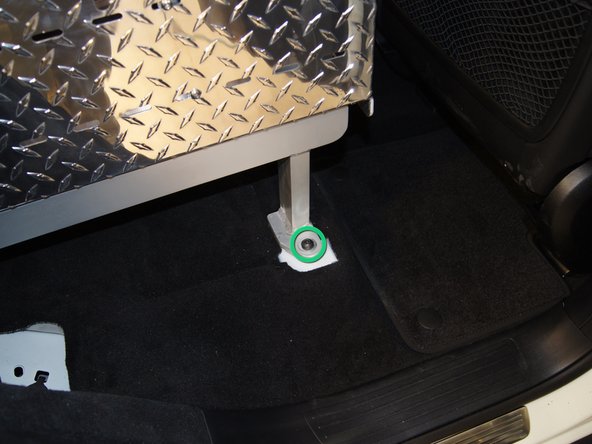
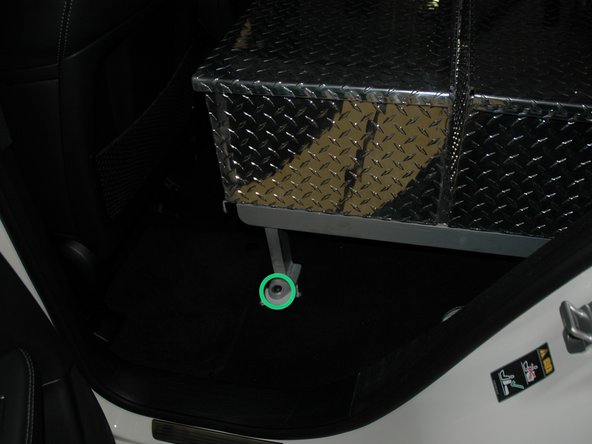
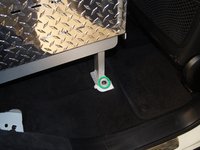
      • Fasten seat belt with bolt to floor

      Ask FixBot

      Add Comment

Finish Line

Cancel: I did not complete this guide.

5 other people completed this guide.

Stefan

Member since: 02/22/13

302 Reputation

1 Guide authored

0 Guide Comments

Add Comment

View Statistics:

Past 24 Hours: 2

Past 7 Days: 6

Past 30 Days: 52

All Time: 5,514