Free Shipping on Domestic Orders $75+

Insignia NS-DS9PDVD15 Screen Replacement

What you need

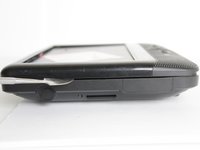
  1. Insignia NS-DS9PDVD15  Screen Replacement, Bottom Cover: step 1, image 1 of 2 Insignia NS-DS9PDVD15  Screen Replacement, Bottom Cover: step 1, image 2 of 2
    • Turn the power off. Slide the power button to OFF.

    Ask FixBot
    Add Comment

  2. Insignia NS-DS9PDVD15  Screen Replacement: step 2, image 1 of 2 Insignia NS-DS9PDVD15  Screen Replacement: step 2, image 2 of 2
    • Unplug AC adapter from car cigarette lighter.

    Ask FixBot

    Add Comment

  3. Insignia NS-DS9PDVD15  Screen Replacement: step 3, image 1 of 1
    • Make sure there is no DVD or CD in the disc tray

    Ask FixBot
    Add Comment

  4. Insignia NS-DS9PDVD15  Screen Replacement: step 4, image 1 of 2 Insignia NS-DS9PDVD15  Screen Replacement: step 4, image 2 of 2
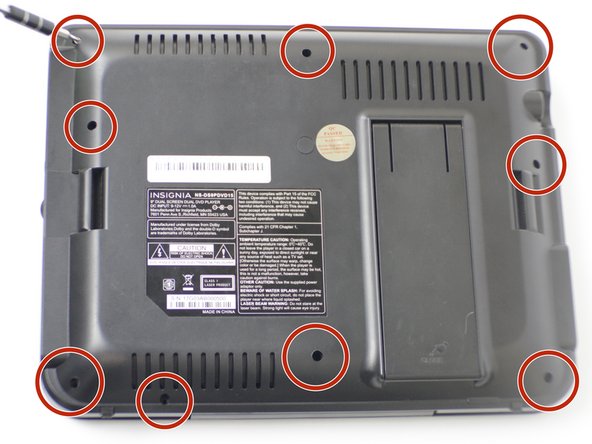
    • Unscrew the nine 9mm screws with a JIS #000 screwdriver.

    Ask FixBot
    Add Comment

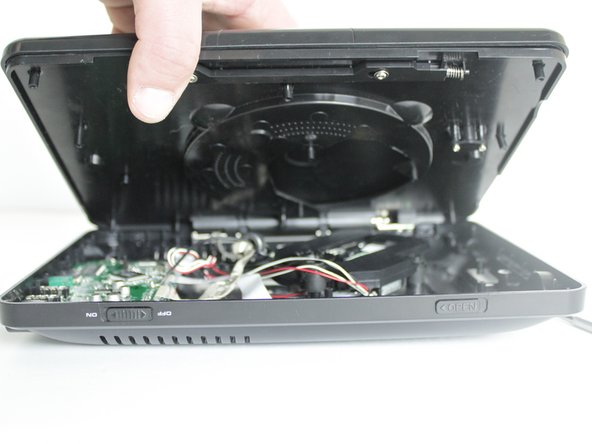
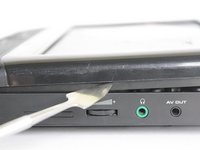
  5. Insignia NS-DS9PDVD15  Screen Replacement: step 5, image 1 of 3 Insignia NS-DS9PDVD15  Screen Replacement: step 5, image 2 of 3 Insignia NS-DS9PDVD15  Screen Replacement: step 5, image 3 of 3
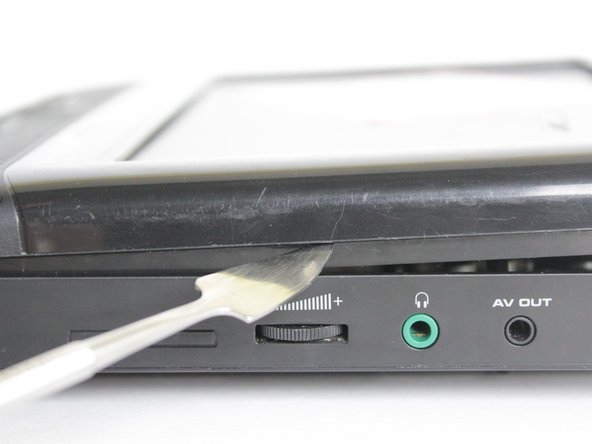
    • Pry off back panel with prying tool, then remove by hand.

    Ask FixBot
    Add Comment

  6. Insignia NS-DS9PDVD15  Screen Replacement, Disc Tray: step 6, image 1 of 2 Insignia NS-DS9PDVD15  Screen Replacement, Disc Tray: step 6, image 2 of 2
    • After the back is removed and the disk tray is loose from the bottom, locate the two, 3 mm screws that hold the tray to the hinge.

    • Unscrew them with the JIS #000 screwdriver.

    Ask FixBot

    Add Comment

  7. Insignia NS-DS9PDVD15  Screen Replacement: step 7, image 1 of 1
    • Slide the tray up and off of the hinge completely.

    Ask FixBot
    Add Comment

  8. Insignia NS-DS9PDVD15  Screen Replacement, Screen: step 8, image 1 of 1
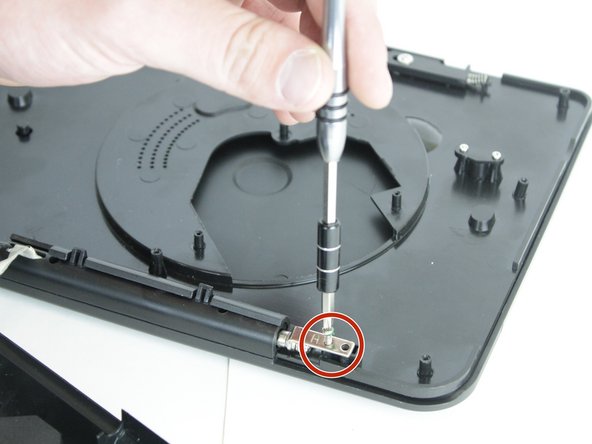
    • After the bottom cover and disk tray have been removed, remove the back panel from the top half.

    • There are six, 9 mm screws on the bottom cover and 2 screws on the hinge. Remove them with the JIS #000 screwdriver.

    Ask FixBot
    Add Comment

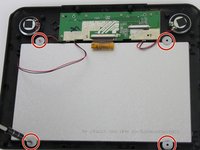
  9. Insignia NS-DS9PDVD15  Screen Replacement: step 9, image 1 of 2 Insignia NS-DS9PDVD15  Screen Replacement: step 9, image 2 of 2
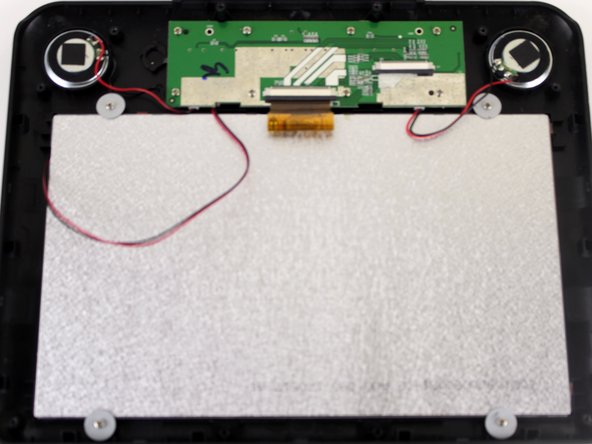
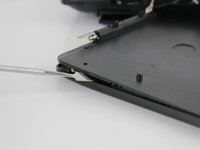
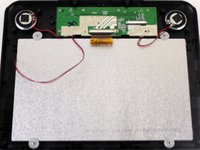
    • Once all the screws are removed, pry off the cover with the pry tool.

    • You'll see the PC board, back of the speakers, and the back of the screen.

    Ask FixBot
    Add Comment

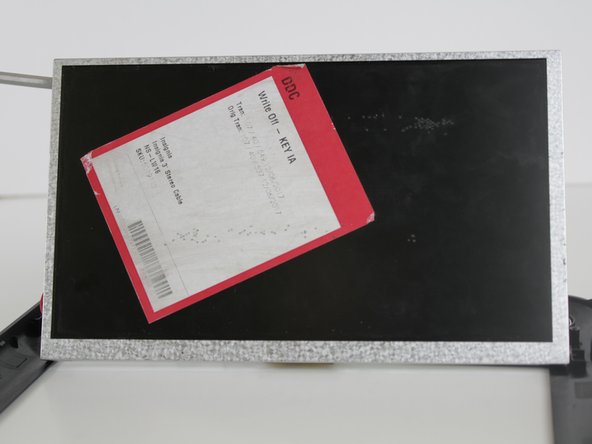
  10. Insignia NS-DS9PDVD15  Screen Replacement: step 10, image 1 of 2 Insignia NS-DS9PDVD15  Screen Replacement: step 10, image 2 of 2
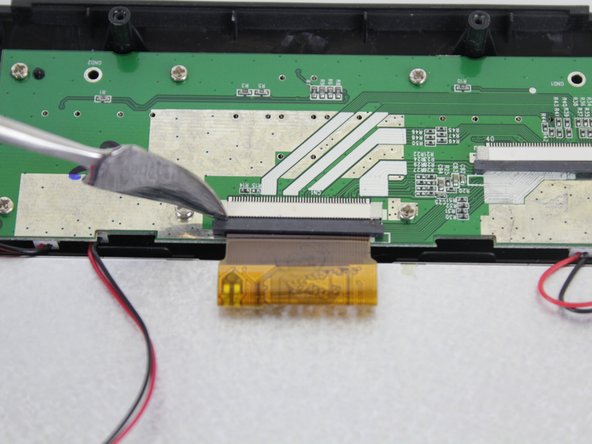
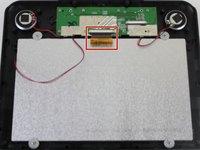
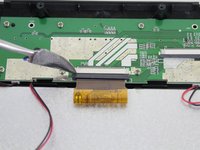
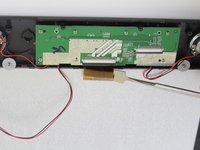
    • Remove the ribbon cable carefully with the pry tool.

    • First, push out the black portion.

    Ask FixBot

    Add Comment
  11. Insignia NS-DS9PDVD15  Screen Replacement: step 11, image 1 of 2 Insignia NS-DS9PDVD15  Screen Replacement: step 11, image 2 of 2
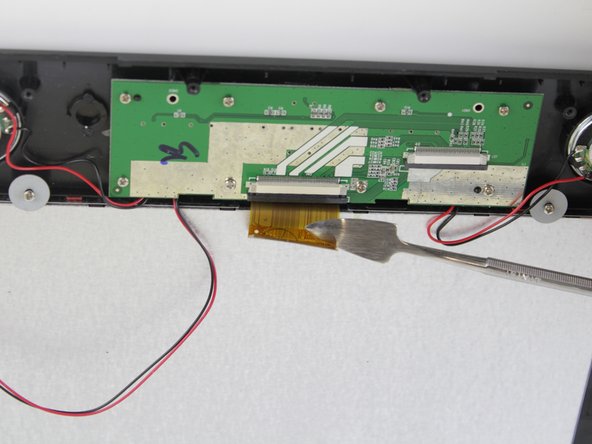
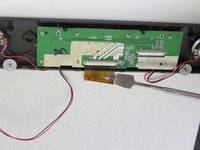
    • Next, push out the 'ribbon' with the pry tool.

    Ask FixBot

    Add Comment

  12. Insignia NS-DS9PDVD15  Screen Replacement: step 12, image 1 of 2 Insignia NS-DS9PDVD15  Screen Replacement: step 12, image 2 of 2
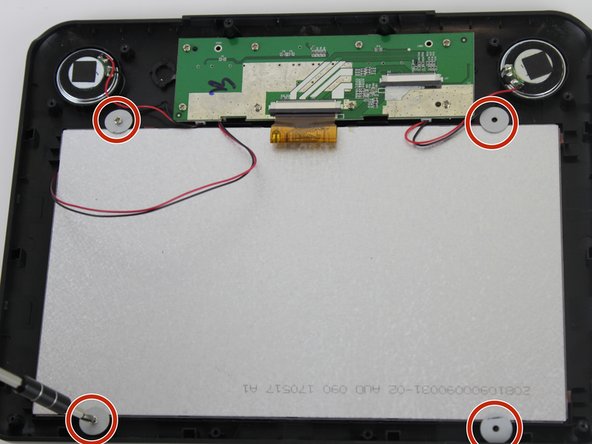
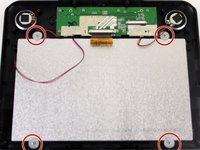
    • Unscrew the corners of screen with the JIS #000 screwdriver. There are four, 6 mm screws with washers.

    Ask FixBot

    Add Comment

  13. Insignia NS-DS9PDVD15  Screen Replacement: step 13, image 1 of 2 Insignia NS-DS9PDVD15  Screen Replacement: step 13, image 2 of 2
    • After the screws and washers are removed, you can lift the screen off with the pry tool.

    Ask FixBot

    Add Comment

Conclusion

To reassemble your device, follow these instructions in reverse order.

Cancel: I did not complete this guide.

1 Guide Comment

what is the model of the LCD Panel?

Justin Frost - Reply Share

Add Comment

View Statistics:

Past 24 Hours: 0

Past 7 Days: 2

Past 30 Days: 29

All Time: 945