Free Shipping on Domestic Orders $75+

Insignia NS-B2110 Transformer Replacement

What you need

  1. Insignia NS-B2110 Transformer Replacement, Battery: step 1, image 1 of 2 Insignia NS-B2110 Transformer Replacement, Battery: step 1, image 2 of 2
    • Flip the stereo so the CD opening is face down.

    • With two fingers, pinch the tabs and lift up to open the battery protection cover.

    Ask FixBot

    Add Comment

  2. Insignia NS-B2110 Transformer Replacement: step 2, image 1 of 2 Insignia NS-B2110 Transformer Replacement: step 2, image 2 of 2
    • Using a spudger or your fingers, push up against the positive end of the battery. Once it is loose, lift the battery out.

    • Repeat until all eight batteries are removed.

    • Make sure the batteries are facing the right direction. If the device does not turn on, you may have the batteries in the opposite orientation.

    Ask FixBot

    Add Comment

  3. Insignia NS-B2110 Transformer Replacement, Bottom Panel: step 3, image 1 of 1
    • With a Phillips #2 screwdriver, remove two 2mm screws.

    Ask FixBot

    Add Comment

  4. Insignia NS-B2110 Transformer Replacement: step 4, image 1 of 2 Insignia NS-B2110 Transformer Replacement: step 4, image 2 of 2
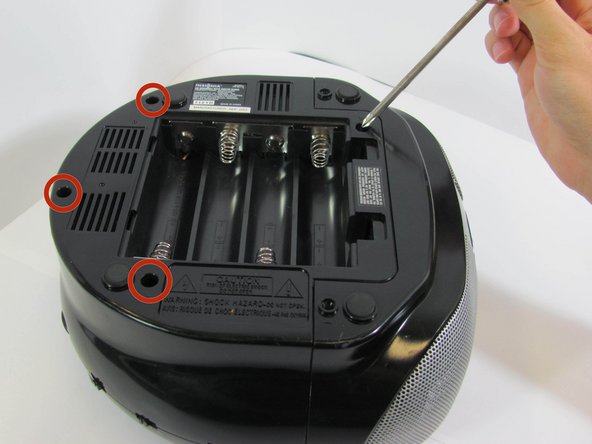
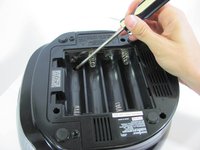
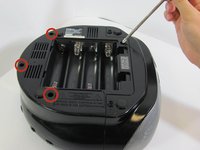
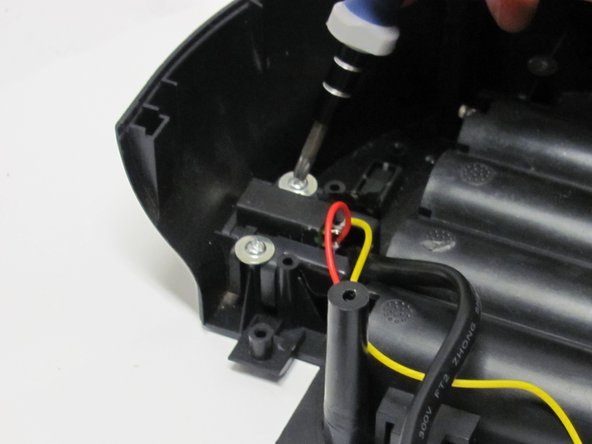
    • Using a long Phillips #2 screwdriver, remove one 6mm screw located inside the battery compartment.

    • Use the same screwdriver to remove four more 6mm screws along the outside of the case.

    Ask FixBot

    Add Comment

  5. Insignia NS-B2110 Transformer Replacement: step 5, image 1 of 3 Insignia NS-B2110 Transformer Replacement: step 5, image 2 of 3 Insignia NS-B2110 Transformer Replacement: step 5, image 3 of 3
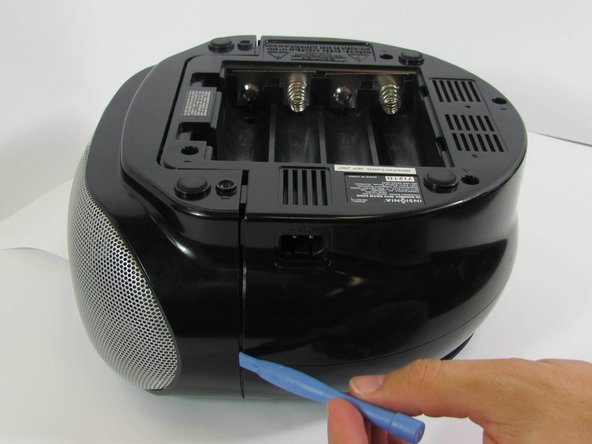
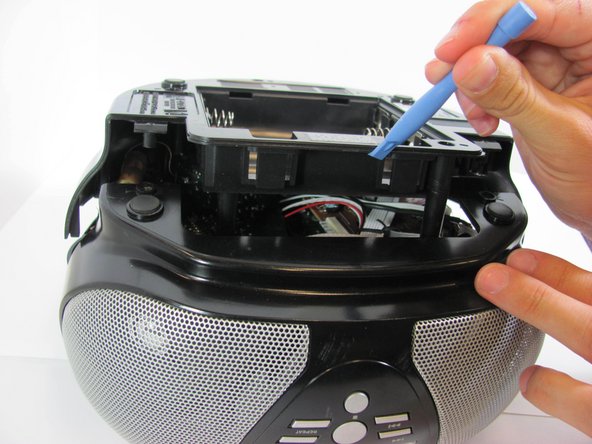
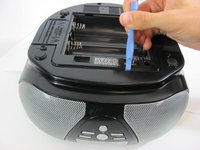
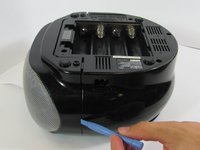
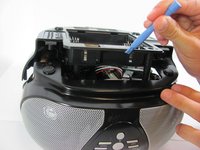
    • With a plastic opening tool, wedge the bottom shell from the main speaker face along the edge.

    • The bottom cover has two red and two yellow wires attached to it that you don't want to pull off. Handle the casing carefully.

    • Once the pieces are separated, pull them apart and place the bottom cover aside, near the stereo.

    Ask FixBot

    Add Comment

  6. Insignia NS-B2110 Transformer Replacement, Transformer: step 6, image 1 of 2 Insignia NS-B2110 Transformer Replacement, Transformer: step 6, image 2 of 2
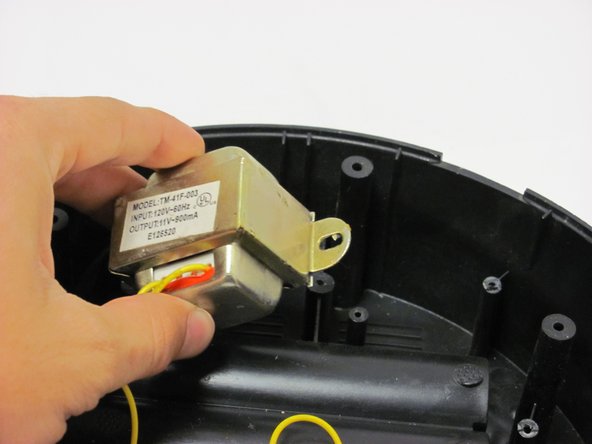
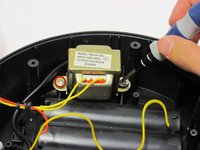
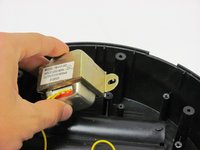
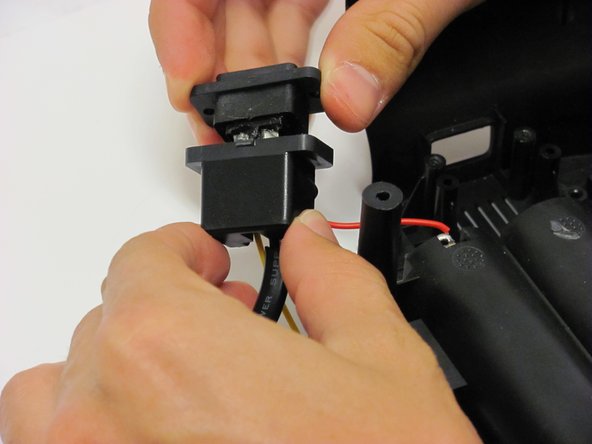
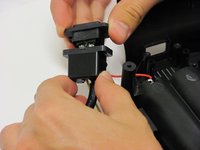
    • Using a Phillips #2 screwdriver, remove two 4mm screws from the transformer box.

    • Remove the transformer and set it to the side.

    Ask FixBot

    Add Comment

  7. Insignia NS-B2110 Transformer Replacement: step 7, image 1 of 1
    • Remove the solder connecting the two yellow wires to the green quarter-circle board.

    Ask FixBot

    Add Comment

  8. Insignia NS-B2110 Transformer Replacement: step 8, image 1 of 3 Insignia NS-B2110 Transformer Replacement: step 8, image 2 of 3 Insignia NS-B2110 Transformer Replacement: step 8, image 3 of 3
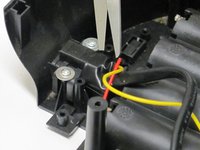
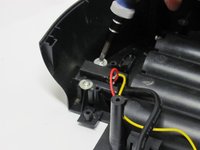
    • There will be a strip of electrical tape securing the converter. Use scissors to carefully remove this tape.

    • Use a Phillips #2 screwdriver to remove two 4mm screws from the converter.

    • Remove the converter. There will be a plastic casing that slides off; set this aside.

    Ask FixBot

    Add Comment

  9. Insignia NS-B2110 Transformer Replacement: step 9, image 1 of 1
    • Remover the solder from the red and yellow wires on the converter.

    Ask FixBot

    Add Comment

Conclusion

To reassemble your device, follow these instructions in reverse order.

Cancel: I did not complete this guide.

Jacob Phillips

Member since: 10/14/13

313 Reputation

3 Guides authored

Team

Cal Poly, Team 4-31, Amido Fall 2013 Member of Cal Poly, Team 4-31, Amido Fall 2013

CPSU-AMIDO-F13S4G31

4 Members

8 Guides authored

0 Guide Comments

Add Comment

View Statistics:

Past 24 Hours: 0

Past 7 Days: 6

Past 30 Days: 32

All Time: 596