Free Shipping on Domestic Orders $75+

Inse N500 Dustbin Replacement

What you need

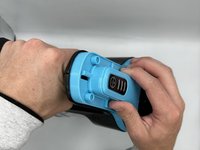
    1. Inse N500 Dustbin Replacement, Dustbin: step 1, image 1 of 3 Inse N500 Dustbin Replacement, Dustbin: step 1, image 2 of 3 Inse N500 Dustbin Replacement, Dustbin: step 1, image 3 of 3
      • Unclip the plastic band from the vacuum head.

      Ask FixBot

      Add Comment

    2. Inse N500 Dustbin Replacement: step 2, image 1 of 2 Inse N500 Dustbin Replacement: step 2, image 2 of 2
      • Remove six 6 mm screws using a Phillips #0 screwdriver.

      Ask FixBot

      Add Comment

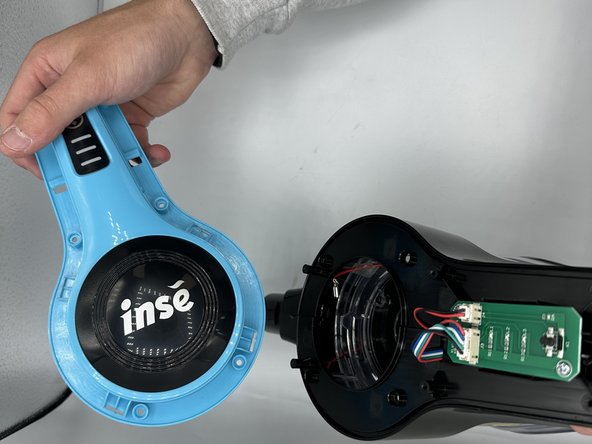
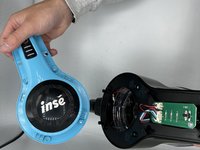
    3. Inse N500 Dustbin Replacement: step 3, image 1 of 2 Inse N500 Dustbin Replacement: step 3, image 2 of 2
      • Remove the vacuum head guard.

      Ask FixBot

      Add Comment

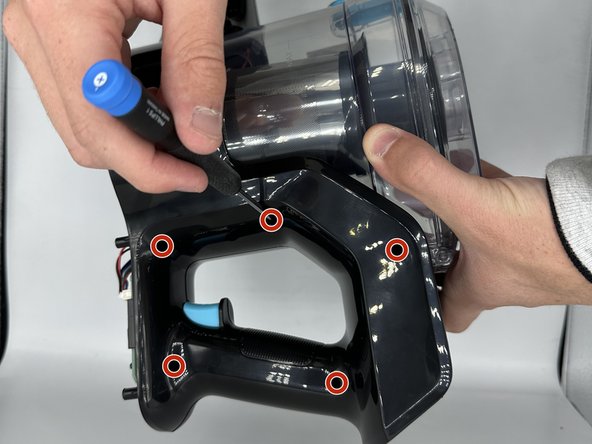
    4. Inse N500 Dustbin Replacement: step 4, image 1 of 2 Inse N500 Dustbin Replacement: step 4, image 2 of 2
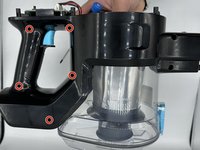
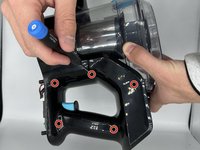
      • Remove the ten 4 mm screws using a Phillips #0 screwdriver.

      • There are five screws on each side of the vacuum.

      Ask FixBot

      Add Comment

    5. Inse N500 Dustbin Replacement: step 5, image 1 of 2 Inse N500 Dustbin Replacement: step 5, image 2 of 2
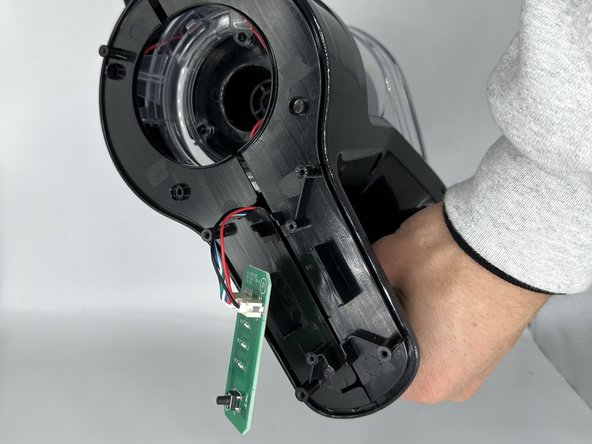
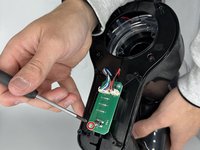
      • Remove the single 4 mm screw from the circuit board using a Phillips #0 screwdriver.

      Ask FixBot

      Add Comment

    6. Inse N500 Dustbin Replacement: step 6, image 1 of 2 Inse N500 Dustbin Replacement: step 6, image 2 of 2
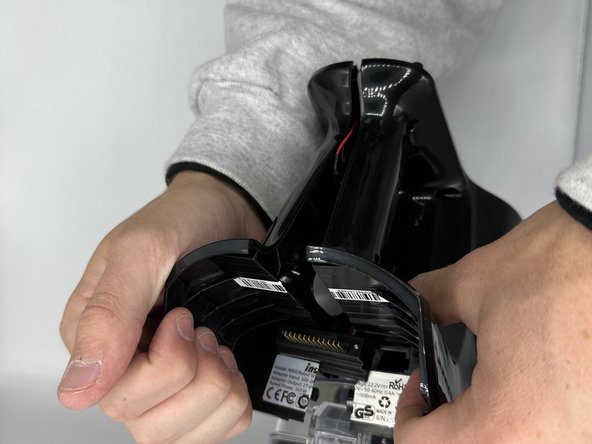
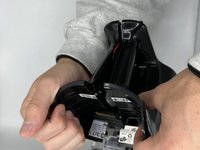
      • Unfasten the remaining clips.

      Ask FixBot

      Add Comment

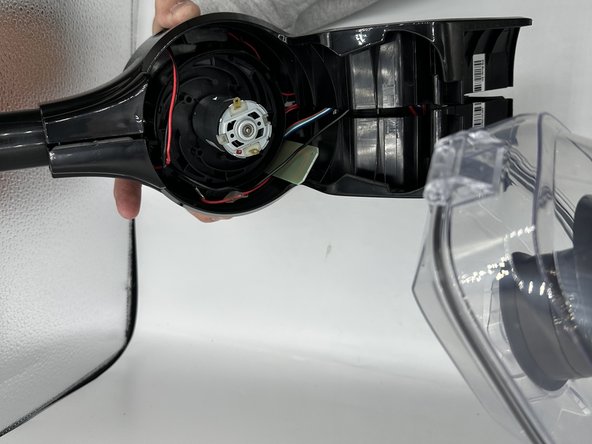
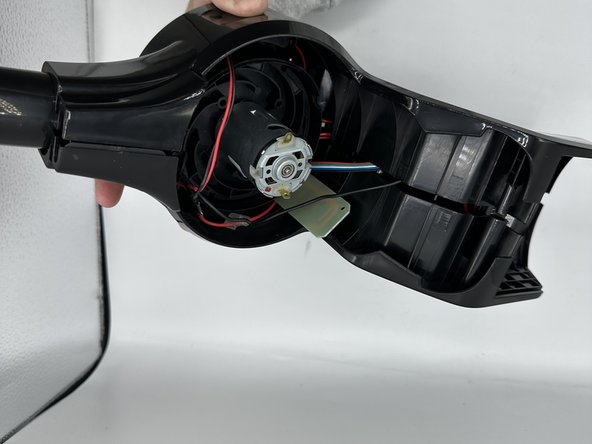
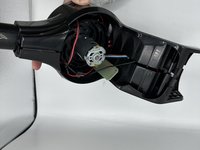
    7. Inse N500 Dustbin Replacement: step 7, image 1 of 3 Inse N500 Dustbin Replacement: step 7, image 2 of 3 Inse N500 Dustbin Replacement: step 7, image 3 of 3
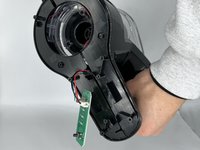
      • Remove the dustbin.

      Ask FixBot

      Add Comment

Conclusion

To reassemble your device, follow these instructions in reverse order.

Cancel: I did not complete this guide.

One other person completed this guide.

0 Guide Comments

Add Comment

View Statistics:

Past 24 Hours: 0

Past 7 Days: 2

Past 30 Days: 20

All Time: 542