Introduction
Replace the motherboard if experiencing sound and power problems.
For this project you may need a can of compressed air to clean the insides of the projector. You may also want safety goggles.
What you need
-
-
-
Flip the projector on its back.
-
Use the Phillips #2 screwdriver to remove the (4) four 2 cm gold screws.
-
Use the Phillips #2 screwdriver to remove the (3) three 1 cm silver screws.
 Ask FixBot
-
-
-
Turn the projector, facing the back cable board towards you.
-
Using the Phillips #0 screwdriver, remove the (3) three 1.0 cm silver screws on the back panel.
-
Gently take off back cable panel.
-
-
-
Turn the projector so the front side with the lens is facing you.
-
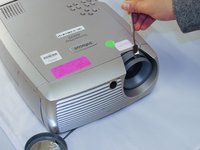
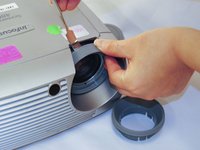
Gently pry the both of the grey lens rings using the metal spudger.
-
-
-
-
Now that the screws have been removed, proceed with the removal of the outer panel.
-
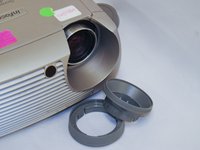
Gently remove the front lens panel.
-
-
-
Being careful not to pull the wires inside the projector, gently lift the top panel off the projector.
-
-
-
-
-
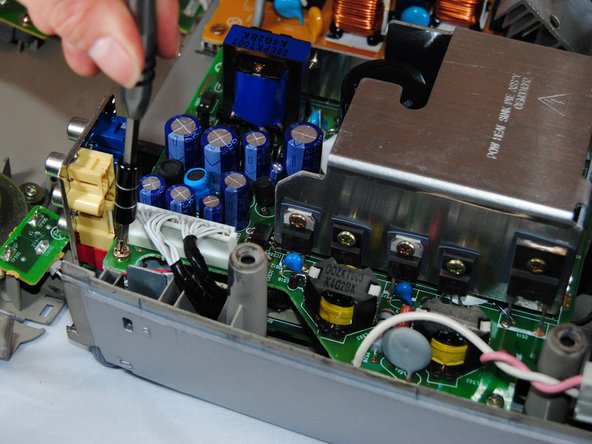
Using the Phillips #1 screwdriver, remove the (4) four 1.5 cm screws on each of the four corners of the motherboard cover.
-
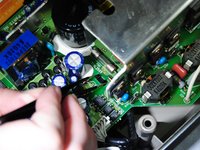
Remove the white tab connected to the light bulb.
-
-
-
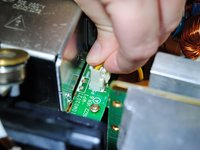
Gently pull the white tab on the right side of the silver power housing by pinching each side of it.
-
Pinch the two black tabs on the inside of the cover to remove.
-
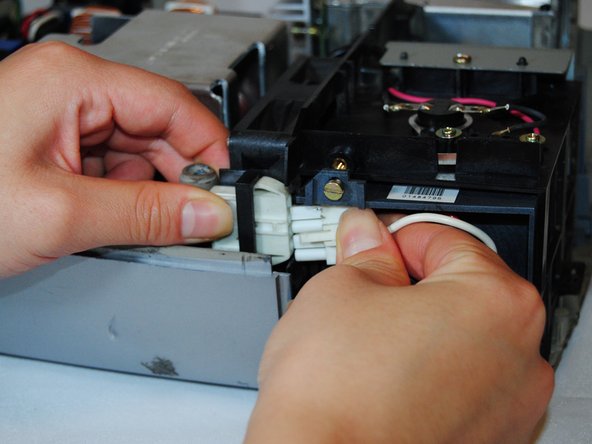
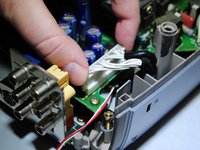
Gently pull on the long white tab to remove it.
-
-






To reassemble your device, follow these instructions in reverse order.

Team

Eastern Washington University, Team S2-G3, Crane Fall 2017 Member of Eastern Washington University, Team S2-G3, Crane Fall 2017
EWU-CRANE-F17S2G3
5 Members
84 Guides authored
