
InFocus IN35W Fan Replacement

Grace Hubert and 3 other contributors
Last updated on Dec 30, 2021
Views: 436
View statistics:
- Past 24 Hours:
- 1
- Past 7 Days:
- 12
- Past 30 Days:
- 68
- All Time:
- 436
Comments: 0
No one has left comments on this guide. Will you be first?
Go to guide commentsCompleted: 0 1
No one has marked this guide "completed." Will you be the first?
1 person has marked this guide "completed." It's you — great job!
Favorites: 0 1
No one has favorited (and subscribed to) this guide. Will you be the first?
1 person has favorited (and subscribed to) this guide — and that's you!
Introduction
Go to step 1 ↓The fan is an important part of the InFocus IN35W projector, and if it fails to work, your device could overheat and break. If you do not hear the fan running in your projector, this guide will help you access it to figure out the problem.
What you need
Tools


-
-
-
Use the plastic opening tool to remove the front plastic casing surrounding the lens.
-
Pry apart the clips securing the top and bottom of the device using the plastic opening tool.
 Ask FixBot
-
-
-
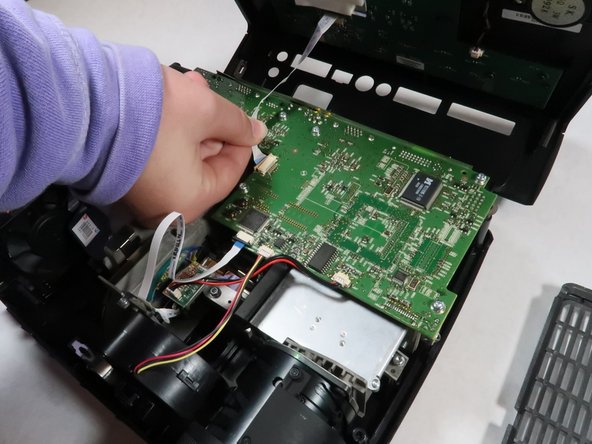
Detach the white speaker wire that connects the motherboard to the top piece.
-
Remove the top cover from the device.
-
-
-
-
-
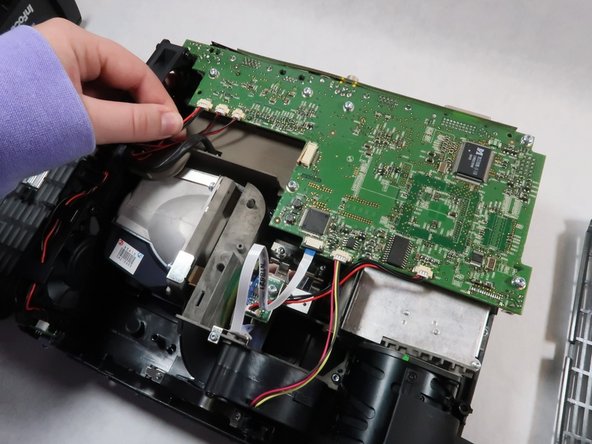
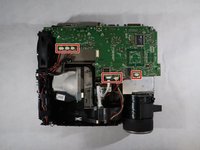
Detach all six of the cables and speaker wires from the white connectors on the motherboard.
-
-
-
-
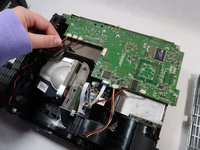
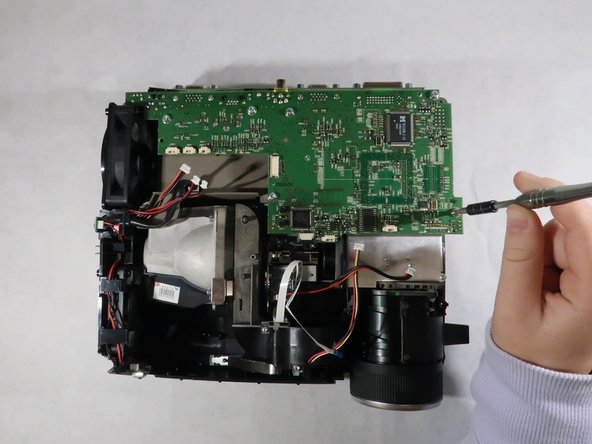
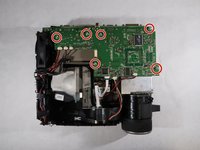
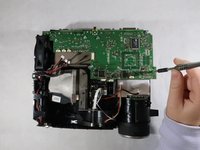
Carefully grasp the outsides of the motherboard and pull it up to remove it from the device.
-
-
-






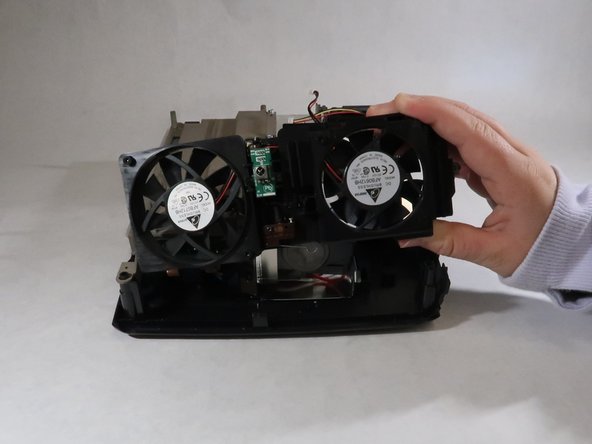
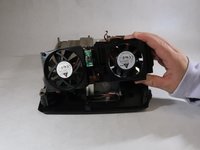
To reassemble your device, follow these instructions in reverse order.

Team

UMass Dartmouth, Team 1-2, Simcock Fall 2021 Member of UMass Dartmouth, Team 1-2, Simcock Fall 2021
UMASSD-SIMCOCK-F21S1G2
4 Members
60 Guides authored
