Free Shipping on Domestic Orders $75+

Impression i7 USB Port Replacement

What you need

  1. Impression i7 USB Port Replacement, Battery: step 1, image 1 of 1
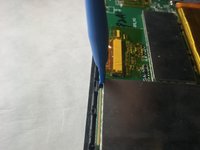
    • Wedge the plastic opening tool into the seam nearest to the screen surface and begin to pry off the back of the device.

    Ask FixBot

    Add Comment

  2. Impression i7 USB Port Replacement: step 2, image 1 of 1
    • Move the plastic opening tool along the perimeter of the device, loosening the entire back as you go.

    Ask FixBot

    Add Comment

  3. Impression i7 USB Port Replacement: step 3, image 1 of 1
    • After the entire perimeter has been pried, remove the back of the device.

    • Be careful not to disconnect the speaker and microphone cables attached to the back of the tablet.

    Ask FixBot

    Add Comment

  4. Impression i7 USB Port Replacement: step 4, image 1 of 2 Impression i7 USB Port Replacement: step 4, image 2 of 2
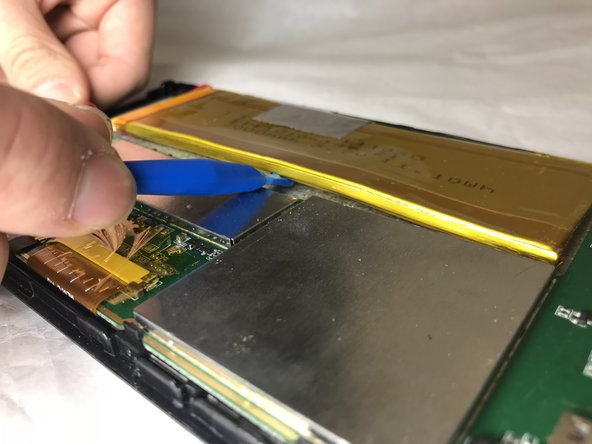
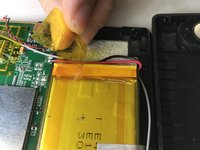
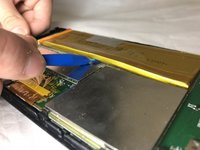
    • Remove the transparent, orange tape from the edge of the battery.

    • Pry the battery off, using the plastic opening tool.

    Ask FixBot

    Add Comment

  5. Impression i7 USB Port Replacement: step 5, image 1 of 1
    • Desolder the positive and negative leads.

    Ask FixBot

    Add Comment

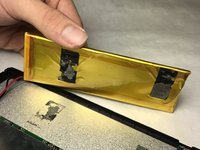
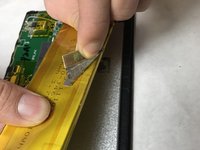
  6. Impression i7 USB Port Replacement: step 6, image 1 of 2 Impression i7 USB Port Replacement: step 6, image 2 of 2
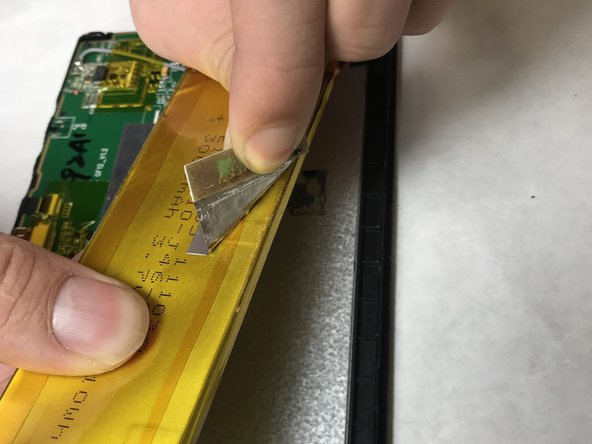
    • Pull the battery away from the adhesive.

    • Peel the gray tape from the top of the battery.

    Ask FixBot

    Add Comment

  7. Impression i7 USB Port Replacement, USB Port: step 7, image 1 of 1
    • Remove the five 5 mm screws from the motherboard, using the #0 Phillips Screwdriver.

    Ask FixBot

    Add Comment

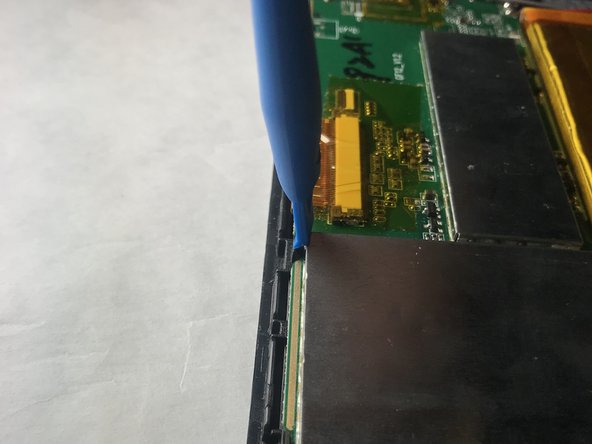
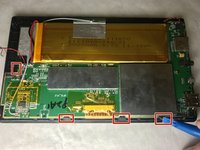
  8. Impression i7 USB Port Replacement: step 8, image 1 of 2 Impression i7 USB Port Replacement: step 8, image 2 of 2
    • Using the plastic opening tool tool, pry back the 4 four clips to release the motherboard.

    Ask FixBot

    Add Comment

  9. Impression i7 USB Port Replacement: step 9, image 1 of 2 Impression i7 USB Port Replacement: step 9, image 2 of 2
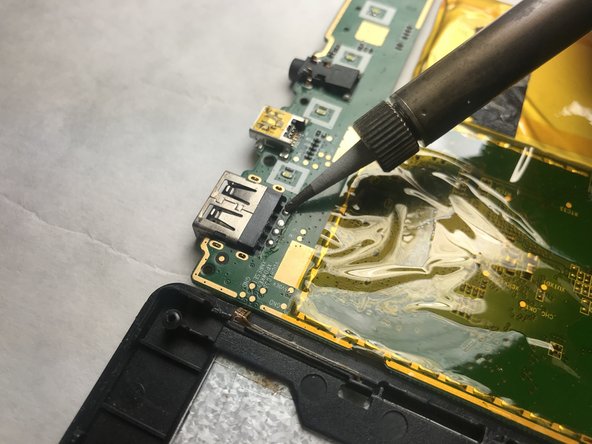
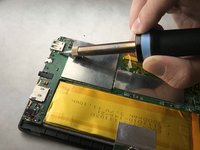
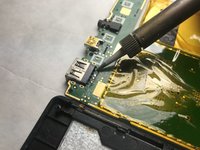
    • Desolder the eight solder joints holding the USB Port in place.

    Ask FixBot

    Add Comment

Conclusion

To reassemble your device, follow these instructions in reverse order.

Cancel: I did not complete this guide.

Cole Beaver

Member since: 11/05/18

417 Reputation

3 Guides authored

Team

IUPUI, Team S1-G5, Baechle Fall 2018 Member of IUPUI, Team S1-G5, Baechle Fall 2018

IUPUI-BAECHLE-F18S1G5

3 Members

6 Guides authored

0 Guide Comments

Add Comment

View Statistics:

Past 24 Hours: 1

Past 7 Days: 4

Past 30 Days: 24

All Time: 423