
Impression i7 Front Camera Replacement

Cole Beaver and one other contributor
Last updated on Dec 20, 2018
Views: 473
View statistics:
- Past 24 Hours:
- 1
- Past 7 Days:
- 9
- Past 30 Days:
- 70
- All Time:
- 473
Comments: 0
No one has left comments on this guide. Will you be first?
Go to guide commentsCompleted: 0 1
No one has marked this guide "completed." Will you be the first?
1 person has marked this guide "completed." It's you — great job!
Favorites: 0 1
No one has favorited (and subscribed to) this guide. Will you be the first?
1 person has favorited (and subscribed to) this guide — and that's you!
Introduction
Go to step 1 ↓This guide details the necessary steps to remove the front facing camera from the Leader Impression i7 tablet. Make sure you have a replacement camera ready before starting this guide.
What you need
Tools


-
-
-
Wedge the plastic opening tool into the seam nearest to the screen surface and begin to pry off the back of the device.
 Ask FixBot
-
-
-
Move the plastic opening tool along the perimeter of the device, loosening the entire back as you go.
-
-
-
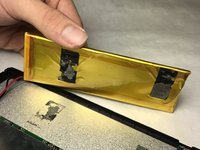
Remove the transparent, orange tape from the edge of the battery.
-
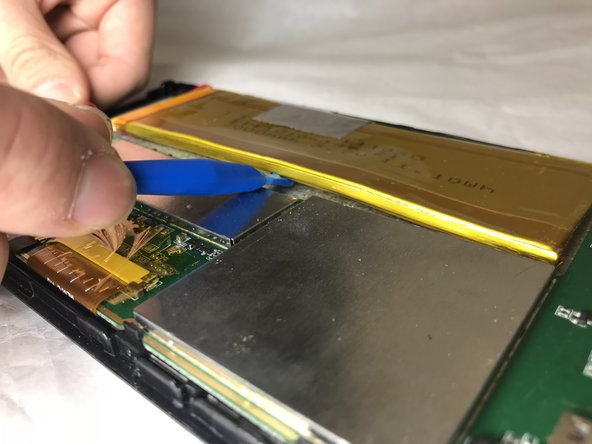
Pry the battery off, using the plastic opening tool.
-
-
-
Pull the battery away from the adhesive.
-
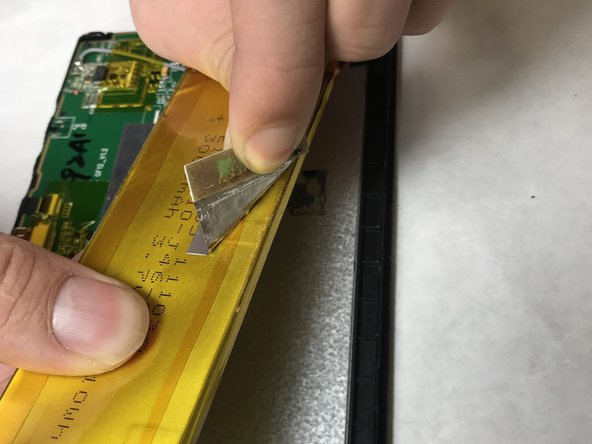
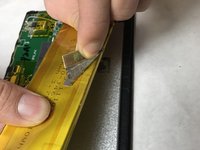
Peel the gray tape from the top of the battery.
-
-
-
-
-
-
Lift the camera unit from its housing. The unit should come out with minimal force.
-






To reassemble your device, follow these instructions in reverse order.

Team

IUPUI, Team S1-G5, Baechle Fall 2018 Member of IUPUI, Team S1-G5, Baechle Fall 2018
IUPUI-BAECHLE-F18S1G5
3 Members
36 Guides authored
