Introduction
If your Ibanez 5 String Bass (model SR405QM) doesn't sound full, or can't hold its tuning, use this guide to replace the strings.
The strings on your guitar affect its tone, sound, and volume. A flawed set of strings will either look weathered or discolored.
Before using this guide, inspect your strings to make sure the instrument can still hold its tuning, and only the strings are dirty. Sometimes the strings can look grimy, but still play perfectly fine, which can mean it does not require a replacement.
In step 12, there's a precaution that says to not over-tighten your strings, which can easily snap and cause bodily injury.
Make sure by the end you have a tuner, whether it be physical or online, so you can tune your Ibanez.
What you need
-
-
Loosen all of the strings completely by turning each tuning peg counter clockwise. Continue until there is no tension in the strings
 Ask FixBot
-
-
-
Remove each string by pulling it out of the string tree at the top and through the bridge at the bottom.
-
-
-
Thread the largest new string through the bridge hole farthest from the knobs. Hold it firmly in place.
-
-
-
-
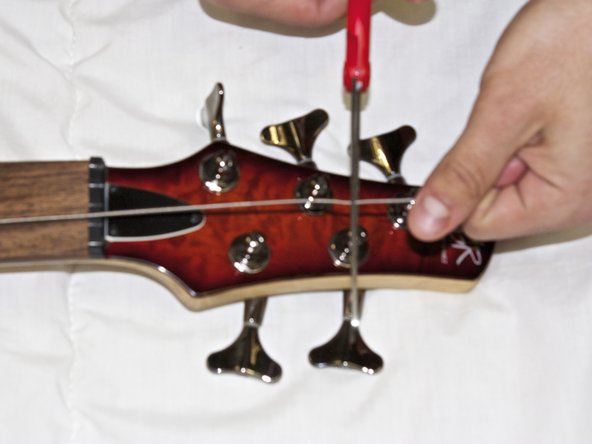
On a taut string, measure one inch past the nut before using a pair of wire cutters to cut the string.
-
-
-
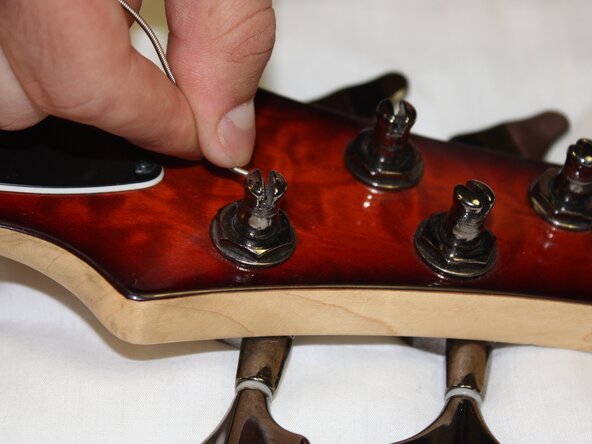
Take the end of the string and insert it into the hole in the middle of the string tree.
-
-
-
Use one hand to maintain tension in the string by grabbing the string and rotating the hand toward the fret board.
-
-
-
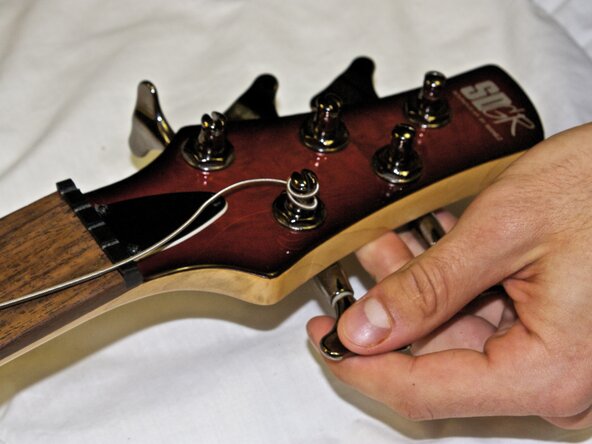
Rotate the tuning peg counterclockwise until the string is slightly taut, but not tight.
-
Check to ensure that the string is lined up with the proper notch in the nut.
-
-
-
Tighten the string until it is close to the proper tuning. Use an electronic tuner or an online tuner that uses your computer's microphone. (Google: Online Tuner)
-
Tune the thickest string to B, the second thickest string E, the next thickest to A, the next string to D, and the last string to G.
-
-
-
Because the strings will change pitch as the guitar body deforms due to increased tension, repeat step 12 after each string is tuned individually.
-






You have successfully replaced and tuned your strings!
Cancel: I did not complete this guide.
2 other people completed this guide.

Team

Cal Poly, Team 5-18, Forte Winter 2013 Member of Cal Poly, Team 5-18, Forte Winter 2013
CPSU-FORTE-W13S5G18
4 Members
9 Guides authored
1 Guide Comment
Thanks for this, it's very helpful! However, I've always changed strings one at a time for two reasons - 1)keeping the tension on the neck is better than relieving it all at once, and 2) it's easier to tune the string. I usually start with the 1st string (lightest) and work my way up.
