
IBM ThinkPad T43 WiFi Card Replacement

aLiX pIeRRe and 3 other contributors
Last updated on Jun 4, 2024
Views: 12K
View statistics:
- Past 24 Hours:
- 3
- Past 7 Days:
- 18
- Past 30 Days:
- 104
- All Time:
- 12,500
Comments: 3
1 comment on steps, 2 guide comments.
Go to guide commentsCompleted: 2 3
2 people have marked this guide "completed." Will you be next?
3 people have marked this guide "completed." Including you — great job!
Favorites: 0 1
No one has favorited (and subscribed to) this guide. Will you be the first?
1 person has favorited (and subscribed to) this guide — and that's you!
Introduction
Go to step 1 ↓This Guide shows the how to remove and replace the WiFi Card of this device.
What you need
Tools


-
-
-
Set the laptop top-down onto the workstation.
-
Remove all screws circled in red.
 Ask FixBot
-
-
-
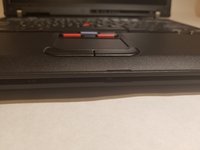
Flip the laptop so that the IBM ThinkPad logo is facing up.
-
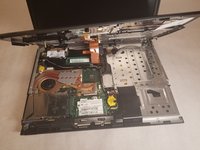
Slide the unlocking switch to open the device, and lift the display (not the palmrest assembly).
-
-
-
Tool used on this step:Tweezers$4.99
-
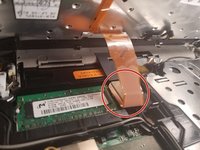
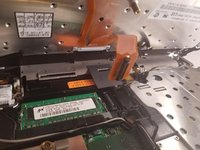
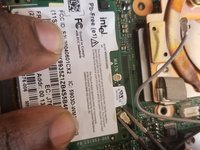
Locate the two wires connected at the top of the Wi-Fi card.
-
Hold the card down and use the tweezers to pinch the plug and pull up.
-
-
-
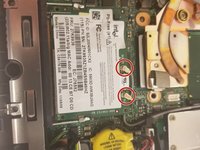
Place fingers on the two clips holding the card in place
-
Pull the clips outwards until the the card pops up
-
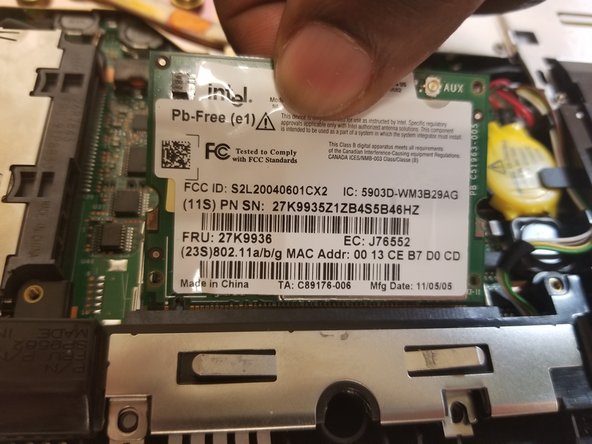
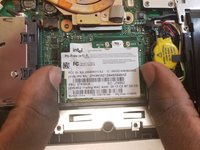
Pull the card out by pulling out away from your body
-
To replace, follow these steps in reverse order
-
-








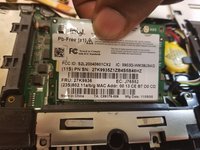
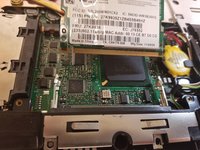
To reassemble your device, follow these instructions in reverse order.
Cancel: I did not complete this guide.
2 other people completed this guide.

Team

UMass Dartmouth, Team S6-G4, Bernier Spring 2018 Member of UMass Dartmouth, Team S6-G4, Bernier Spring 2018
UMASSD-BERNIER-S18S6G4
4 Members
60 Guides authored
2 Guide Comments
I need to know what's role of the cables AUX and MAIN because i cut one
AUX and MAIN cables are antenna cables. In this laptop there are two antennas, MAIN and AUX.
If you have a soldering iron, simply solder the two parts of the cable you cut and everything is gonna be fine.
I also recommend using shrink tubing to isolate the soldered part.
Note : laptop can work without this câble, but WiFi speed and stability will suffer.
If you can't solder the câble or can't by a new one, you can try to use only main by pluggin the only remaining antena câble to MAIN and leaving AUX unlpuged.
