
IBM ThinkPad T42 Memory Replacement

James Finch and 2 other contributors
Last updated on Jun 27, 2024
Views: 3.9K
View statistics:
- Past 24 Hours:
- 4
- Past 7 Days:
- 16
- Past 30 Days:
- 91
- All Time:
- 3,949
Comments: 5
5 comments on steps.
Completed: 1 2
1 person has marked this guide "completed." Will you be next?
2 people have marked this guide "completed." Including you — great job!
Favorites: 0 1
No one has favorited (and subscribed to) this guide. Will you be the first?
1 person has favorited (and subscribed to) this guide — and that's you!
Missing Steps
Oops! This guide is currently missing one or more important steps.
Community-Contributed Guide
An awesome member of our community made this guide. It was not created by iFixit staff.
Introduction
Go to step 1 ↓In this upgrade, I'm replacing the stock memory with two Crucial DDR SO-DIMM chips I picked up on eBay. Their specifications are:
Capacity: 1GB
Type:DDR 200Pin Laptop Memory.
Speed: PC2700S 333MHz
Cache Latency: CL2.5
Voltage:2.5V.
Buffering/ECC:Non-ECC, Unbuffered
Teardown information can be found on Steps 4, 5, 6 and 7 on the "IBM ThinkPad T42 Teardown" and in the same Steps in this Guide. However, follow this Repair Guide Step 24 instead of Step 7 to replace the RAM modules under the keyboard:
Similar details can be found on the "IBM ThinkPad T42 RAM Replacement" which is noted as Step 20 through 23 in this Guide. However, to change the RAM module that is under the keyboard, the previous ifixit guide referenced and in this Guide Steps 5, 6 and 7 will need to be followed other than in Step 7, proceed with this Repair Guide Step 24.
What you need
Parts
-
×2
Tools


-
-
-
Removing the battery
-
Unplug the power cable before removing the battery.
-
Slide the 2 sliders on the under side of the laptop to the unlock position, as shown.
-
Grasp the battery and pull it straight out - not at an angle.
 Ask FixBot
-
-
-
Removing the Hard Drive
-
Unscrew the screw holding the Hard Drive slot in place.
-
Pull the hard drive out with the help of pictured ridges. Cautiously maneuver it out - it might help to open the display slightly.
-
-
-
Removing the Optical Drive
-
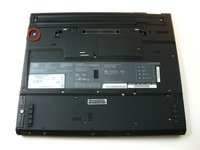
Remove the screw holding the optical drive on the underside of the laptop
-
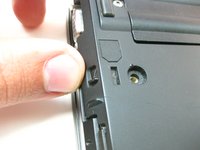
Push the small slider to unlock position, a tab will automatically pop out.
-
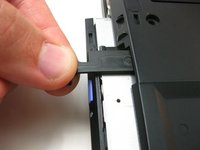
Pull tab to dislodge the optical drive, then pull the drive out.
-
-
-
Removing Memory Cover/Replacing RAM
-
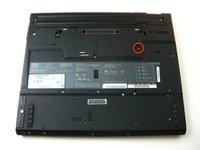
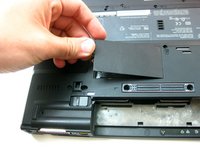
Unscrew the pictured screwed holding the memory cover in place.
-
Pry the cover open carefully (flathead screwdriver might help)
-
To remove the RAM memory stick, push both metal pieces holding it in place outwards, and the stick will pop up. -picture of RAM inside -
-
Pull the stick out carefully. - Picture of the RAM stick -
-
-
-
Removing Rear Cover
-
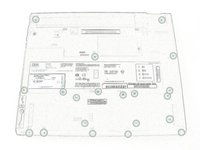
Unscrew the rest of the screws on the underside of the T42.
-
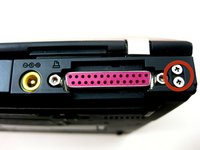
Unscrew the 4 screws on either side the rear end of the laptop.
-
Note: for ease of reassembly, keep track of which screws go where.
-
[ a line-drawing version is included so it can be printed and screws can be taped on ]
-
-
-
Removing Keyboard and Trackpad
-
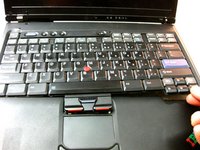
Flip the laptop over and open the display carefully - the keyboard, palm rest and bezel will be loose.
-
Maneuver the palm rest away from the keyboard carefully, both the keyboard and palm rest/trackpad will come off together.
-
**WARNING** Both the keyboard and trackpad have connectors to the motherboard. Disconnect these before completely removing either component.
-
-
-
From here you can remove multiple components.
-
Removing Wi-Fi Card
-
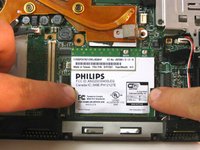
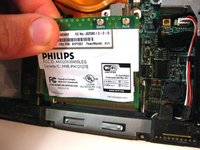
To remove Wi-Fi card, first disconnect both display wires on the top right.
-
Then slide both of the metal pieces holding it down outwards, and it will pop up.
-
Carefully pull it out.
-
-
-
Removing Mini-PCI Port
-
Unscrew the screw holding the port's bracket down, then remove the bracket.
-
Carefully disconnect it from the motherboard.
-
-
-
Removing Top Plastic
-
Starting from the bottom right, carefully pry off the bezel. Use a small, flathead screwdriver if necessary.
-
-
-
Removing the Display
-
To remove the display, unscrew the screws holding it down. Along with the one pictured, there is another one on the top right edge.
-
Carefully unplug the its connection with the motherboard.
-
Now it will be free to move. Carefully maneuver it out.
-
-
-
Removing Lower Bracket
-
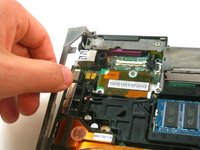
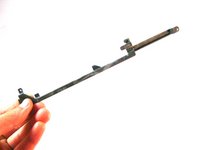
The bracket will be free to move, so remove it.
-
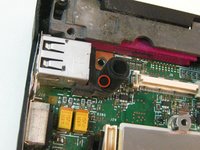
Then remove the small rubber piece covering the small battery.
-
-
-
Removing Speakers
-
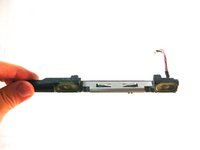
This component is free to move, so disconnect it's connector and pull it out carefully.
-
-
-
Removing Fan
-
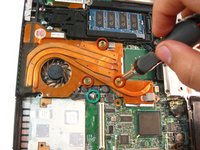
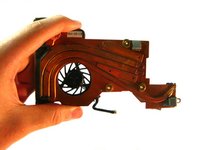
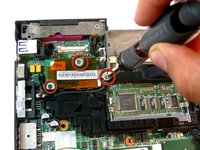
Unscrew the three shown screws, then unplug its connection with the motherboard.
-
**Since both the processor and graphics processor unit are attached to this fan with thermal paste, removing the fan might require some force and a flathead screwdriver to separate the paste from the fan.
-
-
-
Removing Processor
-
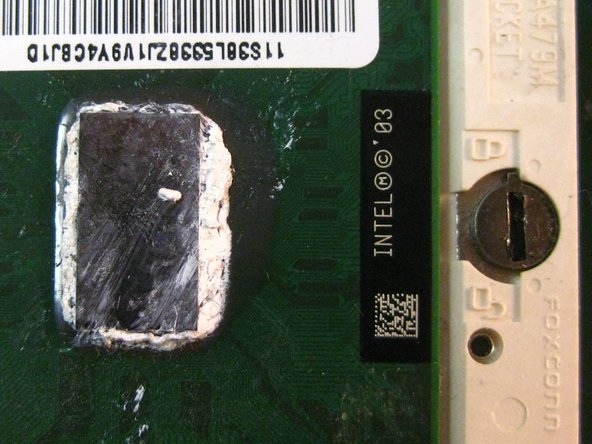
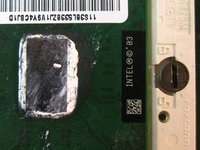
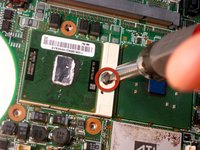
After removal of the fan, you have access to the processor. Locate its locking mechanism.
-
Use a flat head screwdriver and twist it carefully to the "unlocked" position.
-
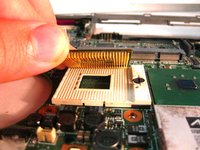
Carefully pull the processor out.
-
***CAUTION - If replacing the processor, make sure the small arrow on the corner aligns with socket.
-
-
-
Removing Modem Daughter Card
-
Unscrew three phillips screws as shown.
-
The connector cables are wrapped around components for organization so follow these, unplug them and carefully pull them free.
-
Then remove the bracket that was sitting beneath it.
-
-
-
Removing Metal Casing
-
Unscrew the Philips head screws as shown
-
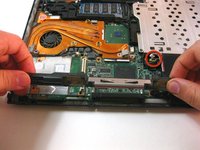
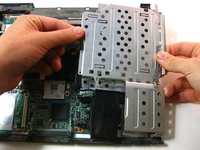
It is attached to the smaller black plastic piece below it - carefully maneuver both of them out at the same time.
-
-
-
-
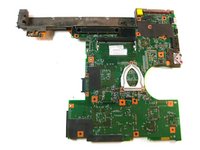
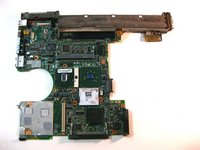
Removing Motherboard
-
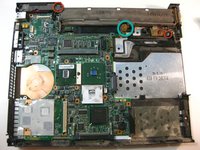
Unscrew Phillips screws shown in red in the picture.
-
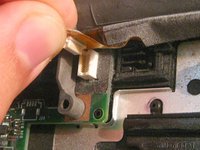
Unplug the connector (shown in turquoise)
-
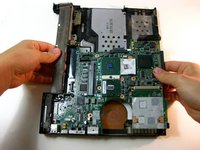
Carefully remove the board
-
-
-
Congratulations
-
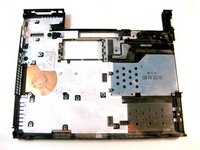
Now you're left with the motherboard and the bottom casing
-
This is as far as the teardown goes.
-
-
-
-
-
Flip the laptop over so the underside is facing you, then, release the 2 clips holding the battery on.
-
-
-
Carefully grab the battery, then pull it straight out, not at an angle.
-
-
-
-
-
Pry the cover open carefully (flathead screwdriver might help)
-
To remove the RAM memory stick, push both metal pieces holding it in place outwards, and the stick will pop up.
-
Pull the stick out carefully.
-
In order to replace the other stick, refer to the keyboard replacement tutorial. The other SODIMM is easily accessible with the keyboard removed.
-
-
-
-
Follow the previously noted guides to replace the memory module under the memory cover.
-
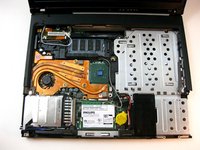
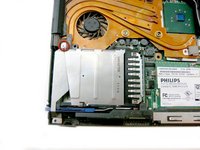
The second memory module is located under the keyboard.
-
Follow the "IBM ThinkPad T42 Teardown" Guide Steps 5 and 6 to remove the keyboard.
-
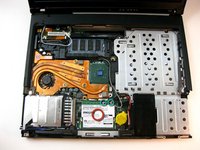
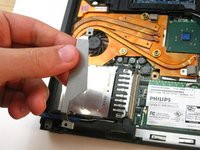
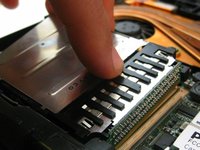
In this guide we will remove the memory module, that is identified in the image with a red ellipse, instead of removing the WiFi card as noted in Step 7 of the "IBM ThinkPad T42 Teardown" Guide.
-
Remove the memory module to upgrade to the new memory module. See pg 83, or as noted in the PDF reader as pg 89, of the "thinkpad t40 t40p t41 t41p t42 t42p Maintenance Manual" for more details if needed. This manual is found in the Attached Documents section at the end of this Guide.
-
-














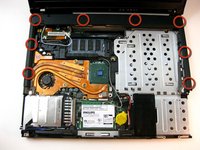
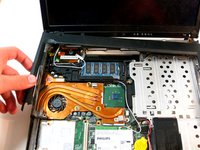


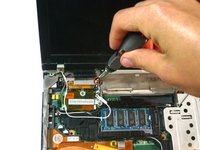
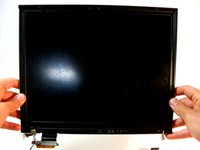










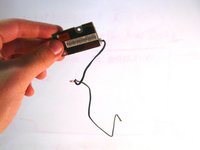
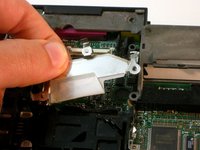


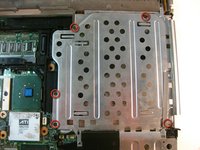
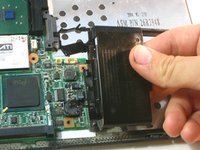






To reassemble your device, follow these instructions in reverse order.
Cancel: I did not complete this guide.
One other person completed this guide.

