Free Shipping on Domestic Orders $75+

IBM ThinkPad R40 Hard Drive Replacement

What you need

  1. IBM ThinkPad R40 Hard Drive Replacement, Remove the battery: step 1, image 1 of 2 IBM ThinkPad R40 Hard Drive Replacement, Remove the battery: step 1, image 2 of 2
    • To remove the battery, slide the battery lock lever right, while pulling on the battery tab.

    Ask FixBot

    Add Comment

  2. IBM ThinkPad R40 Hard Drive Replacement, Remove the hard drive holder.: step 2, image 1 of 2 IBM ThinkPad R40 Hard Drive Replacement, Remove the hard drive holder.: step 2, image 2 of 2
    • Remove the Phillips #1 screw from the bottom of the laptop.

    • Pull on the small rise in the plastic to remove the hard drive holder.

    • Don't be afraid to use some force, it requires quite a bit of pressure to remove.

    Ask FixBot

    Add Comment

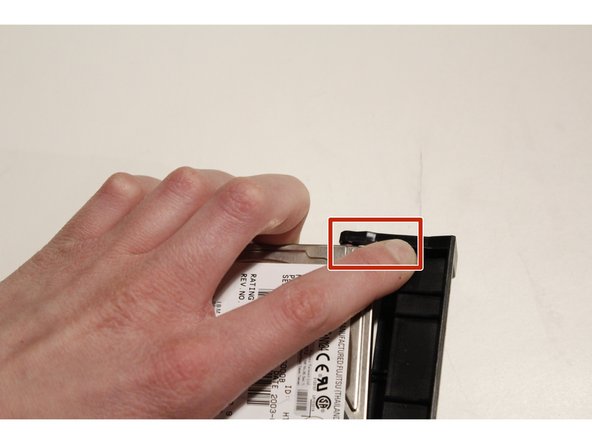
  3. IBM ThinkPad R40 Hard Drive Replacement, Remove the hard drive holder.: step 3, image 1 of 3 IBM ThinkPad R40 Hard Drive Replacement, Remove the hard drive holder.: step 3, image 2 of 3 IBM ThinkPad R40 Hard Drive Replacement, Remove the hard drive holder.: step 3, image 3 of 3
    • Remove the hard drive holder completely from the computer.

    • Push on the plastic, and the hard drive will pop out.

    Ask FixBot

    Add Comment

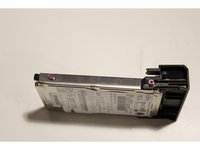
  4. IBM ThinkPad R40 Hard Drive Replacement, Remove the hard drive.: step 4, image 1 of 1
    • Remove the four Phillips #1 screws.

    Ask FixBot

    Add Comment

Conclusion

To reassemble your device, follow these instructions in reverse order.

Cancel: I did not complete this guide.

2 other people completed this guide.

Alec M

Member since: 12/26/15

82 Reputation

2 Guides authored

0 Guide Comments

Add Comment

View Statistics:

Past 24 Hours: 2

Past 7 Days: 12

Past 30 Days: 60

All Time: 5,938