Free Shipping on Domestic Orders $75+

IBM ThinkPad A31 CPU Replacement

What you need

  1. IBM ThinkPad A31 CPU Replacement, Hard Drive: step 1, image 1 of 3 IBM ThinkPad A31 CPU Replacement, Hard Drive: step 1, image 2 of 3 IBM ThinkPad A31 CPU Replacement, Hard Drive: step 1, image 3 of 3
    • Remove the 6mm screw

    • Pull out the hard drive

    • The hard drive might be a little tough to pull out

    Ask FixBot
    Add Comment

  2. IBM ThinkPad A31 CPU Replacement, Keyboard: step 2, image 1 of 3 IBM ThinkPad A31 CPU Replacement, Keyboard: step 2, image 2 of 3 IBM ThinkPad A31 CPU Replacement, Keyboard: step 2, image 3 of 3
    • The sticker is to keep the warranty on the laptop so once removed the warranty is void

    • Peel the sticker and remove the 15mm screw

    • Remove all 6 of the 16mm screws

    Ask FixBot
    Add Comment

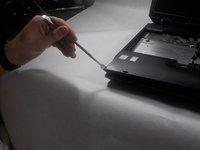
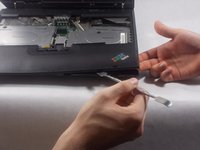
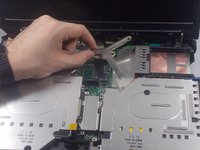
  3. IBM ThinkPad A31 CPU Replacement: step 3, image 1 of 2 IBM ThinkPad A31 CPU Replacement: step 3, image 2 of 2
    • use a prying tool and insert it on the cracks on the sides of the keyboard and lift gently until you here a click

    • repeat this step on all sides of the keyboard until the keyboard is completely detached from the laptop

    Ask FixBot
    Add Comment

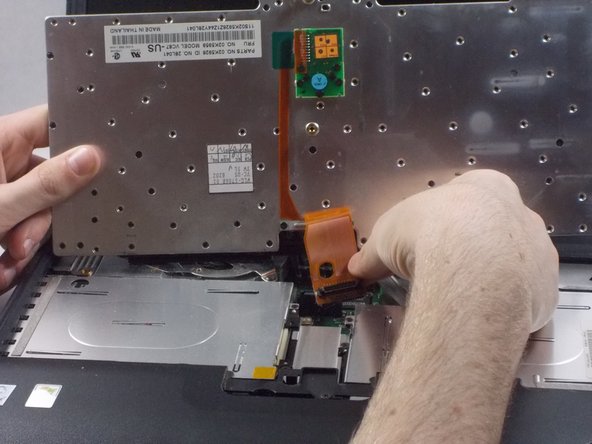
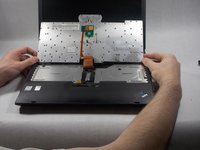
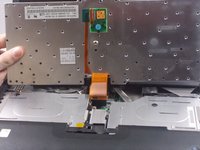
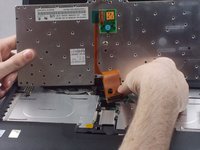
  4. IBM ThinkPad A31 CPU Replacement: step 4, image 1 of 3 IBM ThinkPad A31 CPU Replacement: step 4, image 2 of 3 IBM ThinkPad A31 CPU Replacement: step 4, image 3 of 3
    • Lift the keyboard and remove the keyboard ribbon cable from the laptop

    Ask FixBot

    Add Comment

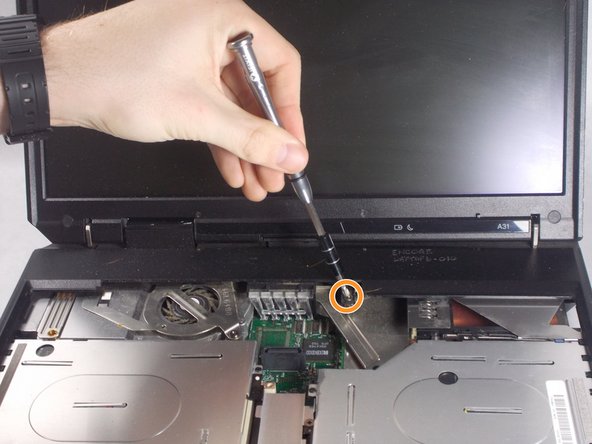
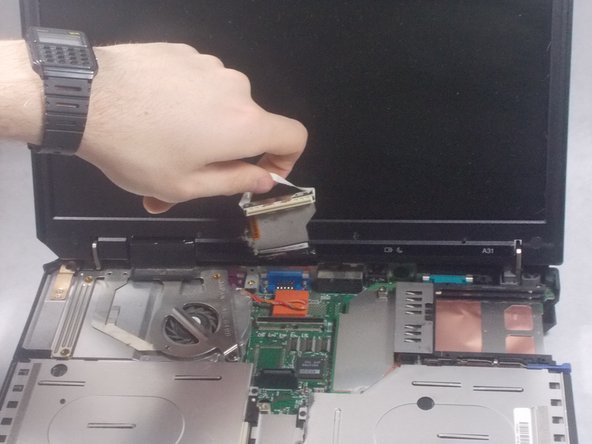
  5. IBM ThinkPad A31 CPU Replacement, Display: step 5, image 1 of 2 IBM ThinkPad A31 CPU Replacement, Display: step 5, image 2 of 2
    • Remove the one 21mm screw

    • Remove the 6mm screw

    Ask FixBot
    Add Comment

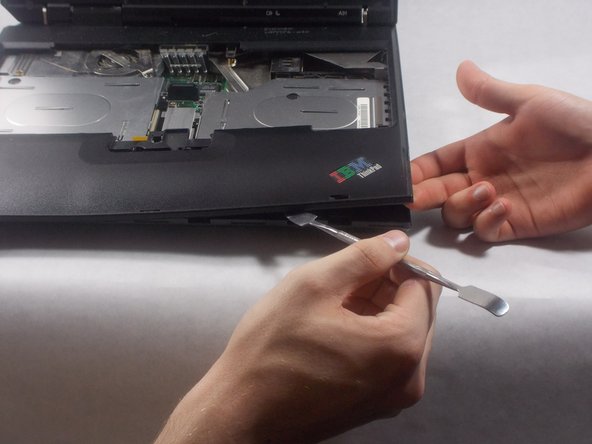
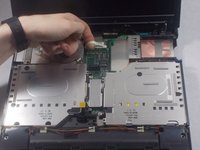
  6. IBM ThinkPad A31 CPU Replacement: step 6, image 1 of 2 IBM ThinkPad A31 CPU Replacement: step 6, image 2 of 2
    • Take the tool and run it under the black case.

    Ask FixBot
    Add Comment

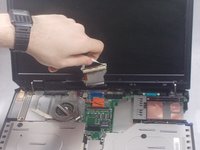
  7. IBM ThinkPad A31 CPU Replacement: step 7, image 1 of 3 IBM ThinkPad A31 CPU Replacement: step 7, image 2 of 3 IBM ThinkPad A31 CPU Replacement: step 7, image 3 of 3
    • Unscrew the 2 (17mm) screws

    • Unscrew the 6mm screw

    Ask FixBot
    Add Comment

  8. IBM ThinkPad A31 CPU Replacement: step 8, image 1 of 2 IBM ThinkPad A31 CPU Replacement: step 8, image 2 of 2
    • Gently disconnect the white display ribbon cable

    • Pulling on the ribbon cable too hard could result in worse or faulty connection.

    Ask FixBot

    Add Comment

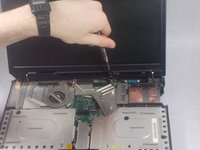
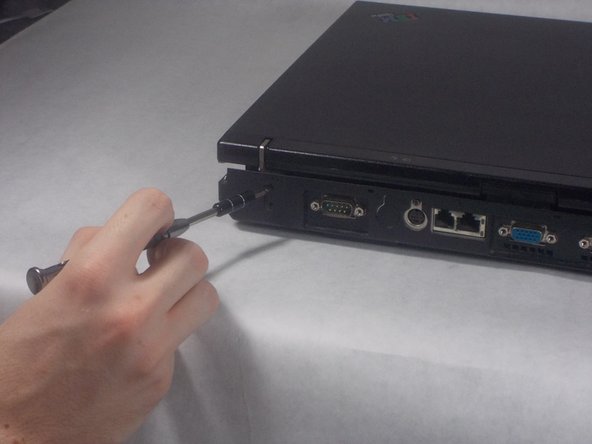
  9. IBM ThinkPad A31 CPU Replacement: step 9, image 1 of 3 IBM ThinkPad A31 CPU Replacement: step 9, image 2 of 3 IBM ThinkPad A31 CPU Replacement: step 9, image 3 of 3
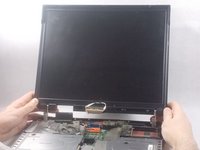
    • Unscrew 4 (6mm) screws

    • Lift screen straight up

    • If not lifted straight up the screen could get damaged

    Ask FixBot
    Add Comment

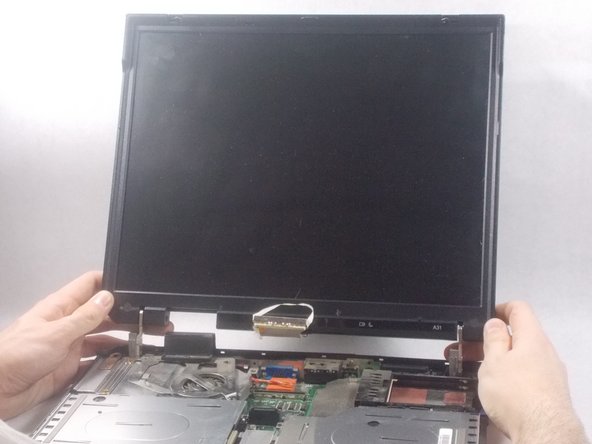
  10. IBM ThinkPad A31 CPU Replacement, Battery: step 10, image 1 of 2 IBM ThinkPad A31 CPU Replacement, Battery: step 10, image 2 of 2
    • Flip the ThinkPad over so that it is upside down.

    • Push latch switch to the left.

    • Gently lift the battery out and away from the ThinkPad

    • You have to hold the latch to the left while you remove the battery. Simply pushing once will not unlock the battery

    Ask FixBot
    Add Comment

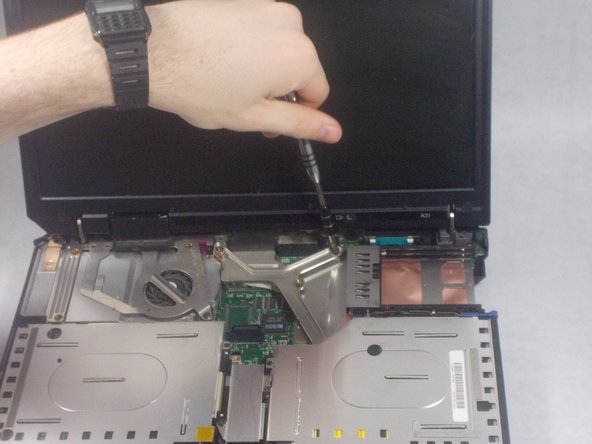
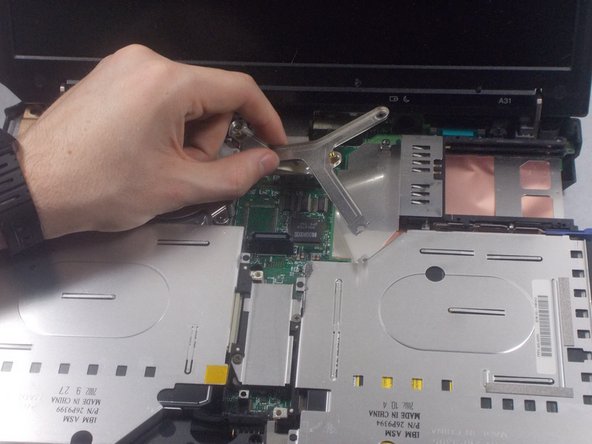
  11. IBM ThinkPad A31 CPU Replacement, CPU: step 11, image 1 of 3 IBM ThinkPad A31 CPU Replacement, CPU: step 11, image 2 of 3 IBM ThinkPad A31 CPU Replacement, CPU: step 11, image 3 of 3
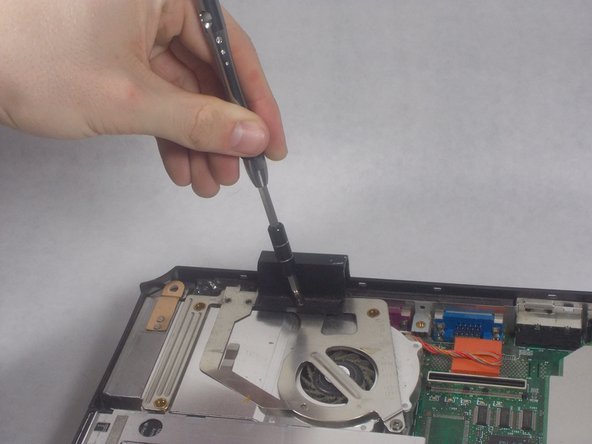
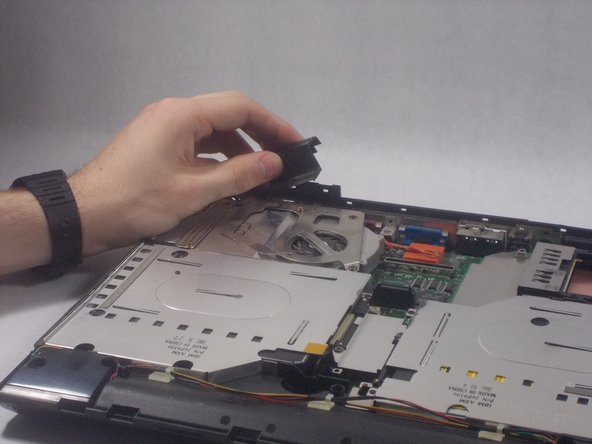
    • Remove the 6mm screw

    • LIft the bracket out

    Ask FixBot
    Add Comment
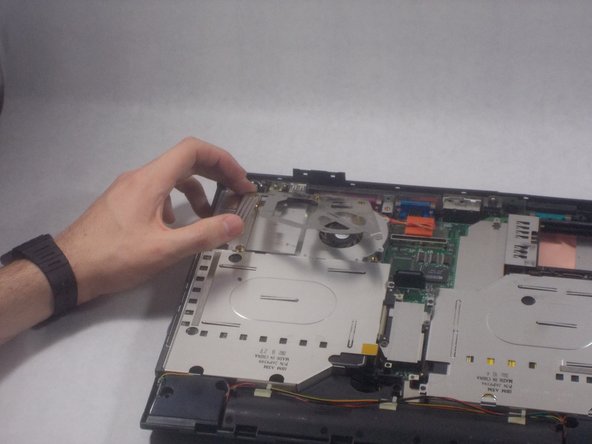
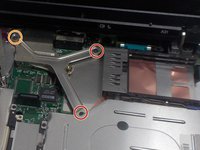
  12. IBM ThinkPad A31 CPU Replacement: step 12, image 1 of 3 IBM ThinkPad A31 CPU Replacement: step 12, image 2 of 3 IBM ThinkPad A31 CPU Replacement: step 12, image 3 of 3
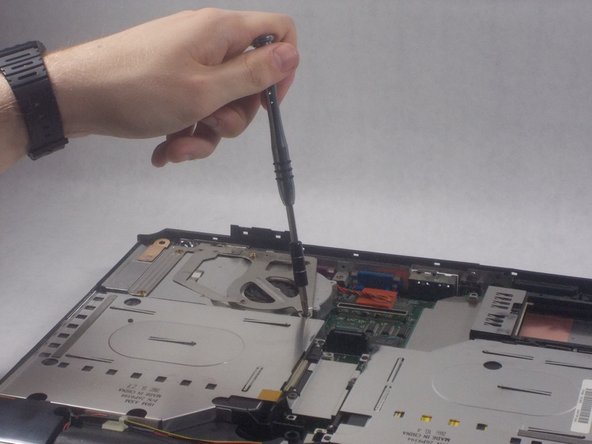
    • Remove one 6mm screw

    • Remove 3 18mm screws

    • Take off the bracket on the CPU fan

    Ask FixBot

    Add Comment

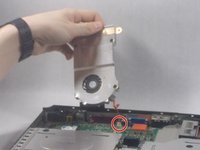
  13. IBM ThinkPad A31 CPU Replacement: step 13, image 1 of 3 IBM ThinkPad A31 CPU Replacement: step 13, image 2 of 3 IBM ThinkPad A31 CPU Replacement: step 13, image 3 of 3
    • Lift the CPU fan

    • Pull out the cable attached to the motherboard

    Ask FixBot

    Add Comment

  14. IBM ThinkPad A31 CPU Replacement: step 14, image 1 of 2 IBM ThinkPad A31 CPU Replacement: step 14, image 2 of 2
    • Turn the locking screw to unlock with the flat head screwdriver

    • LIft the CPU out

    Ask FixBot

    Add Comment

Conclusion

To reassemble your device, follow these instructions in reverse order.

Cancel: I did not complete this guide.

One other person completed this guide.

Thomas Stone

Member since: 03/19/18

235 Reputation

2 Guides authored

Team

0 Guide Comments

Add Comment

View Statistics:

Past 24 Hours: 0

Past 7 Days: 2

Past 30 Days: 35

All Time: 1,508