Free Shipping on Domestic Orders $75+

IBM ThinkPad 600E Hard Drive Disk Replacement

What you need

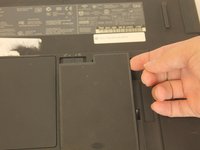
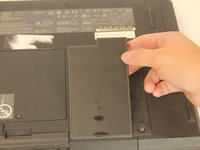
    1. IBM ThinkPad 600E Hard Drive Disk Replacement, Battery: step 1, image 1 of 3 IBM ThinkPad 600E Hard Drive Disk Replacement, Battery: step 1, image 2 of 3 IBM ThinkPad 600E Hard Drive Disk Replacement, Battery: step 1, image 3 of 3
      • Flip the laptop over and find the battery latch.

      Ask FixBot
      Add Comment

    2. IBM ThinkPad 600E Hard Drive Disk Replacement: step 2, image 1 of 1
      • Move the latch to the side with the unlocked symbol.

      Ask FixBot
      Add Comment

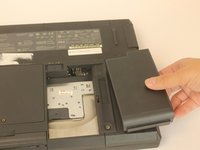
    3. IBM ThinkPad 600E Hard Drive Disk Replacement: step 3, image 1 of 3 IBM ThinkPad 600E Hard Drive Disk Replacement: step 3, image 2 of 3 IBM ThinkPad 600E Hard Drive Disk Replacement: step 3, image 3 of 3
      • Pry the battery out using your fingers.

      Ask FixBot
      Add Comment

    1. IBM ThinkPad 600E Hard Drive Disk Replacement, Hard Drive Disk: step 4, image 1 of 1
      • Put on the anti-static wrist trap and clip it to a large metal object.

      • If you do not have an anti-static wristband, make sure to touch a large metal object to ground yourself before beginning to work on your replacement. Occasionally touch the metal object.

      Ask FixBot

      Add Comment

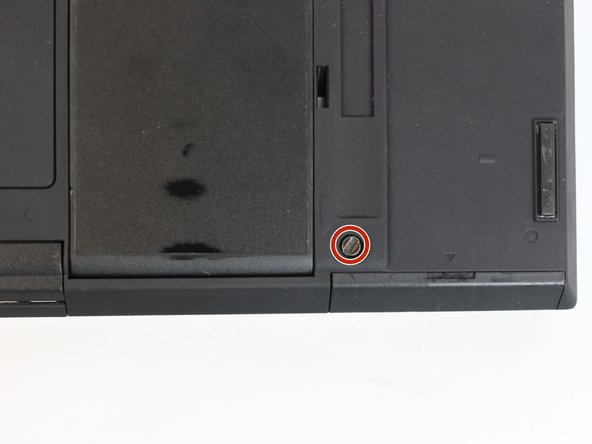
    2. IBM ThinkPad 600E Hard Drive Disk Replacement: step 5, image 1 of 3 IBM ThinkPad 600E Hard Drive Disk Replacement: step 5, image 2 of 3 IBM ThinkPad 600E Hard Drive Disk Replacement: step 5, image 3 of 3
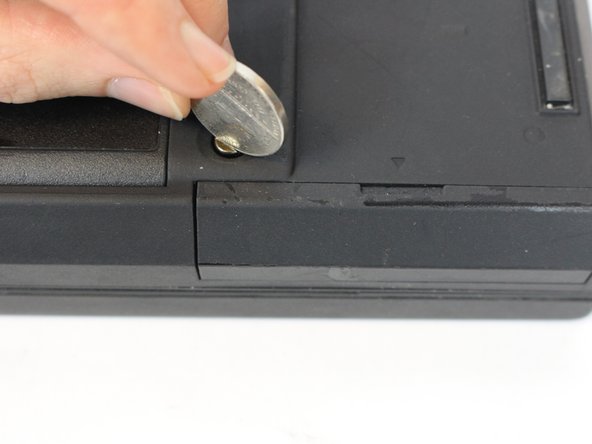
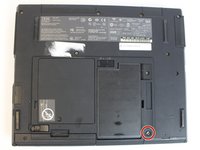
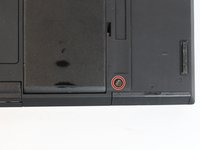
      • Using a coin, remove the coin screw by turning counterclockwise.

      • It's best to use a thicker coin, such as a nickel.

      Ask FixBot

      Add Comment

    3. IBM ThinkPad 600E Hard Drive Disk Replacement: step 6, image 1 of 1
      • Using a plastic spudger, pry off the plastic cover by pulling it out.

      Ask FixBot

      Add Comment

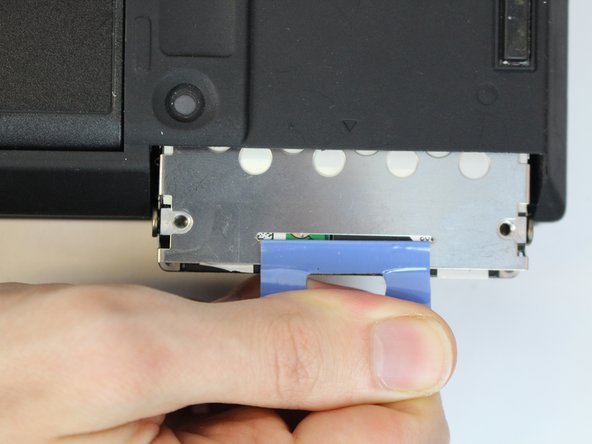
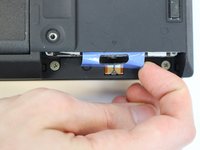
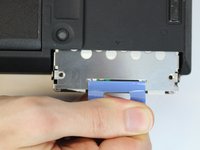
    4. IBM ThinkPad 600E Hard Drive Disk Replacement: step 7, image 1 of 3 IBM ThinkPad 600E Hard Drive Disk Replacement: step 7, image 2 of 3 IBM ThinkPad 600E Hard Drive Disk Replacement: step 7, image 3 of 3
      • Utilizing your fingers, untuck the tab and pull to remove the hard drive.

      Ask FixBot

      Add Comment

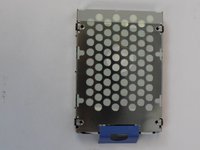
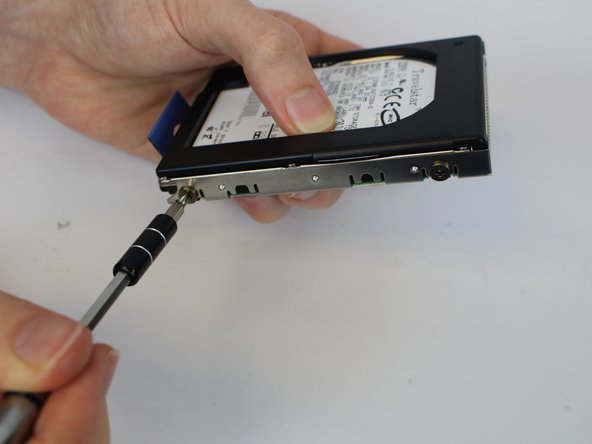
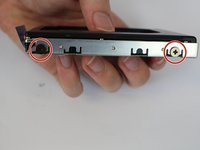
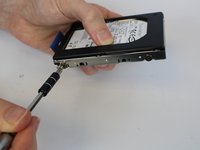
    5. IBM ThinkPad 600E Hard Drive Disk Replacement: step 8, image 1 of 3 IBM ThinkPad 600E Hard Drive Disk Replacement: step 8, image 2 of 3 IBM ThinkPad 600E Hard Drive Disk Replacement: step 8, image 3 of 3
      • Using a screwdriver, remove the screws by turning them counterclockwise to remove the bracket.

      • four 3mm PH0 screws

      • The metal bracket is still attached with a weak adhesive tape, gently pry it off with a spudger.

      Ask FixBot

      Add Comment

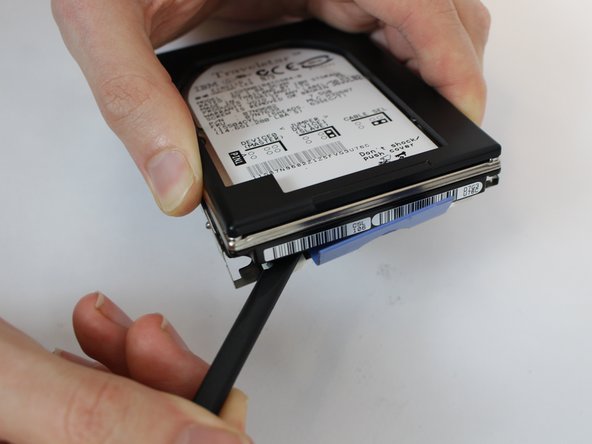
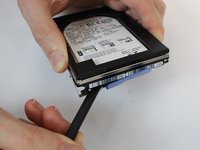
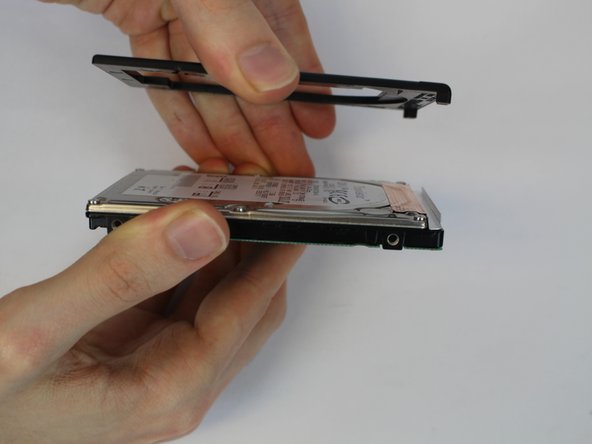
    6. IBM ThinkPad 600E Hard Drive Disk Replacement: step 9, image 1 of 2 IBM ThinkPad 600E Hard Drive Disk Replacement: step 9, image 2 of 2
      • The top plastic piece is adhered with a weak adhesive. Gently pry it off with a spudger.

      Ask FixBot

      Add Comment

Conclusion

To reassemble your device, follow these instructions in reverse order.

Cancel: I did not complete this guide.

4 other people completed this guide.

Kevin Nguyen

Member since: 10/04/16

737 Reputation

4 Guides authored

Team

USF Tampa, Team 1-4, Nance Fall 2016 Member of USF Tampa, Team 1-4, Nance Fall 2016

USFT-NANCE-F16S1G4

4 Members

60 Guides authored

0 Guide Comments

Add Comment

View Statistics:

Past 24 Hours: 1

Past 7 Days: 13

Past 30 Days: 55

All Time: 4,315