Free Shipping on Domestic Orders $75+

IBM ThinkPad 600E Display Replacement

What you need

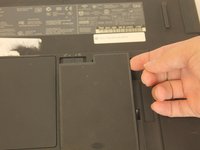
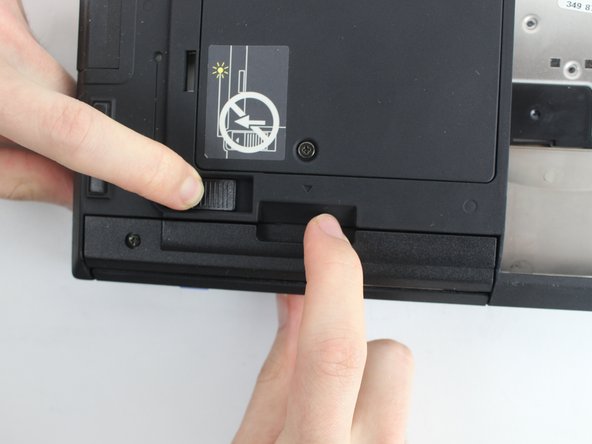
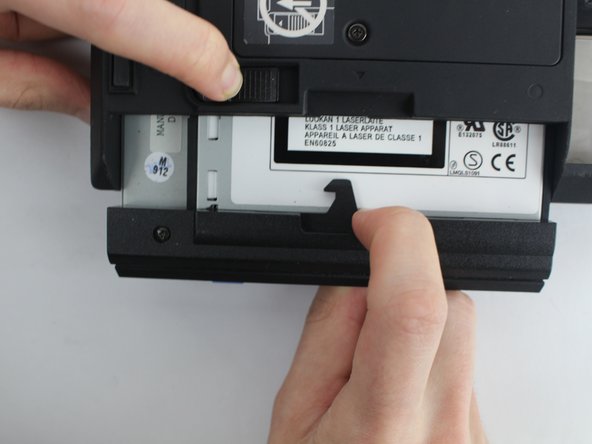
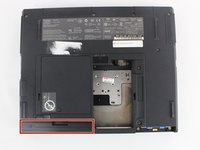
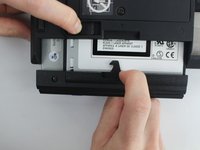
    1. IBM ThinkPad 600E Display Replacement, Battery: step 1, image 1 of 3 IBM ThinkPad 600E Display Replacement, Battery: step 1, image 2 of 3 IBM ThinkPad 600E Display Replacement, Battery: step 1, image 3 of 3
      • Flip the laptop over and find the battery latch.

      Ask FixBot
      Add Comment

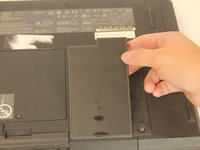
    2. IBM ThinkPad 600E Display Replacement: step 2, image 1 of 1
      • Move the latch to the side with the unlocked symbol.

      Ask FixBot

      Add Comment

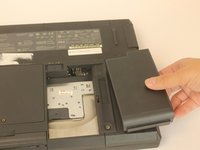
    3. IBM ThinkPad 600E Display Replacement: step 3, image 1 of 3 IBM ThinkPad 600E Display Replacement: step 3, image 2 of 3 IBM ThinkPad 600E Display Replacement: step 3, image 3 of 3
      • Pry the battery out using your fingers.

      Ask FixBot
      Add Comment

    1. IBM ThinkPad 600E Display Replacement, Keyboard: step 4, image 1 of 3 IBM ThinkPad 600E Display Replacement, Keyboard: step 4, image 2 of 3 IBM ThinkPad 600E Display Replacement, Keyboard: step 4, image 3 of 3
      Tool used on this step:
      Anti-Static Wrist Strap
      $7.95
      Buy
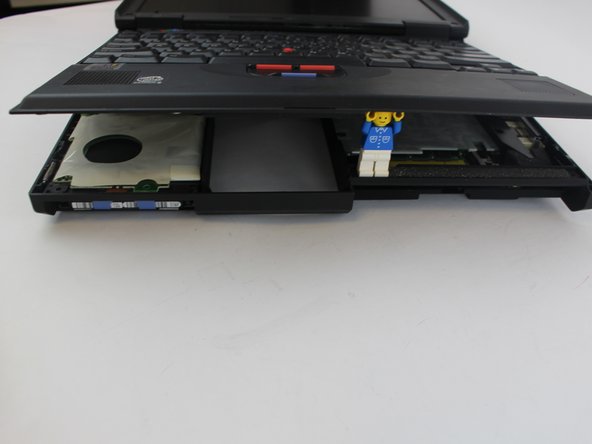
      • Use an antistatic wrist strap to avoid the risk of electric shock.

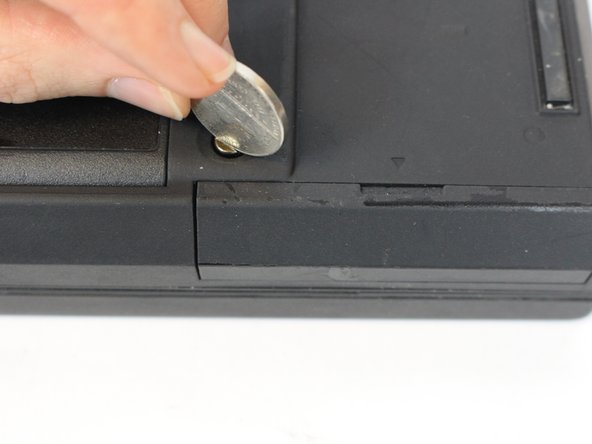
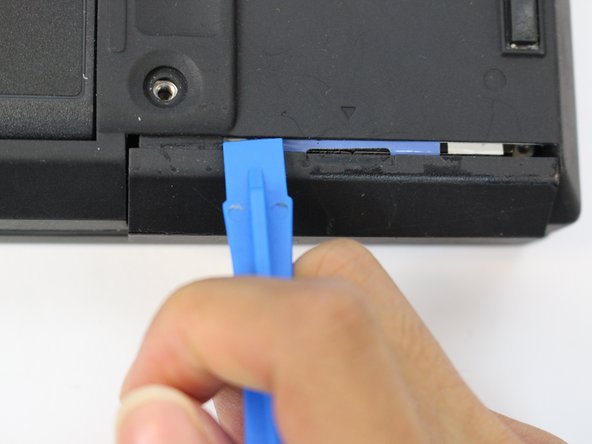
      • Unscrew the coin screw for the hard drive using a coin. Pry off the HDD cover.

      • It is easier to remove the coin screw using a thicker coin, such as a nickel.

      Ask FixBot
      Add Comment

    2. IBM ThinkPad 600E Display Replacement: step 5, image 1 of 3 IBM ThinkPad 600E Display Replacement: step 5, image 2 of 3 IBM ThinkPad 600E Display Replacement: step 5, image 3 of 3
      • Unlock the highlighted latch and pull the disk drive out.

      • Remove the disk drive.

      Ask FixBot
      Add Comment

    3. IBM ThinkPad 600E Display Replacement: step 6, image 1 of 3 IBM ThinkPad 600E Display Replacement: step 6, image 2 of 3 IBM ThinkPad 600E Display Replacement: step 6, image 3 of 3
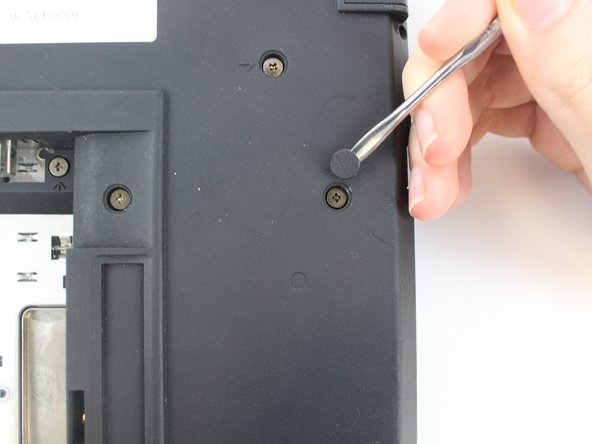
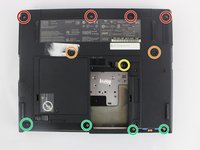
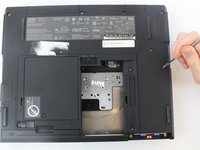
      • Most of the screws have a small, plastic covering attached with an adhesive. Use the metal spudger to pry it off. Make sure to note which screw came from which hole.

      • Four 18mm long M2.5 screws

      • Two 16mm long M2.5 screws

      • One 4.5mm long M2.5 screws

      • Four 3mm long M2.5 screws

      Ask FixBot
      Add Comment

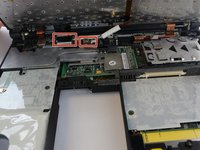
    4. IBM ThinkPad 600E Display Replacement: step 7, image 1 of 2 IBM ThinkPad 600E Display Replacement: step 7, image 2 of 2
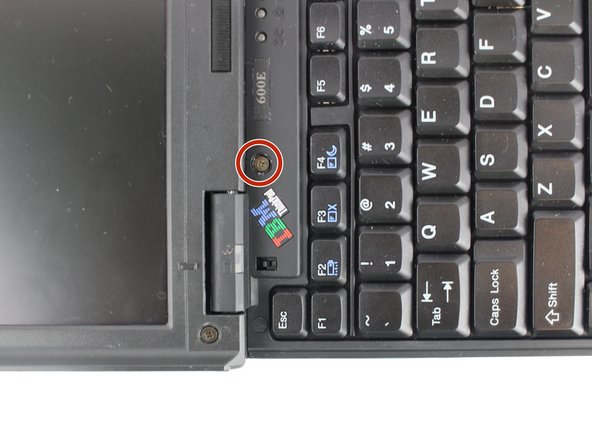
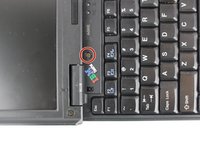
      • Open the laptop all the way until it is flat.

      • Take the black circle off and remove the screw.

      • One 4.5mm long M2.5 screw

      Ask FixBot
      Add Comment

    5. IBM ThinkPad 600E Display Replacement: step 8, image 1 of 3 IBM ThinkPad 600E Display Replacement: step 8, image 2 of 3 IBM ThinkPad 600E Display Replacement: step 8, image 3 of 3
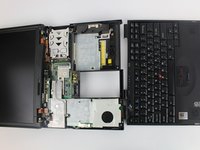
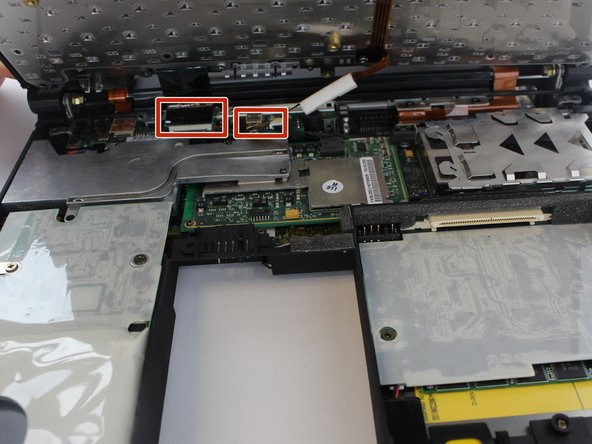
      • Pry the keyboard case up from the bottom and gently pry it up from all other edges.

      • Use caution when opening the case, as there are two ribbon cables attached to the keyboard case.

      Ask FixBot

      Add Comment

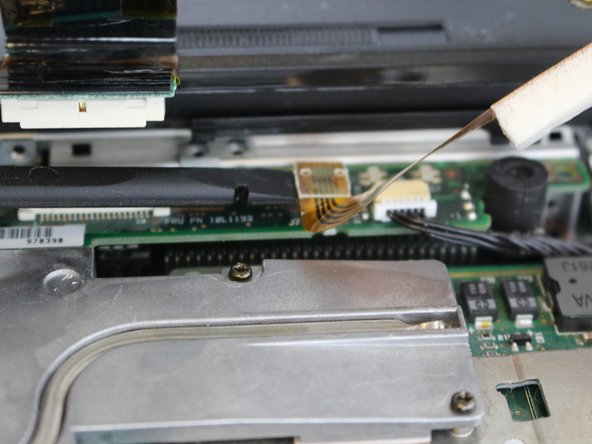
    6. IBM ThinkPad 600E Display Replacement: step 9, image 1 of 3 IBM ThinkPad 600E Display Replacement: step 9, image 2 of 3 IBM ThinkPad 600E Display Replacement: step 9, image 3 of 3
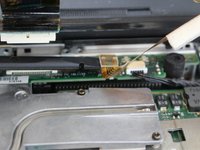
      • Pry the connectors of the ribbon cables off slowly, lifting straight up. Wiggle gently side to side if necessary.

      Ask FixBot
      Add Comment

    1. IBM ThinkPad 600E Display Replacement, Display: step 10, image 1 of 2 IBM ThinkPad 600E Display Replacement, Display: step 10, image 2 of 2
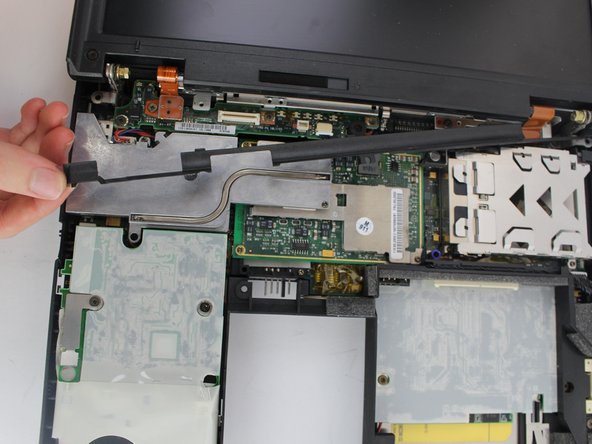
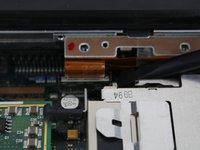
      • Remove the plastic part attached to the bottom of the screen.

      • Gently pull it from one side and then from another.

      Ask FixBot

      Add Comment
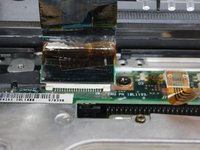
    2. IBM ThinkPad 600E Display Replacement: step 11, image 1 of 1
      • Remove the highlighted screws.

      • Five 4.8mm long M2.5 screws

      Ask FixBot

      Add Comment

    3. IBM ThinkPad 600E Display Replacement: step 12, image 1 of 3 IBM ThinkPad 600E Display Replacement: step 12, image 2 of 3 IBM ThinkPad 600E Display Replacement: step 12, image 3 of 3
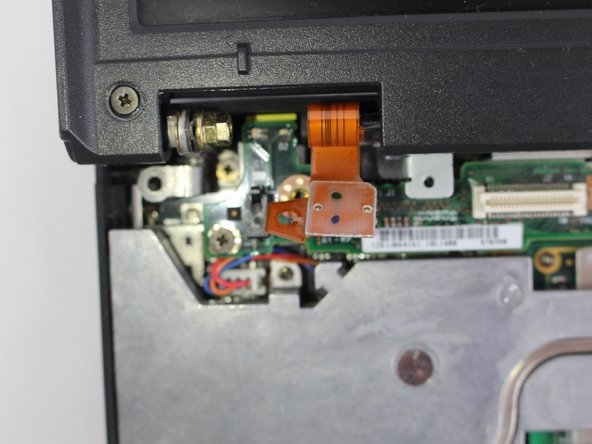
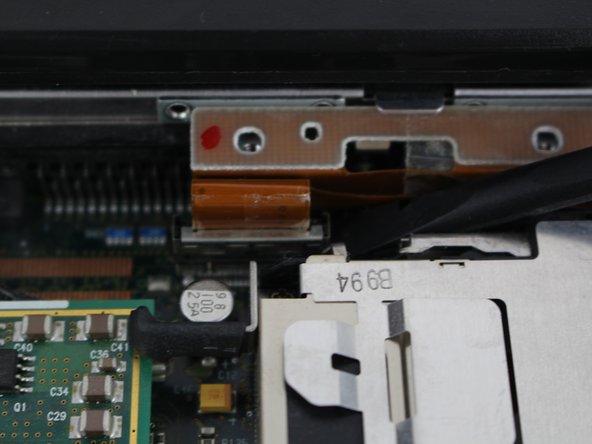
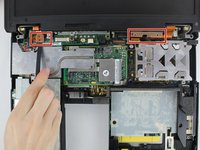
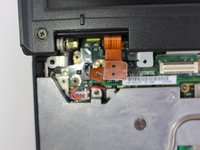
      • Pry the connectors of the ribbon cables off slowly, lifting straight up. Wiggle gently side to side if necessary.

      Ask FixBot

      Add Comment

    4. IBM ThinkPad 600E Display Replacement: step 13, image 1 of 1
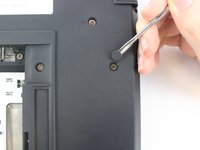
      • Close the laptop and turn it around. There you will see 4 more screws.

      • Unscrew highlighted screws.

      • Four 4.8mm long M2.5 screws

      Ask FixBot

      Add Comment

    5. IBM ThinkPad 600E Display Replacement: step 14, image 1 of 2 IBM ThinkPad 600E Display Replacement: step 14, image 2 of 2
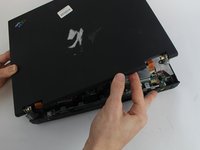
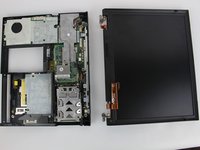
      • After you've removed the screws, open the laptop and gently pull the display out.

      • Be sure you hold it from the bottom edges while taking it out.

      Ask FixBot

      Add Comment

Conclusion

To reassemble your device, follow these instructions in reverse order.

Cancel: I did not complete this guide.

One other person completed this guide.

Kevin Nguyen

Member since: 10/04/16

737 Reputation

4 Guides authored

Team

USF Tampa, Team 1-4, Nance Fall 2016 Member of USF Tampa, Team 1-4, Nance Fall 2016

USFT-NANCE-F16S1G4

4 Members

60 Guides authored

0 Guide Comments

Add Comment

View Statistics:

Past 24 Hours: 0

Past 7 Days: 8

Past 30 Days: 40

All Time: 2,234