Introduction
The IBM ThinkPad 560Z is a classic late-1990s laptop known for its compact design and reliability for its time. The internal hard drive is responsible for storing the operating system, applications, and personal files, making it a critical component for overall functionality. If the hard drive begins to fail, you may experience slow performance, frequent crashes, unusual noises, or the system failing to boot altogether.
These symptoms often indicate that the hard drive has reached the end of its lifespan and needs to be replaced. In many cases, replacing the drive is more effective than troubleshooting and can significantly improve performance, especially when upgrading to a newer storage option.
In this guide, you will learn how to safely remove and replace the hard drive in the ThinkPad 560Z using basic tools. This repair is considered moderate in difficulty and is suitable for users with little to moderate experience working with electronics.
Before starting, make sure to back up any important data if the drive is still accessible, as this process will involve removing the existing storage device. Power off the laptop, unplug it from any power source, and remove the battery to reduce the risk of electrical damage. Since this is an older device, internal components such as connectors and plastic clips may be more fragile, so extra care should be taken during disassembly.
What you need
-
-
-
Remove the 7 mm Phillips #0 screws.
-
Remove the 10 mm Phillips #0 screws.
-
Remove the 14 mm Phillips #0 screw.
 Ask FixBot
-
-
-
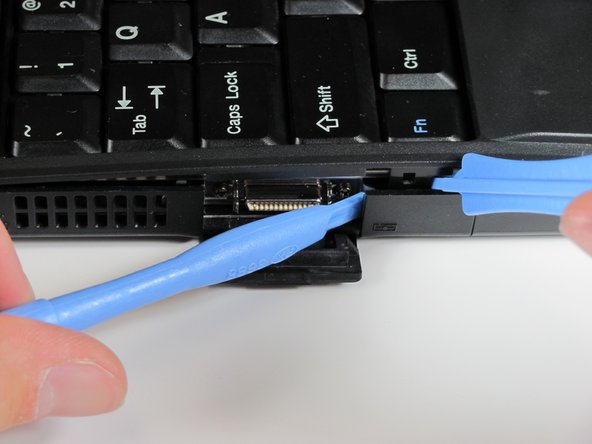
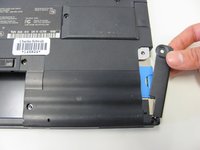
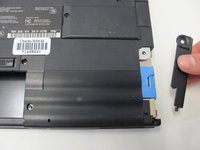
Insert the plastic opening tools between the right and left sides of the latch.
-
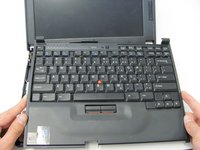
Pry the right side of the latch, and then pry the left side to detach the laptop's cover.
-
-
-
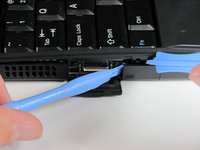
Insert the plastic opening tools towards the right side of the latch.
-
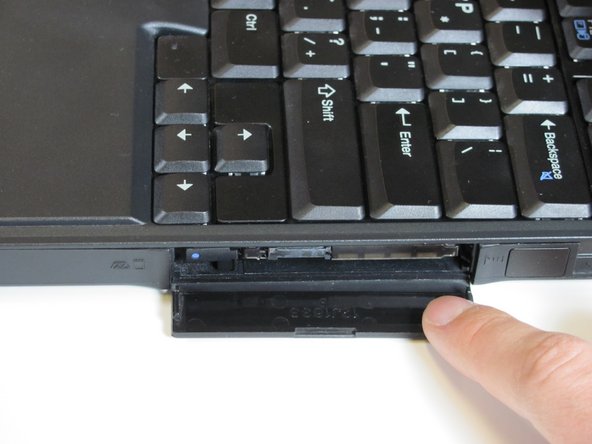
Gently pry the right side out to release the top cover.
-
-
-
-
-
-
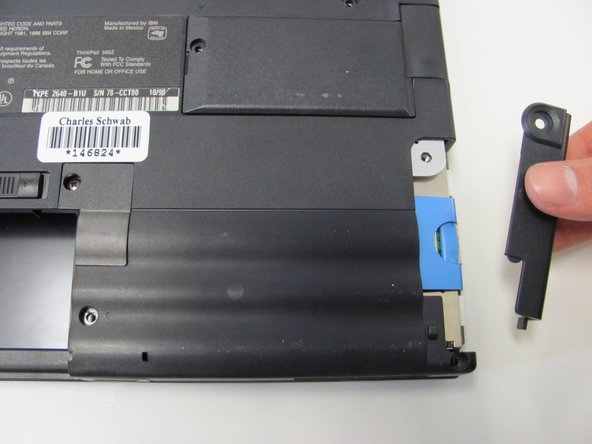
On the back of the computer, use a Flathead screwdriver to remove this lone screw.
-
-
-
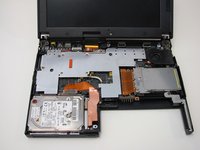
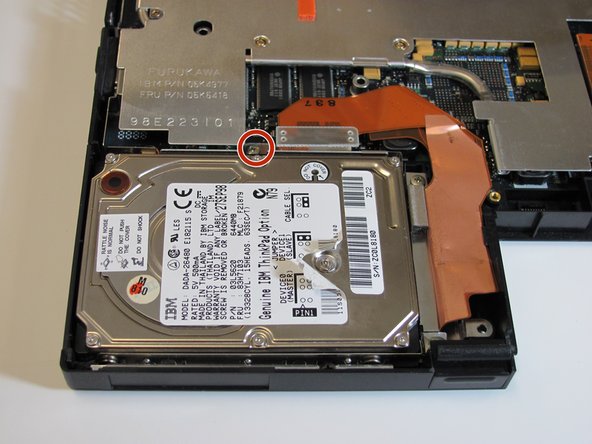
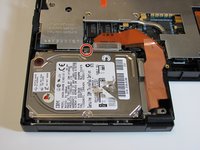
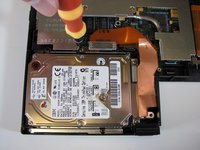
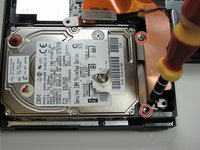
Turn the computer back over so the hard drive faces up. Remove the shown screw with a Phillips screwdriver.
-
-
-
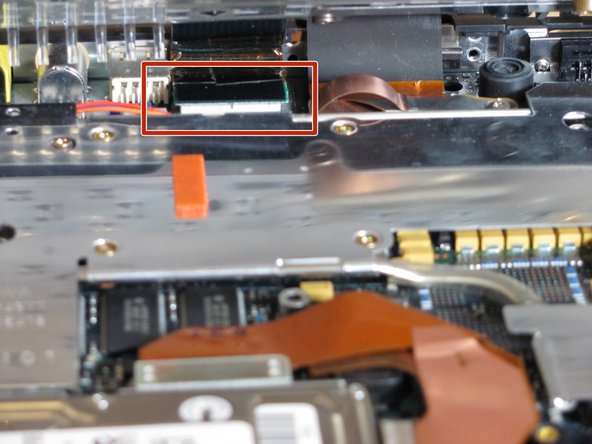
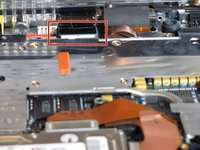
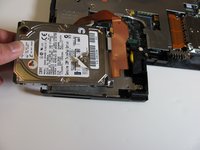
Make sure you are grounded and detach the IDA cable connecting the hard disk to the motherboard.
-
-











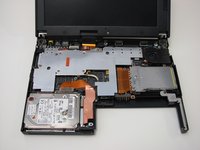


To reassemble your device, follow these instructions in reverse order. Take your e-waste to an R2 or e-Stewards certified recycler.
Cancel: I did not complete this guide.
2 other people completed this guide.

Team

Cal Poly, Team 26-27, Regan Spring 2010 Member of Cal Poly, Team 26-27, Regan Spring 2010
CPSU-REGAN-S10S26G27
3 Members
108 Guides authored
1 Guide Comment
You don't have to go to this length to remove the hard drive on a 560Z. Only do steps 0 (remove battery), 9 (remove screw) and 10 (remove cover). Then simply grab the blue tab of the hard drive caddy and pull the drive out of the bay. Complete directions on maintenance of the IBM Thinkpad 560Z can be found here:
http://www.thinkpads.com/support/hmm/hmm...
The Hardware Maintenance Manual has all of the information you need to take a 560Z apart and put it back together.
The procedure outlined here is similar to what the 560, 560E and 560X systems required; the 560Z is totally different when removing the hard drive.
