Free Shipping on Domestic Orders $75+

Hytera TC-580 Microphone Replacement

Views: 1.4K

View statistics:

Past 24 Hours:
3
Past 7 Days:
16
Past 30 Days:
83
All Time:
1,356
Comments: 0

No one has left comments on this guide. Will you be first?

Go to guide comments
Completed: 0

No one has marked this guide "completed." Will you be the first?

Favorites: 0

No one has favorited (and subscribed to) this guide. Will you be the first?

Time Required: 15 - 25 minutes
Difficulty: Very difficult
Hytera TC-580 Microphone Replacement

Introduction

Go to step 1 ↓

Remove and replace the microphone built into the TC-580 circuit board. This will require soldering that could permanently damage the circuit board of your radio so please consider other options for repair. This repair is for users that can't have other parties hear them on the radio.

What you need

Parts

Tools

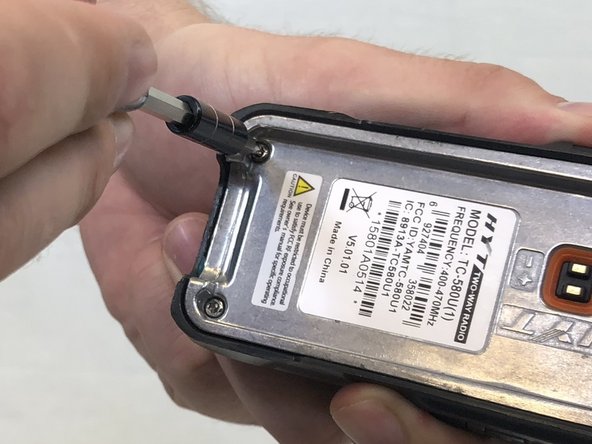
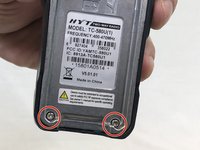
    1. Hytera TC-580 Microphone Replacement, Battery: step 1, image 1 of 2 Hytera TC-580 Microphone Replacement, Battery: step 1, image 2 of 2
      • Remove the two 10mm Phillips #0 from the belt clip.

      Ask FixBot

      Add Comment

    2. Hytera TC-580 Microphone Replacement: step 2, image 1 of 2 Hytera TC-580 Microphone Replacement: step 2, image 2 of 2
      • Push in the release button and pull up on the battery to remove.

      Ask FixBot

      Add Comment

    1. Hytera TC-580 Microphone Replacement, Antenna: step 3, image 1 of 1
      • Twist antenna counter-clockwise and set damaged antenna aside.

      Ask FixBot

      Add Comment

    1. Hytera TC-580 Microphone Replacement, Keypad: step 4, image 1 of 1
      • Remove the volume knob by firmly lifting up on both sides of it.

      Ask FixBot

      Add Comment

    2. Hytera TC-580 Microphone Replacement: step 5, image 1 of 1
      Tool used on this step:
      Tweezers
      $4.99
      Buy
      • Remove the orange o-ring around volume knob using tweezers.

      Ask FixBot

      Add Comment

    3. Hytera TC-580 Microphone Replacement: step 6, image 1 of 1
      • Remove grey nut from base of volume knob by turning it counterclockwise with a set of tweezers.

      Ask FixBot

      Add Comment

    4. Hytera TC-580 Microphone Replacement: step 7, image 1 of 1
      • Remove the brass washer from the base of the antenna slot by turning it counterclockwise with a set of tweezers.

      Ask FixBot

      Add Comment

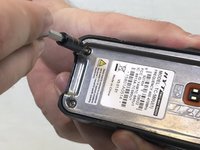
    5. Hytera TC-580 Microphone Replacement: step 8, image 1 of 2 Hytera TC-580 Microphone Replacement: step 8, image 2 of 2
      • Remove the two 15mm T8 Torx screws from the base of the battery cavity.

      Ask FixBot

      Add Comment

    6. Hytera TC-580 Microphone Replacement: step 9, image 1 of 1
      • Using a plastic opening tool, pry in between the plastic case and metal circuit board to remove the board.

      Ask FixBot

      Add Comment

    7. Hytera TC-580 Microphone Replacement: step 10, image 1 of 1
      • Peel off the keypad by hand.

      Ask FixBot

      Add Comment

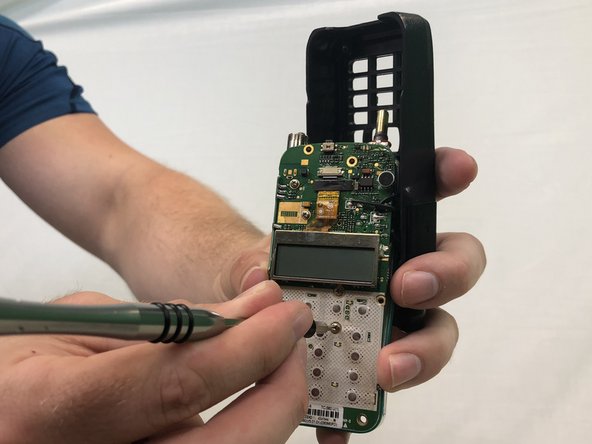
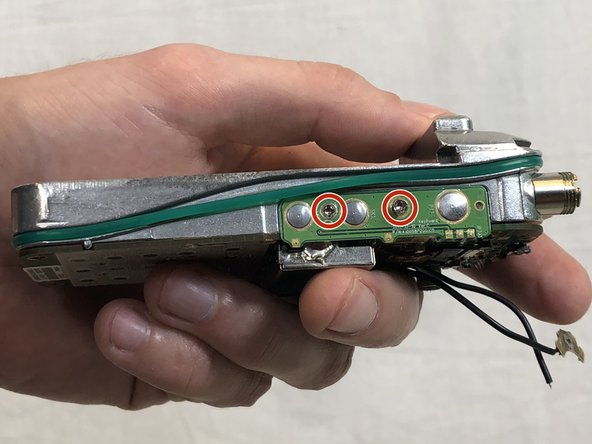
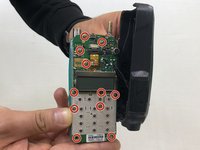
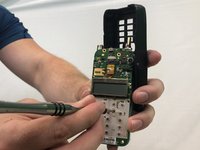
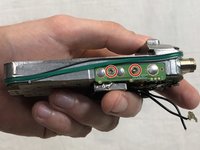
    1. Hytera TC-580 Microphone Replacement, Speaker: step 11, image 1 of 3 Hytera TC-580 Microphone Replacement, Speaker: step 11, image 2 of 3 Hytera TC-580 Microphone Replacement, Speaker: step 11, image 3 of 3
      • Remove eleven 4mm Phillips #00 screws.

      Ask FixBot

      Add Comment

    2. Hytera TC-580 Microphone Replacement: step 12, image 1 of 1
      • Apply a soldering iron to the solder joints to remove the two wires connecting the speaker to the circuit board.

      Ask FixBot

      Add Comment

    1. Hytera TC-580 Microphone Replacement, Microphone: step 13, image 1 of 1
      • If not already done, remove the circuit board completely from the case.

      Ask FixBot

      Add Comment

    2. Hytera TC-580 Microphone Replacement: step 14, image 1 of 1
      • Desolder the two microphone solder joints.

      Ask FixBot

      Add Comment

    3. Hytera TC-580 Microphone Replacement: step 15, image 1 of 1
      • The microphone should fall out after all the solder has been removed.

      Ask FixBot

      Add Comment

Conclusion

To reassemble your device, follow these instructions in reverse order.

Cancel: I did not complete this guide.

Stuart

Member since: 02/14/18

485 Reputation

3 Guides authored

Team

USF Tampa, Team S3-G4, Nance Spring 2018 Member of USF Tampa, Team S3-G4, Nance Spring 2018

USFT-NANCE-S18S3G4

3 Members

60 Guides authored

0 Guide Comments

Add Comment

View Statistics:

Past 24 Hours: 3

Past 7 Days: 16

Past 30 Days: 83

All Time: 1,356