Free Shipping on Domestic Orders $75+

Huawei Y7 2018 (LDN-L21) Display Assembly with Frame Replacement

What you need

Video Overview

    1. Huawei Y7 2018 (LDN-L21) Display Assembly with Frame Replacement, Switch off the device: step 1, image 1 of 3 Huawei Y7 2018 (LDN-L21) Display Assembly with Frame Replacement, Switch off the device: step 1, image 2 of 3 Huawei Y7 2018 (LDN-L21) Display Assembly with Frame Replacement, Switch off the device: step 1, image 3 of 3
      • Turn off the device

      • Remove the sim tray

      Ask FixBot

      Add Comment

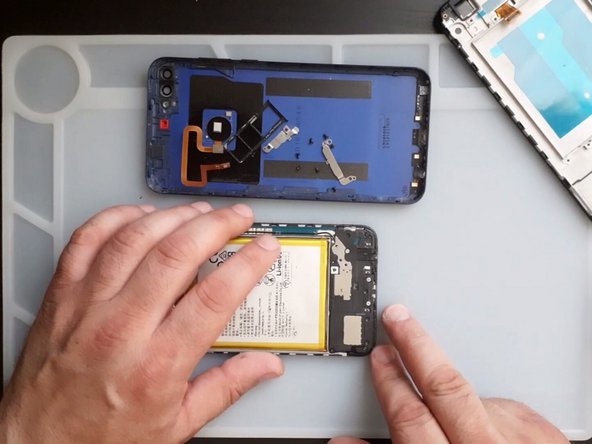
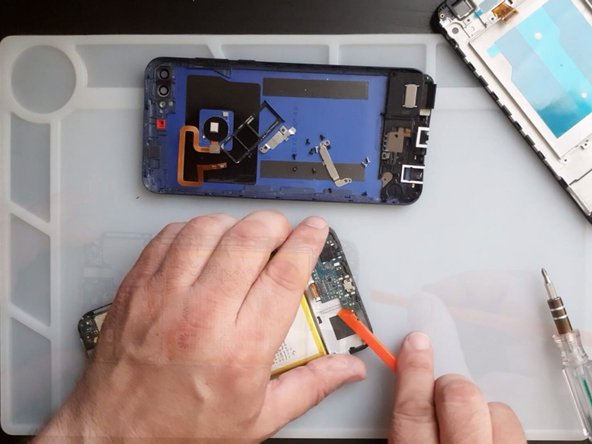
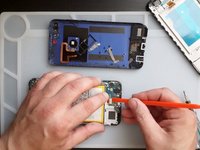
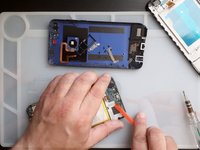
    2. Huawei Y7 2018 (LDN-L21) Display Assembly with Frame Replacement, Back Cover: step 2, image 1 of 3 Huawei Y7 2018 (LDN-L21) Display Assembly with Frame Replacement, Back Cover: step 2, image 2 of 3 Huawei Y7 2018 (LDN-L21) Display Assembly with Frame Replacement, Back Cover: step 2, image 3 of 3
      • Use Plastic tool to separate the back cover

      • With a Phillips screwdriver remove two black screws and the battery flex connector shield

      • Disconnect the battery and the finger print sensor flex cable

      Ask FixBot

      Add Comment

    3. Huawei Y7 2018 (LDN-L21) Display Assembly with Frame Replacement, Logic Board Removal Part 1: step 3, image 1 of 3 Huawei Y7 2018 (LDN-L21) Display Assembly with Frame Replacement, Logic Board Removal Part 1: step 3, image 2 of 3 Huawei Y7 2018 (LDN-L21) Display Assembly with Frame Replacement, Logic Board Removal Part 1: step 3, image 3 of 3
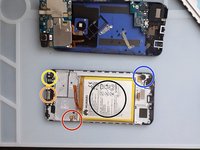
      • Remove all screws from the top of the logic board

      • Remove the shield covering the camera connectors

      • Remove the screws and the plastic cover at the bottom of the device

      • Be careful! Different colored screws have different size

      Ask FixBot

      Add Comment

    4. Huawei Y7 2018 (LDN-L21) Display Assembly with Frame Replacement, Logic Board Removal - Part 2: step 4, image 1 of 3 Huawei Y7 2018 (LDN-L21) Display Assembly with Frame Replacement, Logic Board Removal - Part 2: step 4, image 2 of 3 Huawei Y7 2018 (LDN-L21) Display Assembly with Frame Replacement, Logic Board Removal - Part 2: step 4, image 3 of 3
      • Disconnect the Screen Flex cable

      • Remove the logic board

      • Note that at the bottom side of board is attached to the display with double-sided tape

      Ask FixBot

      Add Comment

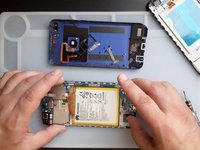
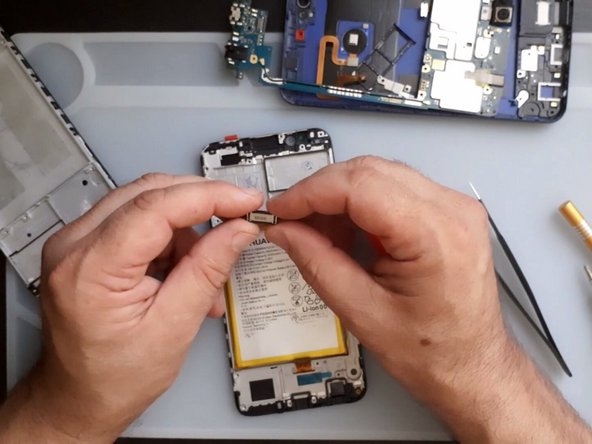
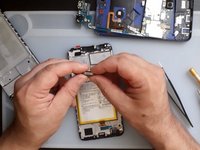
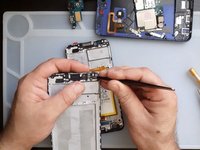
    5. Huawei Y7 2018 (LDN-L21) Display Assembly with Frame Replacement: step 5, image 1 of 3 Huawei Y7 2018 (LDN-L21) Display Assembly with Frame Replacement: step 5, image 2 of 3 Huawei Y7 2018 (LDN-L21) Display Assembly with Frame Replacement: step 5, image 3 of 3
      • Now you have to transfer:

      • Receiver

      • Proximity sensor

      • Volume buttons flex

      • Vibration

      • Battery

      Ask FixBot

      Add Comment

Conclusion

To reassemble your device, follow these instructions in reverse order.

Cancel: I did not complete this guide.

14 other people completed this guide.

ZFix

Member since: 12/09/13

197,561 Reputation

330 Guides authored

Team

Master Techs Member of Master Techs

Community

334 Members

8,250 Guides authored

1 Guide Comment

Can i get video guide

filmon - Reply Share

Add Comment

View Statistics:

Past 24 Hours: 1

Past 7 Days: 16

Past 30 Days: 91

All Time: 8,855