Free Shipping on Domestic Orders $75+

Huawei P9 Plus Rear Case Replacement

What you need

    1. Huawei P9 Plus Rear Case Replacement, Rear Case: step 1, image 1 of 2 Huawei P9 Plus Rear Case Replacement, Rear Case: step 1, image 2 of 2
      • First switch off your phone.

      • Remove the SD and SIM card tray.

      Ask FixBot

      Add Comment

    2. Huawei P9 Plus Rear Case Replacement: step 2, image 1 of 1
      • Remove the two P2 Pentalobe screws on either side of the USB C port.

      Ask FixBot

      Add Comment

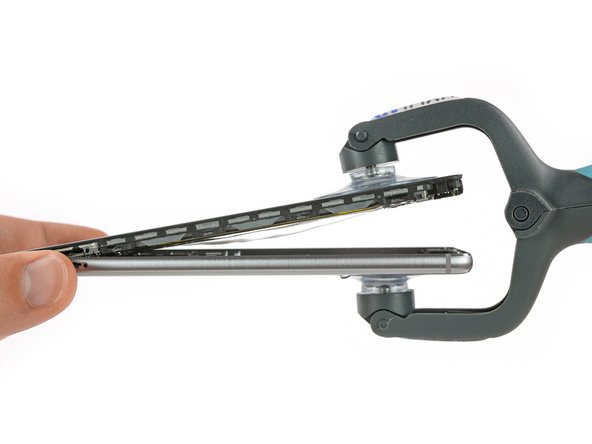
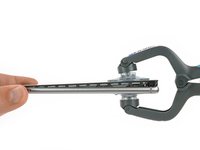
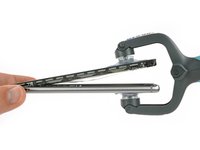
    3. Huawei P9 Plus Rear Case Replacement: step 3, image 1 of 2 Huawei P9 Plus Rear Case Replacement: step 3, image 2 of 2
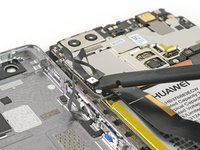
      • Use an iSclack or a suction handle to separate the display unit from the rear case.

      • Do not fully separate the pieces as they are still connected by the fingerprint sensor cable.

      Ask FixBot

      Add Comment

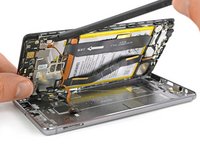
    4. Huawei P9 Plus Rear Case Replacement: step 4, image 1 of 3 Huawei P9 Plus Rear Case Replacement: step 4, image 2 of 3 Huawei P9 Plus Rear Case Replacement: step 4, image 3 of 3
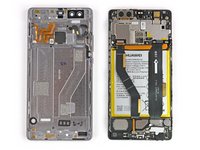
      • After separating the rear case flip the other half open to get to the flex connectors.

      • With a spudger unplug the flex connector of the fingerprint sensor and the one of the side buttons.

      • Remove the rear case.

      Ask FixBot

      Add Comment

Conclusion

To reassemble your device, follow these instructions in reverse order.

Cancel: I did not complete this guide.

3 other people completed this guide.

Dominik Schnabelrauch

Member since: 11/23/16

263,522 Reputation

682 Guides authored

Team

iFixit EU Team Member of iFixit EU Team

Staff

37 Members

3,055 Guides authored

0 Guide Comments

Add Comment

View Statistics:

Past 24 Hours: 2

Past 7 Days: 4

Past 30 Days: 27

All Time: 2,579