Free Shipping on Domestic Orders $75+

Huawei P9 Lite Display Replacement

What you need

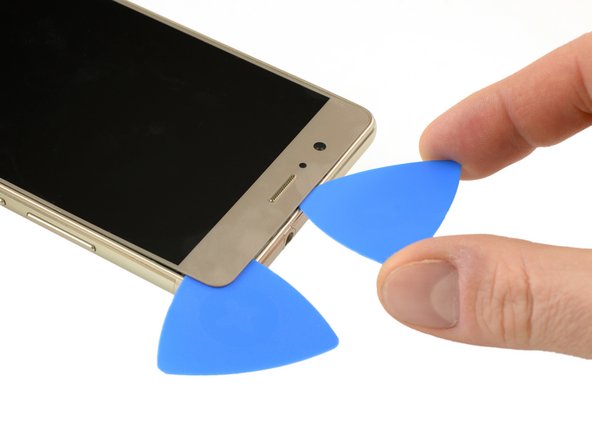
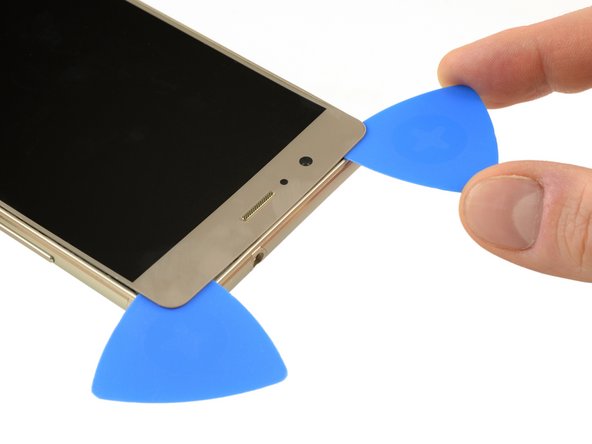
    1. Huawei P9 Lite Display Replacement, Back Cover: step 1, image 1 of 2 Huawei P9 Lite Display Replacement, Back Cover: step 1, image 2 of 2
      • Use an opening pick to unclip the rear cover, starting from the bottom corner.

      • Work your way around counterclockwise and carefully pry the plastic tabs open one by one.

      Ask FixBot

      Add Comment

    2. Huawei P9 Lite Display Replacement: step 2, image 1 of 1
      • There is adhesive underneath the back cover that holds it to the battery and the metal plate at the top.

      • Be careful with the flex cable at the right hand side.

      • Twist the opening pick to lever the back cover away and loosen it from the adhesive.

      Ask FixBot

      Add Comment

    3. Huawei P9 Lite Display Replacement: step 3, image 1 of 1
      • When the back cover is freed from the adhesive you can pop it off by hand completely.

      Ask FixBot

      Add Comment

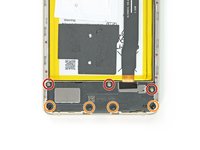
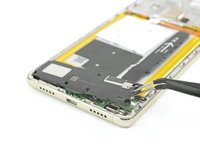
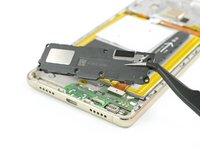
    1. Huawei P9 Lite Display Replacement, Loudspeaker: step 4, image 1 of 3 Huawei P9 Lite Display Replacement, Loudspeaker: step 4, image 2 of 3 Huawei P9 Lite Display Replacement, Loudspeaker: step 4, image 3 of 3
      • On the bottom of the phone remove the following screws:

      • Three 2.9 mm Phillips #00 screws

      • Four 3.8 mm Phillips #00 screws

      • Now you can grab the loudspeaker unit and take it out.

      Ask FixBot

      Add Comment

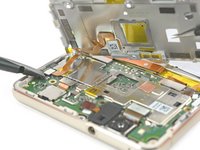
    1. Huawei P9 Lite Display Replacement, Motherboard Shield: step 5, image 1 of 1
      • Remove the nine Phillips #00 screws that secure the metal shield plate.

      • Some screws may be covered with tamper proof stickers. Remove them to ensure a proper seating for your driver.

      Ask FixBot

      Add Comment

    2. Huawei P9 Lite Display Replacement: step 6, image 1 of 2 Huawei P9 Lite Display Replacement: step 6, image 2 of 2
      • Do not remove the shield plate yet, it is attached by a connector and an adhered cable.

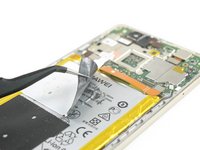
      • Use a spudger to disconnect the fingerprint sensor from the motherboard.

      • Peel the NFC antenna cable off of the metal plate.

      Ask FixBot

      Add Comment

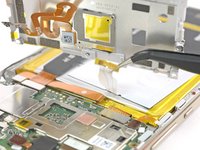
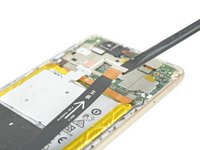
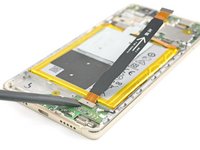
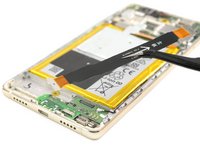
    1. Huawei P9 Lite Display Replacement, Battery: step 7, image 1 of 3 Huawei P9 Lite Display Replacement, Battery: step 7, image 2 of 3 Huawei P9 Lite Display Replacement, Battery: step 7, image 3 of 3
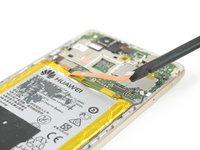
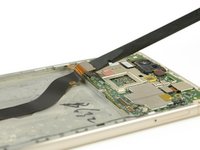
      • Disconnect the motherboard flex cable on both ends and take it away.

      Ask FixBot

      Add Comment

    2. Huawei P9 Lite Display Replacement: step 8, image 1 of 2 Huawei P9 Lite Display Replacement: step 8, image 2 of 2
      • Peel off the NFC antenna from the battery.

      • Be careful not to rip or crease the antenna.

      • If you are just removing the battery to get to the display, you can leave the NFC on the battery.

      • Unplug the battery connector.

      Ask FixBot

      Add Comment

    3. Huawei P9 Lite Display Replacement: step 9, image 1 of 3 Huawei P9 Lite Display Replacement: step 9, image 2 of 3 Huawei P9 Lite Display Replacement: step 9, image 3 of 3
      Tool used on this step:
      Tesa 61395 Tape
      $8.95
      Buy
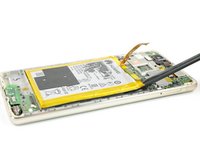
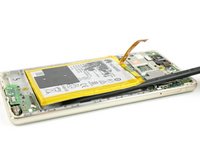
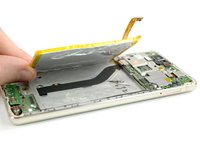
      • Slide the spudger under the battery at the place shown in the picture and pry it loose slowly.

      • Avoid bending the battery and reheat if necessary.

      • Be careful not to damage the display flex cable that runs underneath the battery in the center.

      • When reassembling your phone replace old adhesive with double-sided tape or pre-cut adhesive strips.

      Ask FixBot

      Add Comment

    1. Huawei P9 Lite Display Replacement, Display: step 10, image 1 of 2 Huawei P9 Lite Display Replacement, Display: step 10, image 2 of 2
      • Take the flat end of a spudger to disconnect the display flex cable.

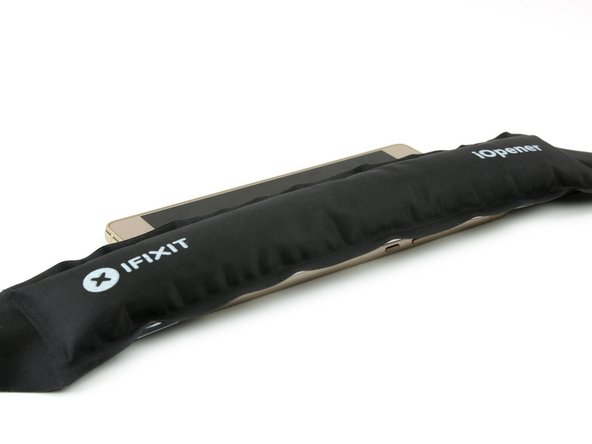
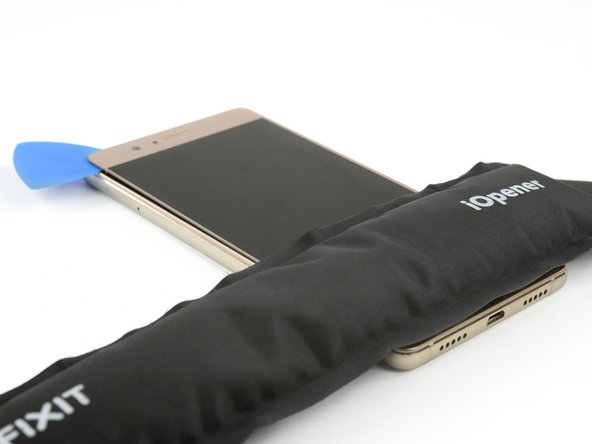
      • Flip the phone over and use an iOpener to soften the adhesive at the edge of the display.

      Ask FixBot

      Add Comment

    2. Huawei P9 Lite Display Replacement: step 11, image 1 of 3 Huawei P9 Lite Display Replacement: step 11, image 2 of 3 Huawei P9 Lite Display Replacement: step 11, image 3 of 3
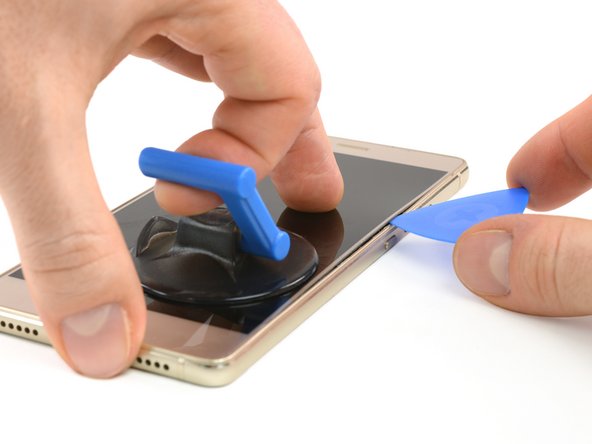
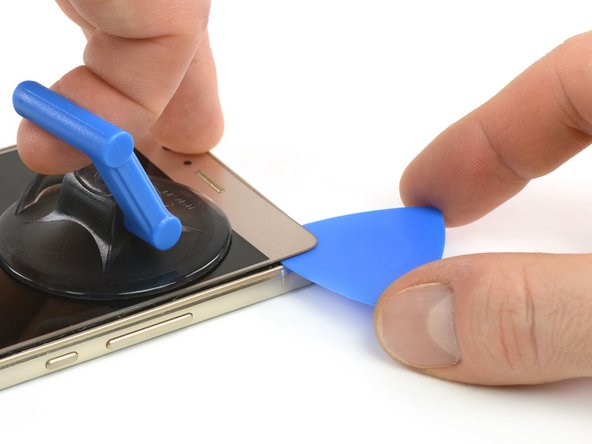
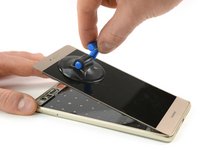
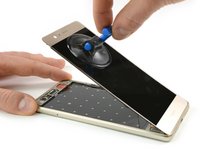
      • With a suction handle you can lift the display a little bit to create a gap.

      • Insert just the tip of an opening pick in the gap and steadily slide it along the edge towards the top. You may need to go back and forth a few times.

      • Try to get around the corner and behind the top part of the display. Re-position the suction handle if needed.

      • Leave the opening pick behind the display to avoid the re-sealing of the adhesive.

      Ask FixBot

      Add Comment

    3. Huawei P9 Lite Display Replacement: step 12, image 1 of 3 Huawei P9 Lite Display Replacement: step 12, image 2 of 3 Huawei P9 Lite Display Replacement: step 12, image 3 of 3
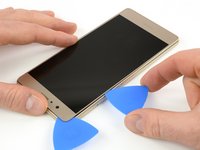
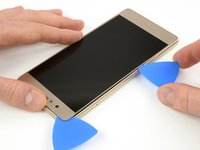
      • Heat up the iOpener once again and place it on the display to soften the adhesive at the top.

      • Use a second opening pick to slide along the top edge towards the next corner.

      Ask FixBot

      Add Comment

    4. Huawei P9 Lite Display Replacement: step 13, image 1 of 3 Huawei P9 Lite Display Replacement: step 13, image 2 of 3 Huawei P9 Lite Display Replacement: step 13, image 3 of 3
      • As long as the adhesive is warm try to continue to separate the display along the side towards the bottom. Re-heat the iOpener if necessary.

      • Don't overheat the iOpener. Stick to the iOpener instructions.

      • Also heat up the bottom part of the display for the next few steps.

      Ask FixBot

      Add Comment

    5. Huawei P9 Lite Display Replacement: step 14, image 1 of 3 Huawei P9 Lite Display Replacement: step 14, image 2 of 3 Huawei P9 Lite Display Replacement: step 14, image 3 of 3
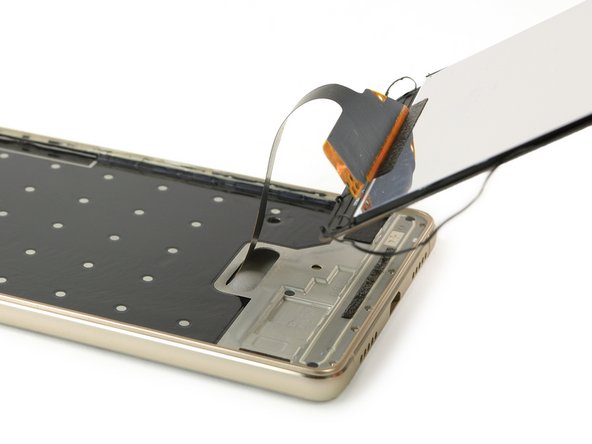
      • When you worked your way around the display, take a suction handle and lift the top part of the display away from the frame.

      • Slowly but steadily hinge open the bottom part of the display separating the adhesive.

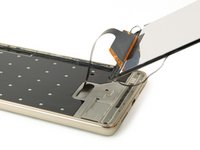
      • Now you can thread the display flex cable through the gap in the frame.

      • When installing the new display make sure to reapply adhesive where necessary.

      Ask FixBot

      Add Comment

Conclusion

To reassemble your device, follow these instructions in reverse order.

Cancel: I did not complete this guide.

26 other people completed this guide.

Tobias Isakeit

Member since: 03/31/14

135,182 Reputation

189 Guides authored

Team

3 Guide Comments

About release battery ... fishing braided line works better :) battery taken without any destruction.

Slawomir Z. - Reply Share

Grazie a questa guida ho potuto sostituire batteria e schermo da me. Grazie!

themafiakiller1967 - Reply Share

Non si può sostituire solo il vetro? X forza anche lcd?

feliciemanuele - Reply Share

Add Comment

View Statistics:

Past 24 Hours: 3

Past 7 Days: 14

Past 30 Days: 67

All Time: 29,093