Introduction
A front-facing camera is a camera in the tablet that is usually situated on the front of the device just above the screen. It is a good piece of hardware to use as a webcam or taking selfie with it. You can use the front-facing camera in conversations over communication apps like Skype, Google Hangouts, WhatsApp, etc. If the front camera does not work properly, you will either have to do some troubleshooting to check and see if it is a hardware problem, or the front camera might simply need a replacement.
What you need
-
-
-
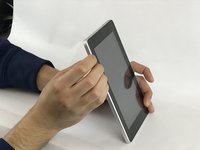
Use either your finger or a metal spudger to lift both the top and bottom black covers on the back of the tablet.
 Ask FixBot
-
-
-
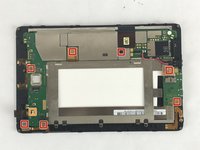
Use a Phillips (J000) bit screwdriver to remove the 6 (2 mm) screws located at the top and bottom of the tablet.
-
-
-
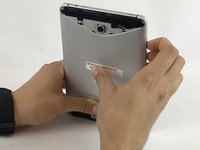
Hold the device by the silver edge and the front of the screen.
-
Then use your other hand to push gently on the center back of the tablet until the front screen is detached from the silver back cover.
-
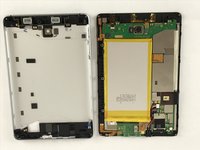
Finally, separate the screen from the silver back casing.
-
-
-
-
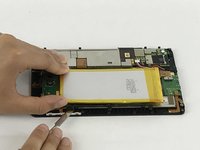
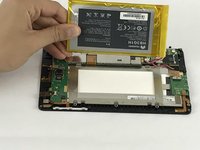
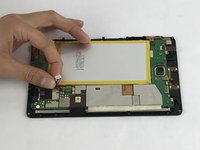
Use the plastic spudger to remove the battery from the device that is glued on the metal frame.
-
Follow the wires to where they are connected on the motherboard and simply pull the white connector out of the socket.
-
-
-
-
-
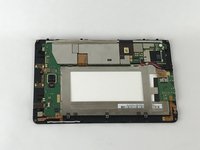
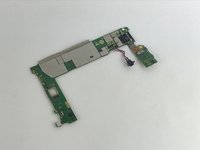
Once the battery is removed, the motherboard is ready to be removed.
-
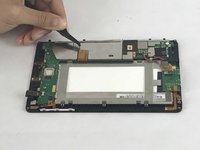
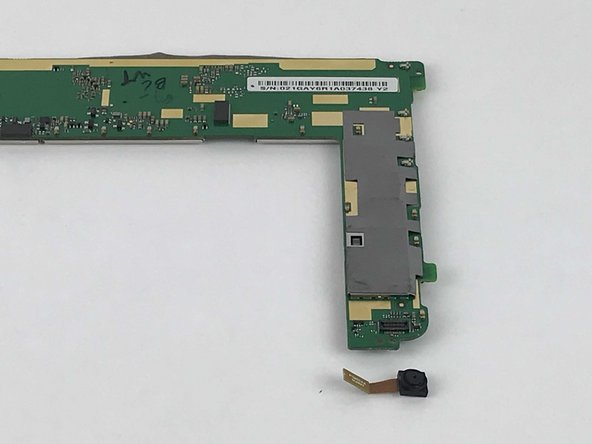
Remove the camera from the motherboard by disconnecting the clip next to it. You can use the precision tweezer here.
-
To remove the power port from the motherboard, unscrew the two 4mm screws with a T5 bit.
-
-
Tool used on this step:Tweezers$4.99
-
Use the precision tweezers to disconnect the 7 clips from the motherboard
-
Remove the headphone input cable from the motherboard by carefully pulling on the clip.
-
-
-
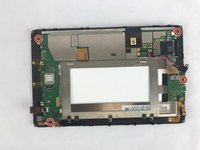
Unscrew the 4 screws 4mm with T5 bit from the edges or the frame of the motherboard to remove it
-
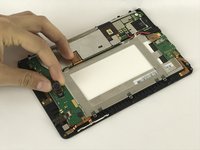
Carefully remove the motherboard from the metal frame.
-
-
-
-
-
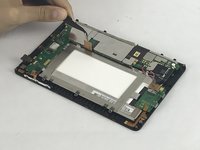
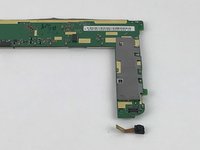
Once the battery is removed, remove the front facing camera from the socket located on the top left of the tablet.
-
-
Tool used on this step:Tweezers$4.99
-
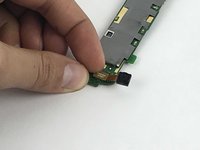
Gently unclip the camera from the motherboard using your fingers or a pair tweezers.
-
-






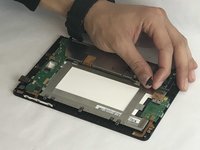






To reassemble your device, follow these instructions in reverse order.
Cancel: I did not complete this guide.
One other person completed this guide.

Team

USF Tampa, Team S11-G5, Passmore Fall 2017 Member of USF Tampa, Team S11-G5, Passmore Fall 2017
USFT-PASSMORE-F17S11G5
4 Members
48 Guides authored
