Introduction
This guide will demonstrate the replacement of the internal Wi-Fi antenna in an Azpen A720. In today's digital age Wi-Fi is an essential for both work and leisure. However, in times where your Wi-Fi signal may not be as strong as you'd like it could be due to a faulty or outdated Wi-Fi antenna. Replacing the antenna can significantly improve your internet speed and connectivity. This guide will help walk you through replacing the Wi-Fi antenna, from identifying the right replacement to safely installing it, ensuring you get the best possible performance from your network. This straightforward guide will make the process hassle-free and easy to follow no matter what technical background you have!
What you need
-
-
-
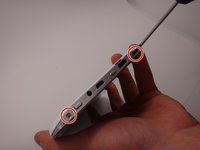
Use a Phillips #00 screwdriver to remove the two 4mm screws found on the top edge of the tablet near the power button.
 Ask FixBot
-
-
-
Use the plastic opening tool to pry the white back from the silver frame. Start near the micro SD slot.
-
-
-
-
-
-
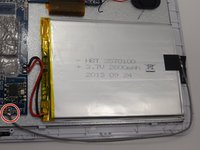
Locate the gray cord attached to the motherboard and the battery. This is the wifi antenna.
-
-
-
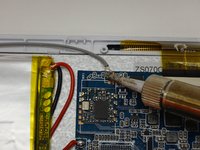
Locate the soldering connection between the wifi antenna and the motherboard.
-
Using a soldering iron, melt the soldering connection between the cord and the motherboard and disconnect the cord.
-
-
-
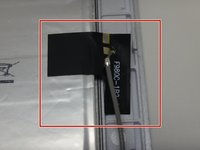
Locate the black sticker connecting the wifi antenna to the battery.
-
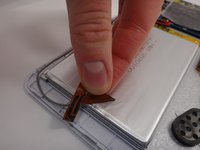
Peel the black sticker off of the battery to disconnect the wifi antenna.
-
Remove and replace the defective wire.
-
-






To reassemble your device, follow these instructions in reverse order.

Team

Michigan Tech, Team 1-3, Lauer Spring 2015 Member of Michigan Tech, Team 1-3, Lauer Spring 2015
MTU-LAUER-S15S1G3
2 Members
60 Guides authored
