
How to Sew a Whip Stitch

Brittany McCrigler and 4 other contributors
Last updated on Apr 21, 2025
Views: 44K
View statistics:
- Past 24 Hours:
- 13
- Past 7 Days:
- 87
- Past 30 Days:
- 278
- All Time:
- 44,413
Comments: 0
No one has left comments on this guide. Will you be first?
Go to guide commentsCompleted: 21 22
21 people have marked this guide "completed." Will you be next?
22 people have marked this guide "completed." Including you — great job!
Favorites: 29 30
29 people have favorited (and subscribed to) this guide. Will you be next?
30 people have favorited (and subscribed to) this guide — including you!
Introduction
Go to step 1 ↓A whip stitch is an easy way to sew two pieces of fabric together. You can use this stitch whether the edges of the two pieces of material line up or not. If they do line up, the stitch will loop around the outside edge of the material.
What you need
Parts
Tools


-
-
-
Align the two pieces of material you will be stitching together.
-
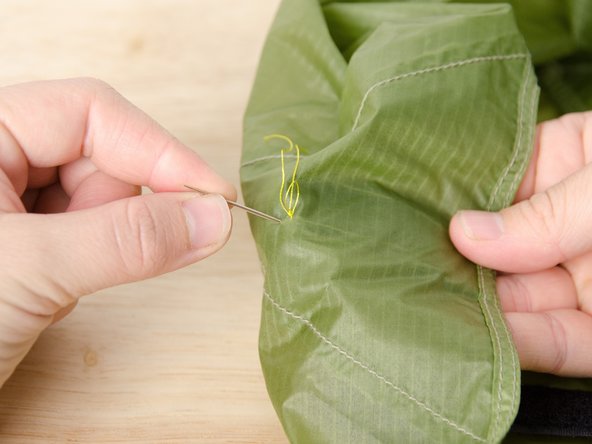
Thread your needle and tie a knot in the end of the thread.
-
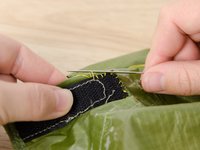
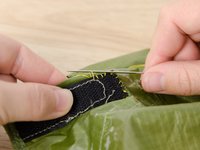
Drive the needle into the bottom layer of material from the back side.
 Ask FixBot
-
-
-
Drive the needle down through the top and bottom layers of fabric, close to where the needle came up.
-
Pull the thread taut on the backside of the bottom material.
-
-
-
-
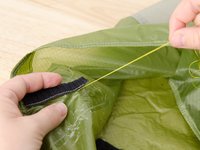
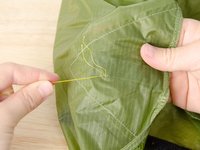
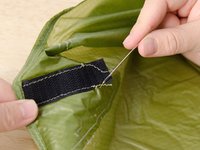
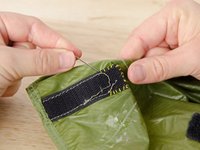
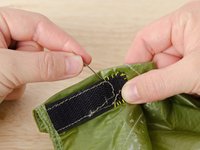
Continue bringing the needle up and down through both layers of fabric, as in steps 2 and 3 of this guide, working your way around the material.
-
-
-
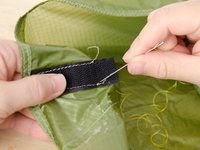
For the final stitch, come up from the back of the bottom material once again.
-
Draw the needle between the two layers of material through the stitch closest to where the needle came up.
-
-
-
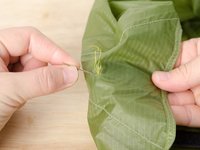
Slowly start to pull the thread taut. As you pull, you will see a loop form.
-
Draw the needle through the loop.
-
Pull the thread taut, forming a knot.
-
Repeat the process of driving the needle up from behind, drawing it through the stitch, and pulling it through the loop as described in steps 5 and 6 of this guide one more time.
-
-
-
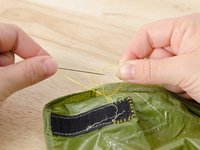
Ensure that the stitches are tight.
-
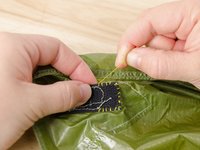
Cut any remaining thread, and admire your handiwork.
-
-











Cancel: I did not complete this guide.
21 other people completed this guide.

