Introduction
Replacing the zipper in a backpack is easier than it might seem. With a few basic tools and some patience, you can give your favourite pack a second life. We will walk you through each step so you can make a clean, sturdy repair that lasts.
➡️Before you get started, please check the safety disclaimer at the bottom of the page.
What you need
-
-
-
Identify which parts of the backpack needs fixing.
-
Note: In this example the zipper does not slide properly and needs replacing.
 Ask FixBot
-
-
-
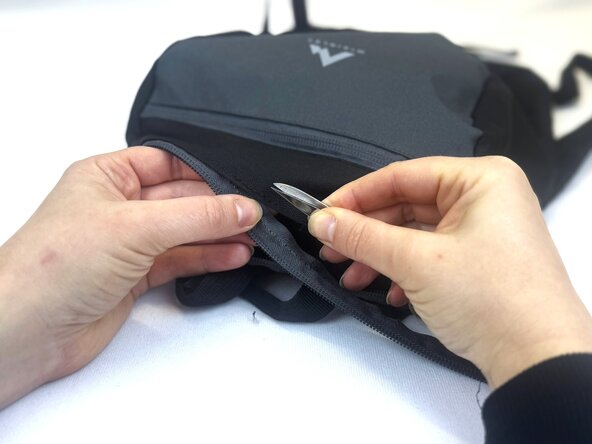
Use a pair of scissors to remove the old zipper.
-
Tip: Some zippers may have double‑seam reinforcement, so it might take more time and patience to remove the entire zipper system.
-
-
-
Make sure the old zipper is completely removed.
-
Note: You will need to open the "binder" (red circle) to correctly remove it.
-
Once the old zipper has been removed, clean the area by cutting off all the remaining loose threads.
-
-
-
-
Check the length of the replacement zipper. Make sure it has the right length for the backpack.
-
Tip: You can use measuring tape or, as an easier option, just compare both zippers side by side.
-
-
-
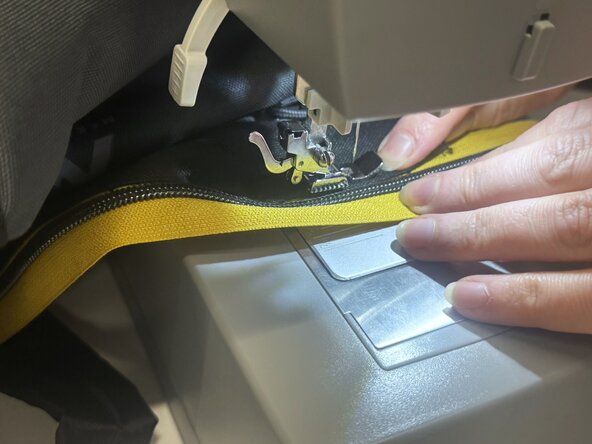
Align the new zipper along the seam line and start stitching.
-
Note: This is needed for the "front end" of the zipper. We will show you in the next steps how to do the "back".
-
-
-
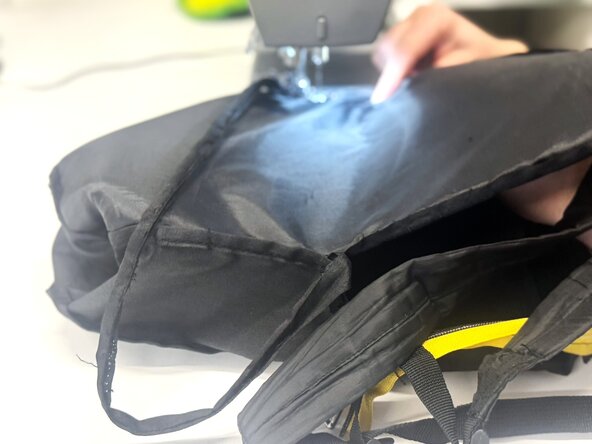
Once the front part is done, it is time to turn the bag "inside-out" and align the back part of the "binder" with the zipper.
-
Finish off by closing the binder so that the seam allowance and the zipper tape are both covered at the same time.
-
Note: Because the design before was showing a top stitching, this was kept for the new fix.
-
Remember you now have two seams instead of one.
-
Tip: We recommend reinforcing the seam with a "flat stitching" and for the final stitch to close the gap on the ends of the zipper.
-
-
-
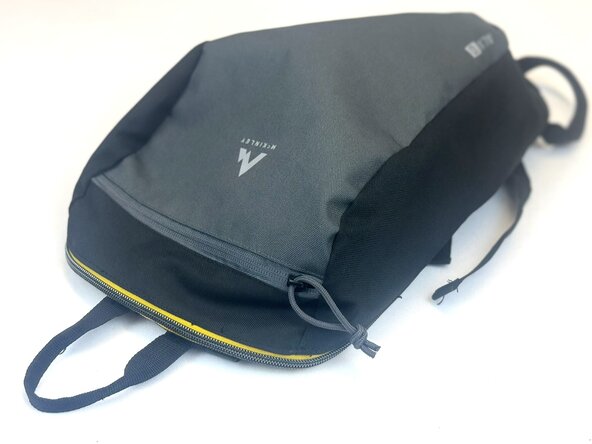
🛠️🏆👏 Congratulations! The repair is complete, and you're ready to go!
-
-








In need of another repair? Don't worry! Check out our other guides to find quick solutions for your favourite clothing, footwear and equipment!
----------------------------------------
🚨🛠️🩹 IMPORTANT SAFETY NOTICE:
The repair guides provided on this site are intended to help you repair products on your own. While we have put a lot of care into them, all repair work carries some risk:
- Safety Precautions: When repairing your product, take all necessary precautions to ensure your safety. Use appropriate tools and follow the instructions carefully.
- Product Condition: Once your product has been repaired, it may not meet original compliance guidelines anymore and could potentially have issues.
- Liability: We are not responsible for any damage or injury that may occur during the repair process or as a result of using a repaired product. You, as the repairer, assume all risks and responsibilities associated with the repair.
By using these repair guides, you fully acknowledge and accept the potential risks and responsibilities involved.
Cancel: I did not complete this guide.
One other person completed this guide.

