Free Shipping on Domestic Orders $75+

How to Replace the Back Cover Adhesive (Back Cover First)

Views: 28K

View statistics:

Past 24 Hours:
23
Past 7 Days:
168
Past 30 Days:
873
All Time:
27,906
Comments: 5

2 comments on steps, 3 guide comments.

Go to guide comments
Completed: 36

36 people have marked this guide "completed." Will you be next?

Favorites: 2

2 people have favorited (and subscribed to) this guide. Will you be next?

Time Required: 10 - 30 minutes
Difficulty: Moderate
Featured Guide

This guide has been found to be exceptionally cool by the iFixit staff.

How to Replace the Back Cover Adhesive (Back Cover First)

Introduction

Go to step 1 ↓

Use this guide to replace the back cover adhesive by applying it to the back cover first.

To determine where you first apply the adhesive, match the contours of the adhesive on the clear side with the back cover and the frame. If the clear side matches the frame, follow this guide instead.

The frame-first adhesive tends to have screw holes in the colored lining.

What you need

Tools

    1. How to Replace the Back Cover Adhesive (Back Cover First), Remove the remaining adhesive: step 1, image 1 of 1
      • If you're re-using your back cover, remove any adhesive chunks with a pair of tweezers or your fingers. Apply heat and isopropyl alcohol (90% or greater) if you're having trouble removing the adhesive.

      • Repeat the same procedure for any remaining adhesive on the frame.

      Ask FixBot

      Add Comment

    2. How to Replace the Back Cover Adhesive (Back Cover First): step 2, image 1 of 1
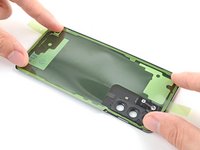
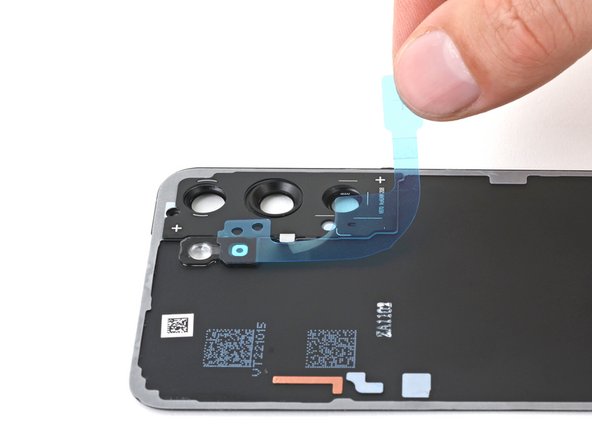
      • Before removing any liners, position the adhesive strip with the clear liner facing down over the back cover to find the proper orientation.

      • You can use the rear camera cutout as a reference point.

      • If the adhesive matches the frame instead of the back cover, follow this frame-first adhesive guide.

      Ask FixBot

      Add Comment

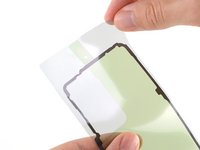
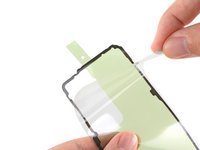
    3. How to Replace the Back Cover Adhesive (Back Cover First), Expose the adhesive: step 3, image 1 of 2 How to Replace the Back Cover Adhesive (Back Cover First), Expose the adhesive: step 3, image 2 of 2
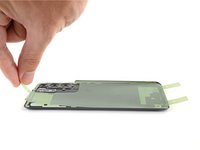
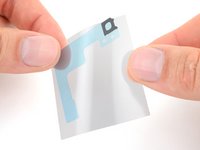
      • Peel the clear liner off of the adhesive strip to expose the adhesive.

      Ask FixBot

      Add Comment

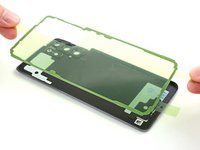
    4. How to Replace the Back Cover Adhesive (Back Cover First), Align the adhesive: step 4, image 1 of 3 How to Replace the Back Cover Adhesive (Back Cover First), Align the adhesive: step 4, image 2 of 3 How to Replace the Back Cover Adhesive (Back Cover First), Align the adhesive: step 4, image 3 of 3
      • Be very careful with this step, as misaligning the adhesive can cause it to peek out of the phone during reassembly, leading to an improper seal.

      • The adhesive is very sticky! Be careful with alignment, as you won't be able to reposition the adhesive once it sticks.

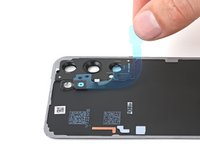
      • Carefully align the sticky side of the adhesive over the edges of the back cover.

      • You can use the corners of the back cover to help line up the edges.

      • Press down on the perimeter of the adhesive strip to bond it to the back cover.

      Ask FixBot

      Add Comment

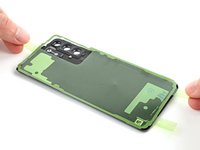
    5. How to Replace the Back Cover Adhesive (Back Cover First): step 5, image 1 of 2 How to Replace the Back Cover Adhesive (Back Cover First): step 5, image 2 of 2
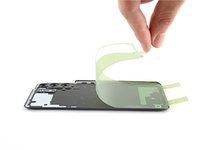
      • Peel off the colored liner from the adhesive strip to expose the opposite side of the adhesive.

      Ask FixBot

      Add Comment

    6. How to Replace the Back Cover Adhesive (Back Cover First), Replace the microphone adhesive: step 6, image 1 of 3 How to Replace the Back Cover Adhesive (Back Cover First), Replace the microphone adhesive: step 6, image 2 of 3 How to Replace the Back Cover Adhesive (Back Cover First), Replace the microphone adhesive: step 6, image 3 of 3
      Tool used on this step:
      Tweezers
      $4.99
      Buy
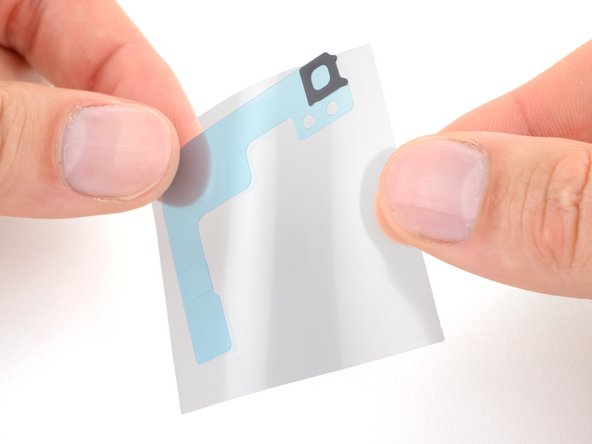
      • This step shows how to install a replacement microphone gasket. If your kit didn't come with this gasket, skip this step.

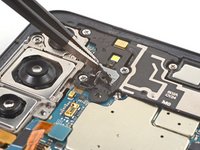
      • Use tweezers to remove the old microphone gasket. It may be attached to the back cover or the phone.

      • Remove the clear liner from the large L-shaped adhesive piece.

      • Place the square piece of adhesive over the back cover's microphone cutout under the flash unit, with the blue liner tab facing right.

      • Remove the blue liner.

      Ask FixBot

      Add Comment

    7. How to Replace the Back Cover Adhesive (Back Cover First): step 7, image 1 of 2 How to Replace the Back Cover Adhesive (Back Cover First): step 7, image 2 of 2
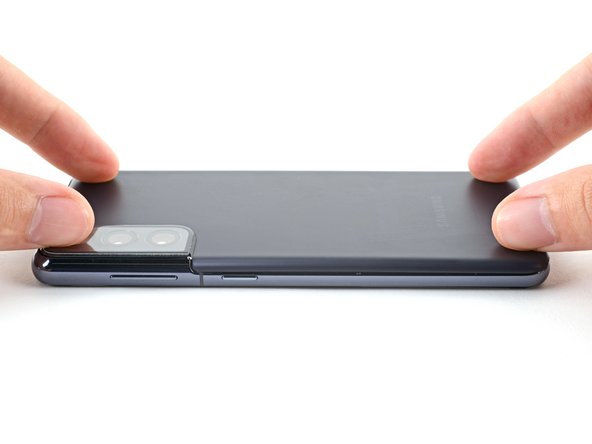
      • This is a good point to power on your phone and test all functions before sealing it up. Be sure to power your phone back down completely before you continue working.

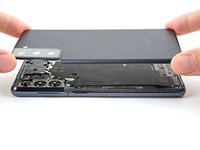
      • Align the back cover with its original position on the frame.

      • Press down on the perimeter of the adhesive to bond the adhesive to the frame.

      • To ensure a good seal, apply constant pressure to the back cover with a flat, heavy object. A hefty book works well.

      • If a substantial gap remains, try squeezing the gap with your fingers but don't force it. Pry the back cover off and check for any surface irregularities, such as unseated connectors or loose and jutting screws.

      Ask FixBot

      Add Comment

Finish Line

Cancel: I did not complete this guide.

36 other people completed this guide.

Alex Diaz-Kokaisl

Member since: 01/16/22

250,935 Reputation

1,200 Guides authored

Team

Guide Team Member of Guide Team

Staff

10 Members

62,132 Guides authored

3 Guide Comments

Where can I get the genuine adhesive for Galaxy S22 Ultra??

Will Dennis - Reply Share

There's a link at the beginning of the instructions.

Shell - Reply Share

What can I do with my old battery (and daughter board)?

Nick Boreham - Reply Share

Add Comment

View Statistics:

Past 24 Hours: 23

Past 7 Days: 168

Past 30 Days: 873

All Time: 27,906